I first have to come forth with a disclaimer: This isn’t actually my first bread. I will spare you the sight of those first hapless lumps of dough, sprinkled with tears and frustration. Not even dogs would eat those. There was little or no consistency to my experiments as I had absolutely no idea what I was doing. I was too stubborn and impatient to follow exact, detailed recipes other bakers have kindly provided me with so I just threw whatever flour I had on hand in a bowl with some water (sometimes too much, sometimes not enough) and my sourdough starter, without any regard to its potency.
I did not understand what was going on or, better yet, why nothing was going on. There were definitely some bubbles in my starter and my dough vaguely looked like something that could go into the oven, so why?
Bypassing all the collective baker wisdom I decided to go my own way, fretting over my rye culture, wondering whether my dough was proofed or over-proofed, and generally stepping into all sorts of potholes until I stumbled onto my first decent, fulfilling bread. This is not how I make my bread anymore, but I decided to share this recipe as a reference point, as a token of appreciation for the first loaf that made me believe the journey was worth it – my light at the end of the tunnel.
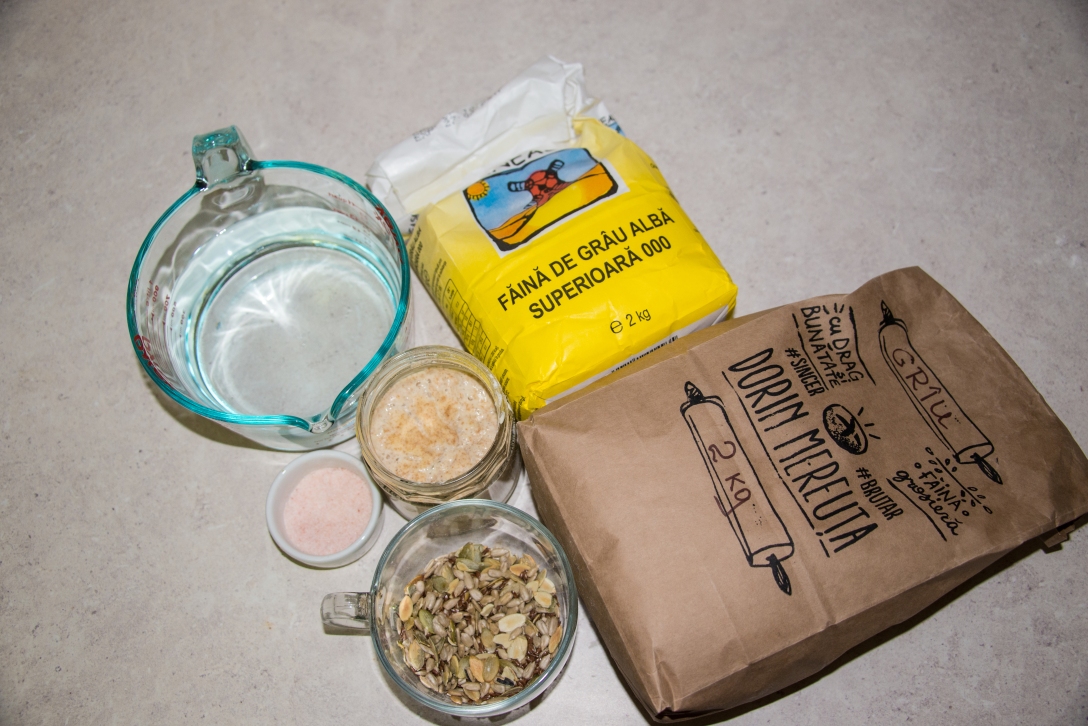
What I used
- 100 g unfed rye sourdough starter
- 3 cups water
- 1 and 1/2 cup whole grain flour
- 1 and 1/2 cup all-purpose flour
- 1 tspn salt
- some seeds (to fancy it up)
If you’re new to sourdough baking, this might seem like a fairly short and straightforward list. In some ways it is and, if you follow my steps, you’ll end up with a good loaf that requires minimal prep and work.
If you’re not new to the game, you can immediately see how hard it was to get a good loaf with a starting point like that. I had no kitchen scales, so my measurements were hardly reliable. The second challenge was the 50% whole grain flour, paired with my aspiration towards an open crumb and spectacular rise (good luck with that, right?). The third complication was hydration. When I converted these measurements to grams later, I realized I was pushing 90% hydration. What can I say…
Starter

Being thoroughly overwhelmed by what constituted the difference between starter, leaven, levain, pasta madre and other such terminology I, needless to say, did not see a reason to throw away perfectly good, albeit slightly vinegary, starter and create a second mixture. I fed my 100% rye culture in the evening, after work, so what I ended up doing was making bread with the starter that had been fed 24 hours ago. It sounds preposterous now, but I have to admit that my method yielded perfectly good, flavorful loaves.
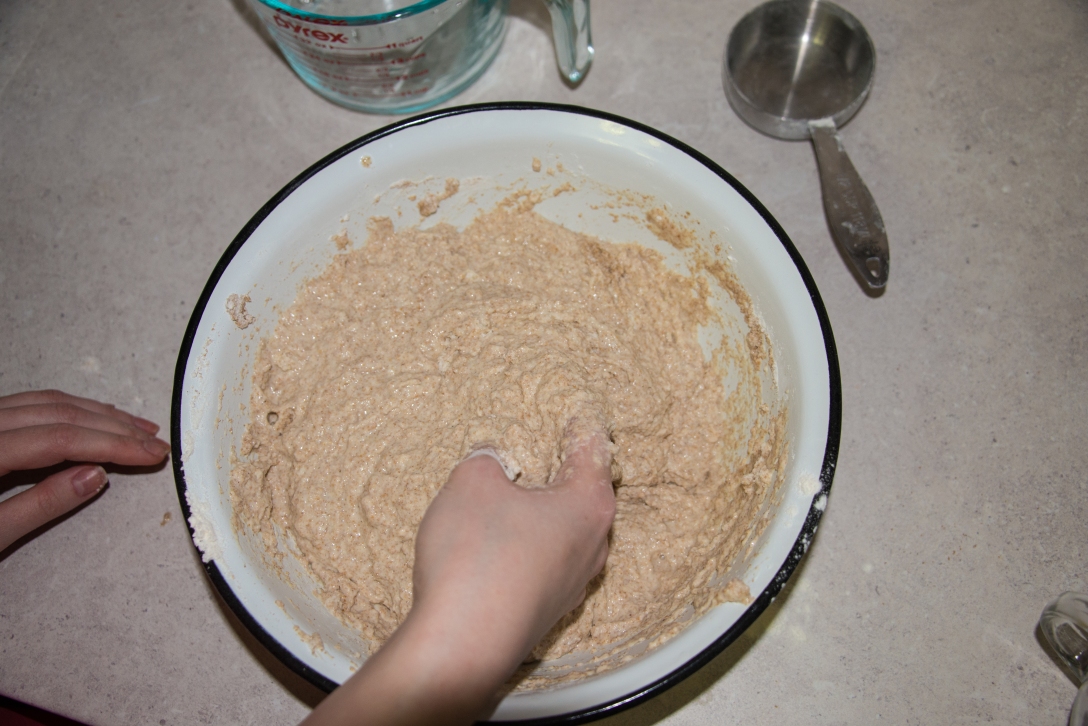
Mixing
I mixed my flours with water and the starter in a large bowl until it was all incorporated and left it for about half an hour, and then added the salt. The transformation the dough underwent in those 30 minutes was always encouraging. It wanted to cooperate!
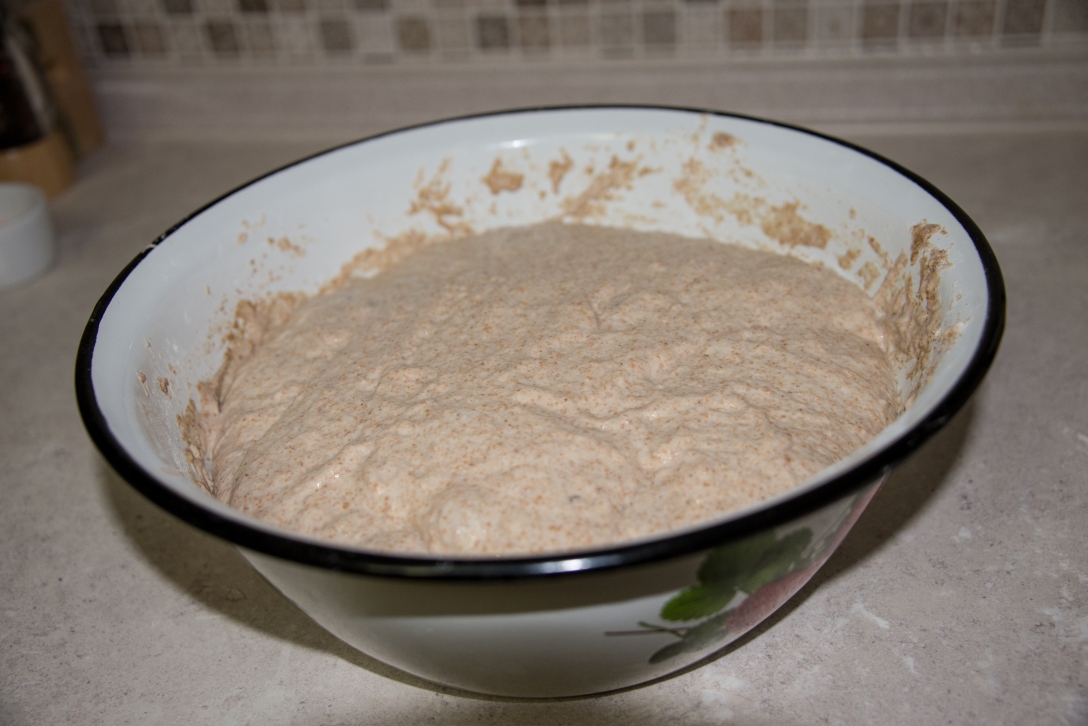
Bulk fermentation
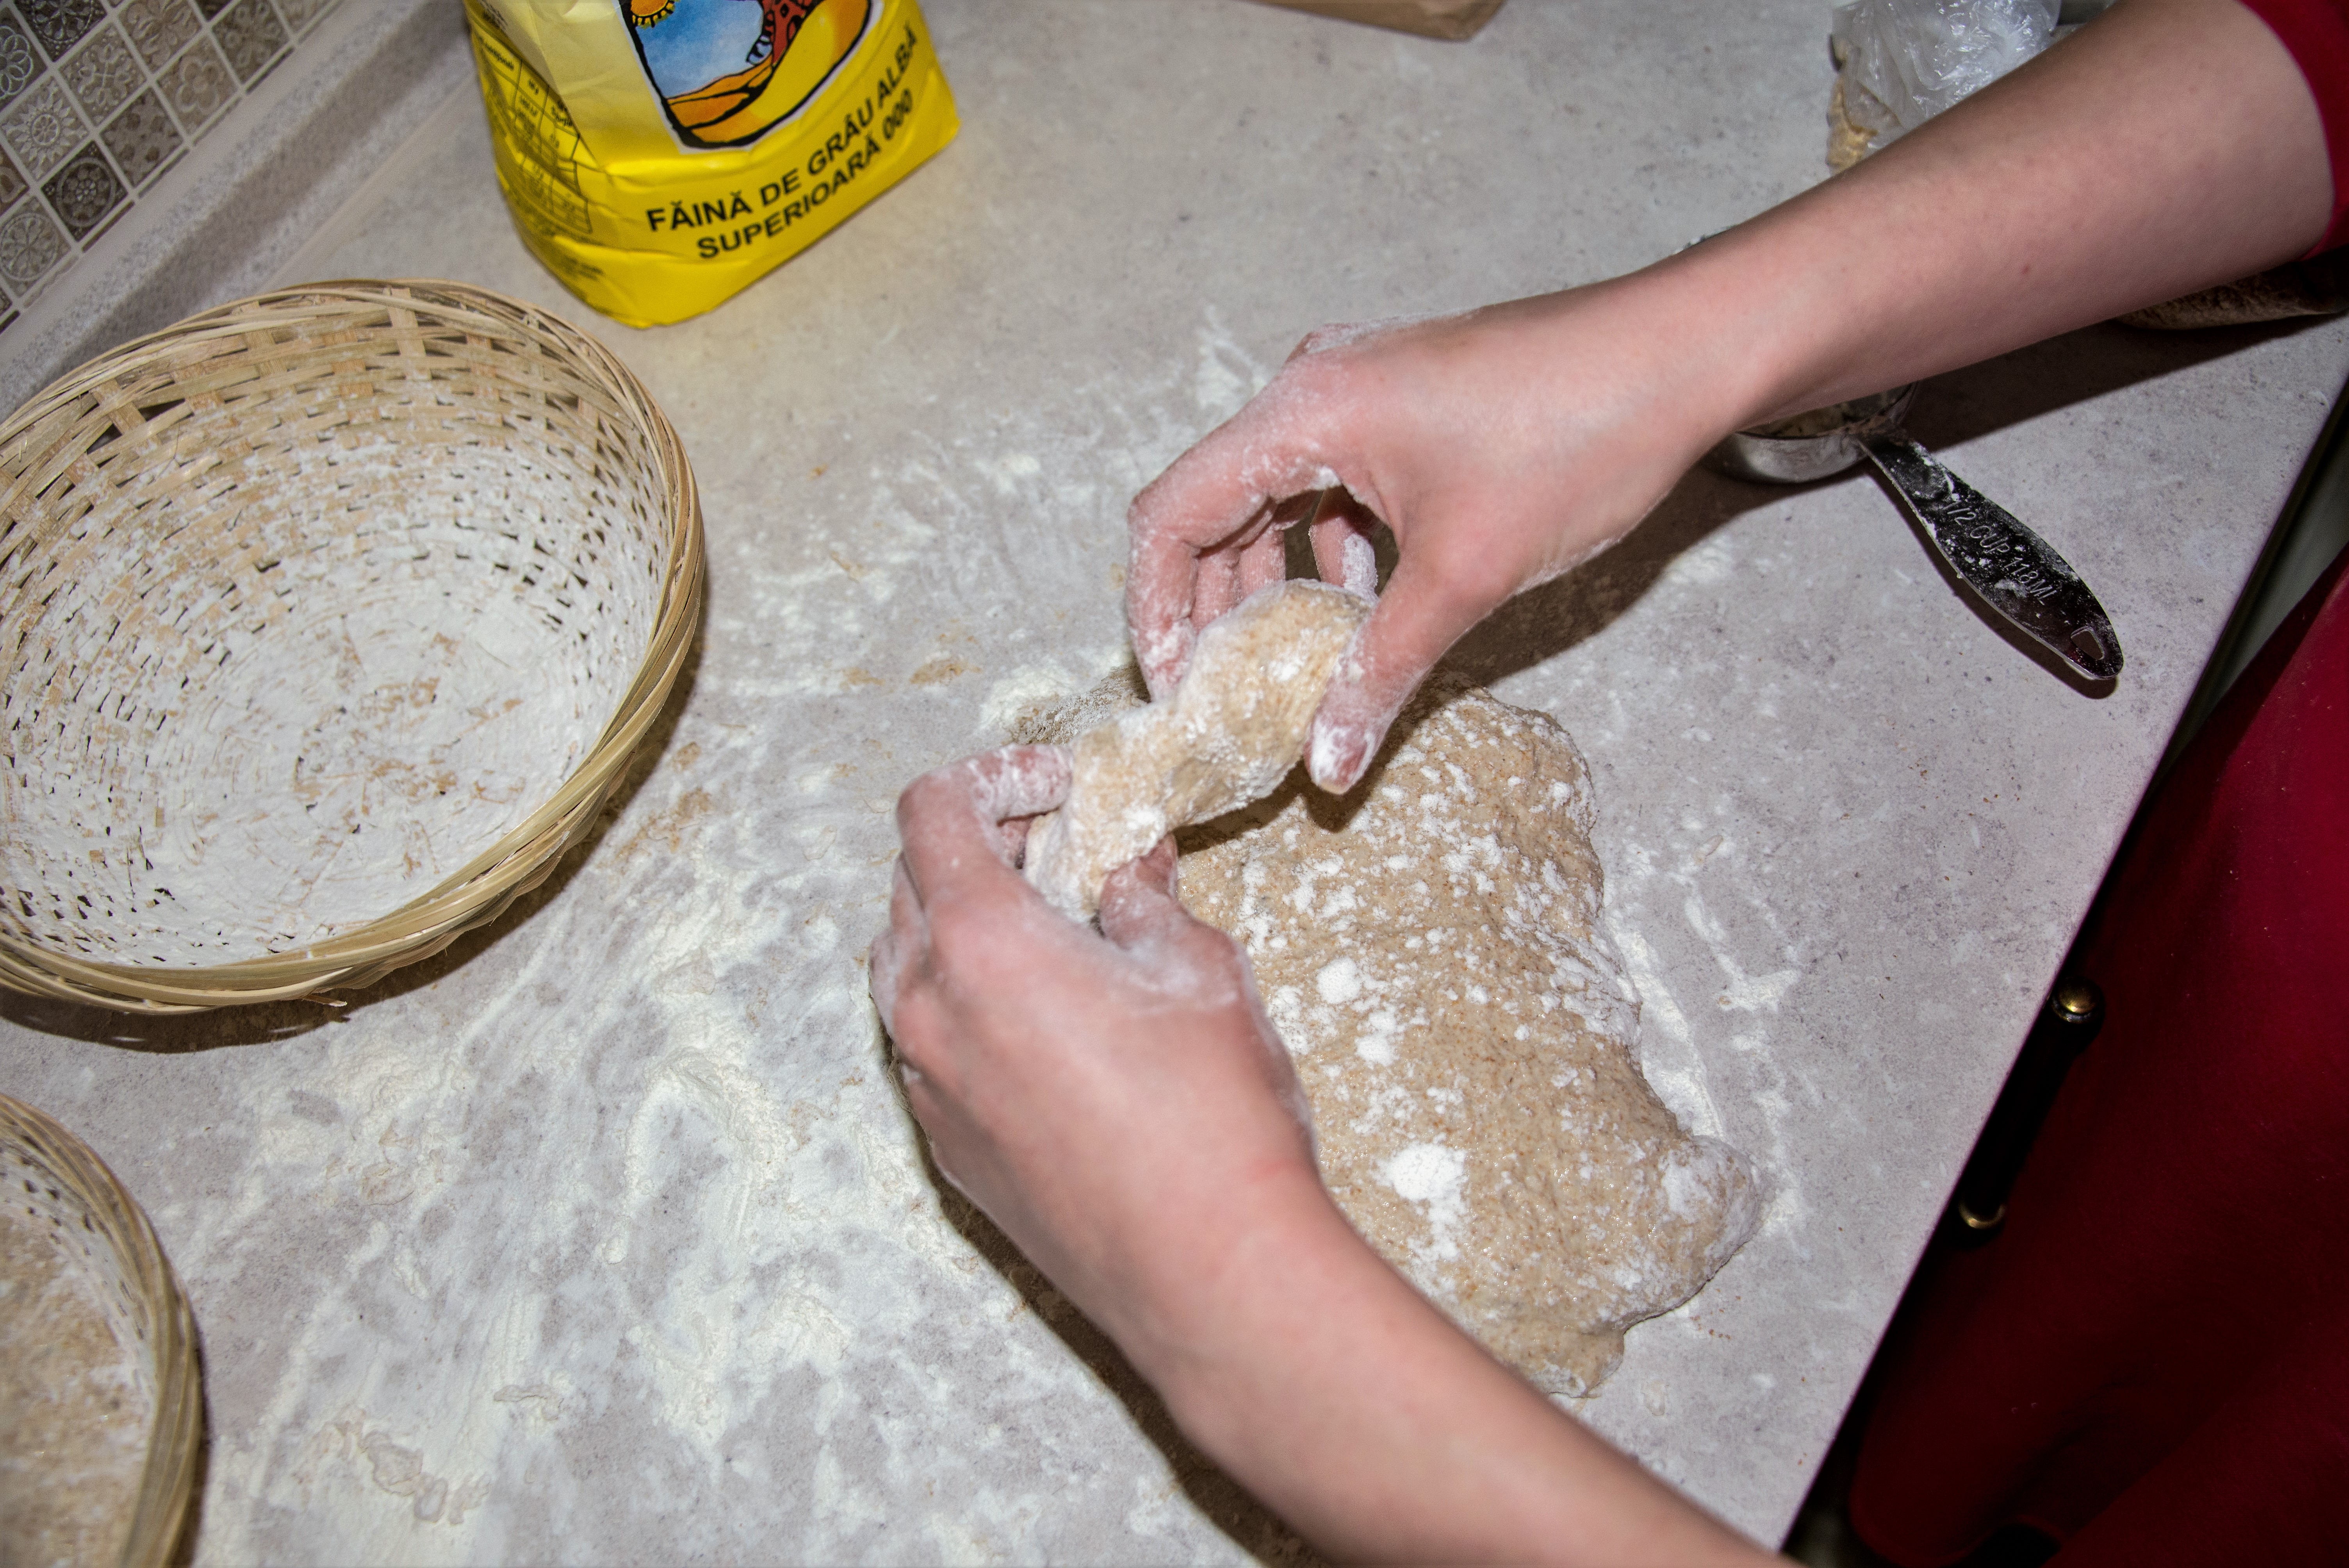
If all my reading and pre-baking research had taught me anything at all it’s the magic stretch-and-fold. Keeping the dough in the same bowl I had used for mixing I grabbed the slippery mass, stretched it for as far as it would let me, then folded it on top of the rest. I turned the bowl a little and did the same thing again. Then again and again, until I came full circle. Looking back at this picture I am almost proud of how elastic this dough looks.

Every 30 minutes for as long as my evening allowed it (usually about 3 or 4 hours) I stretched and folded the dough until it looked somewhat cohesive. I was absolutely unaware of what fresh-milled whole grain flour did to dough, so I just hoped for the best and kept stretching. You can see it didn’t look that bad! Do you see there is a hint of bubble going on there?
Shaping
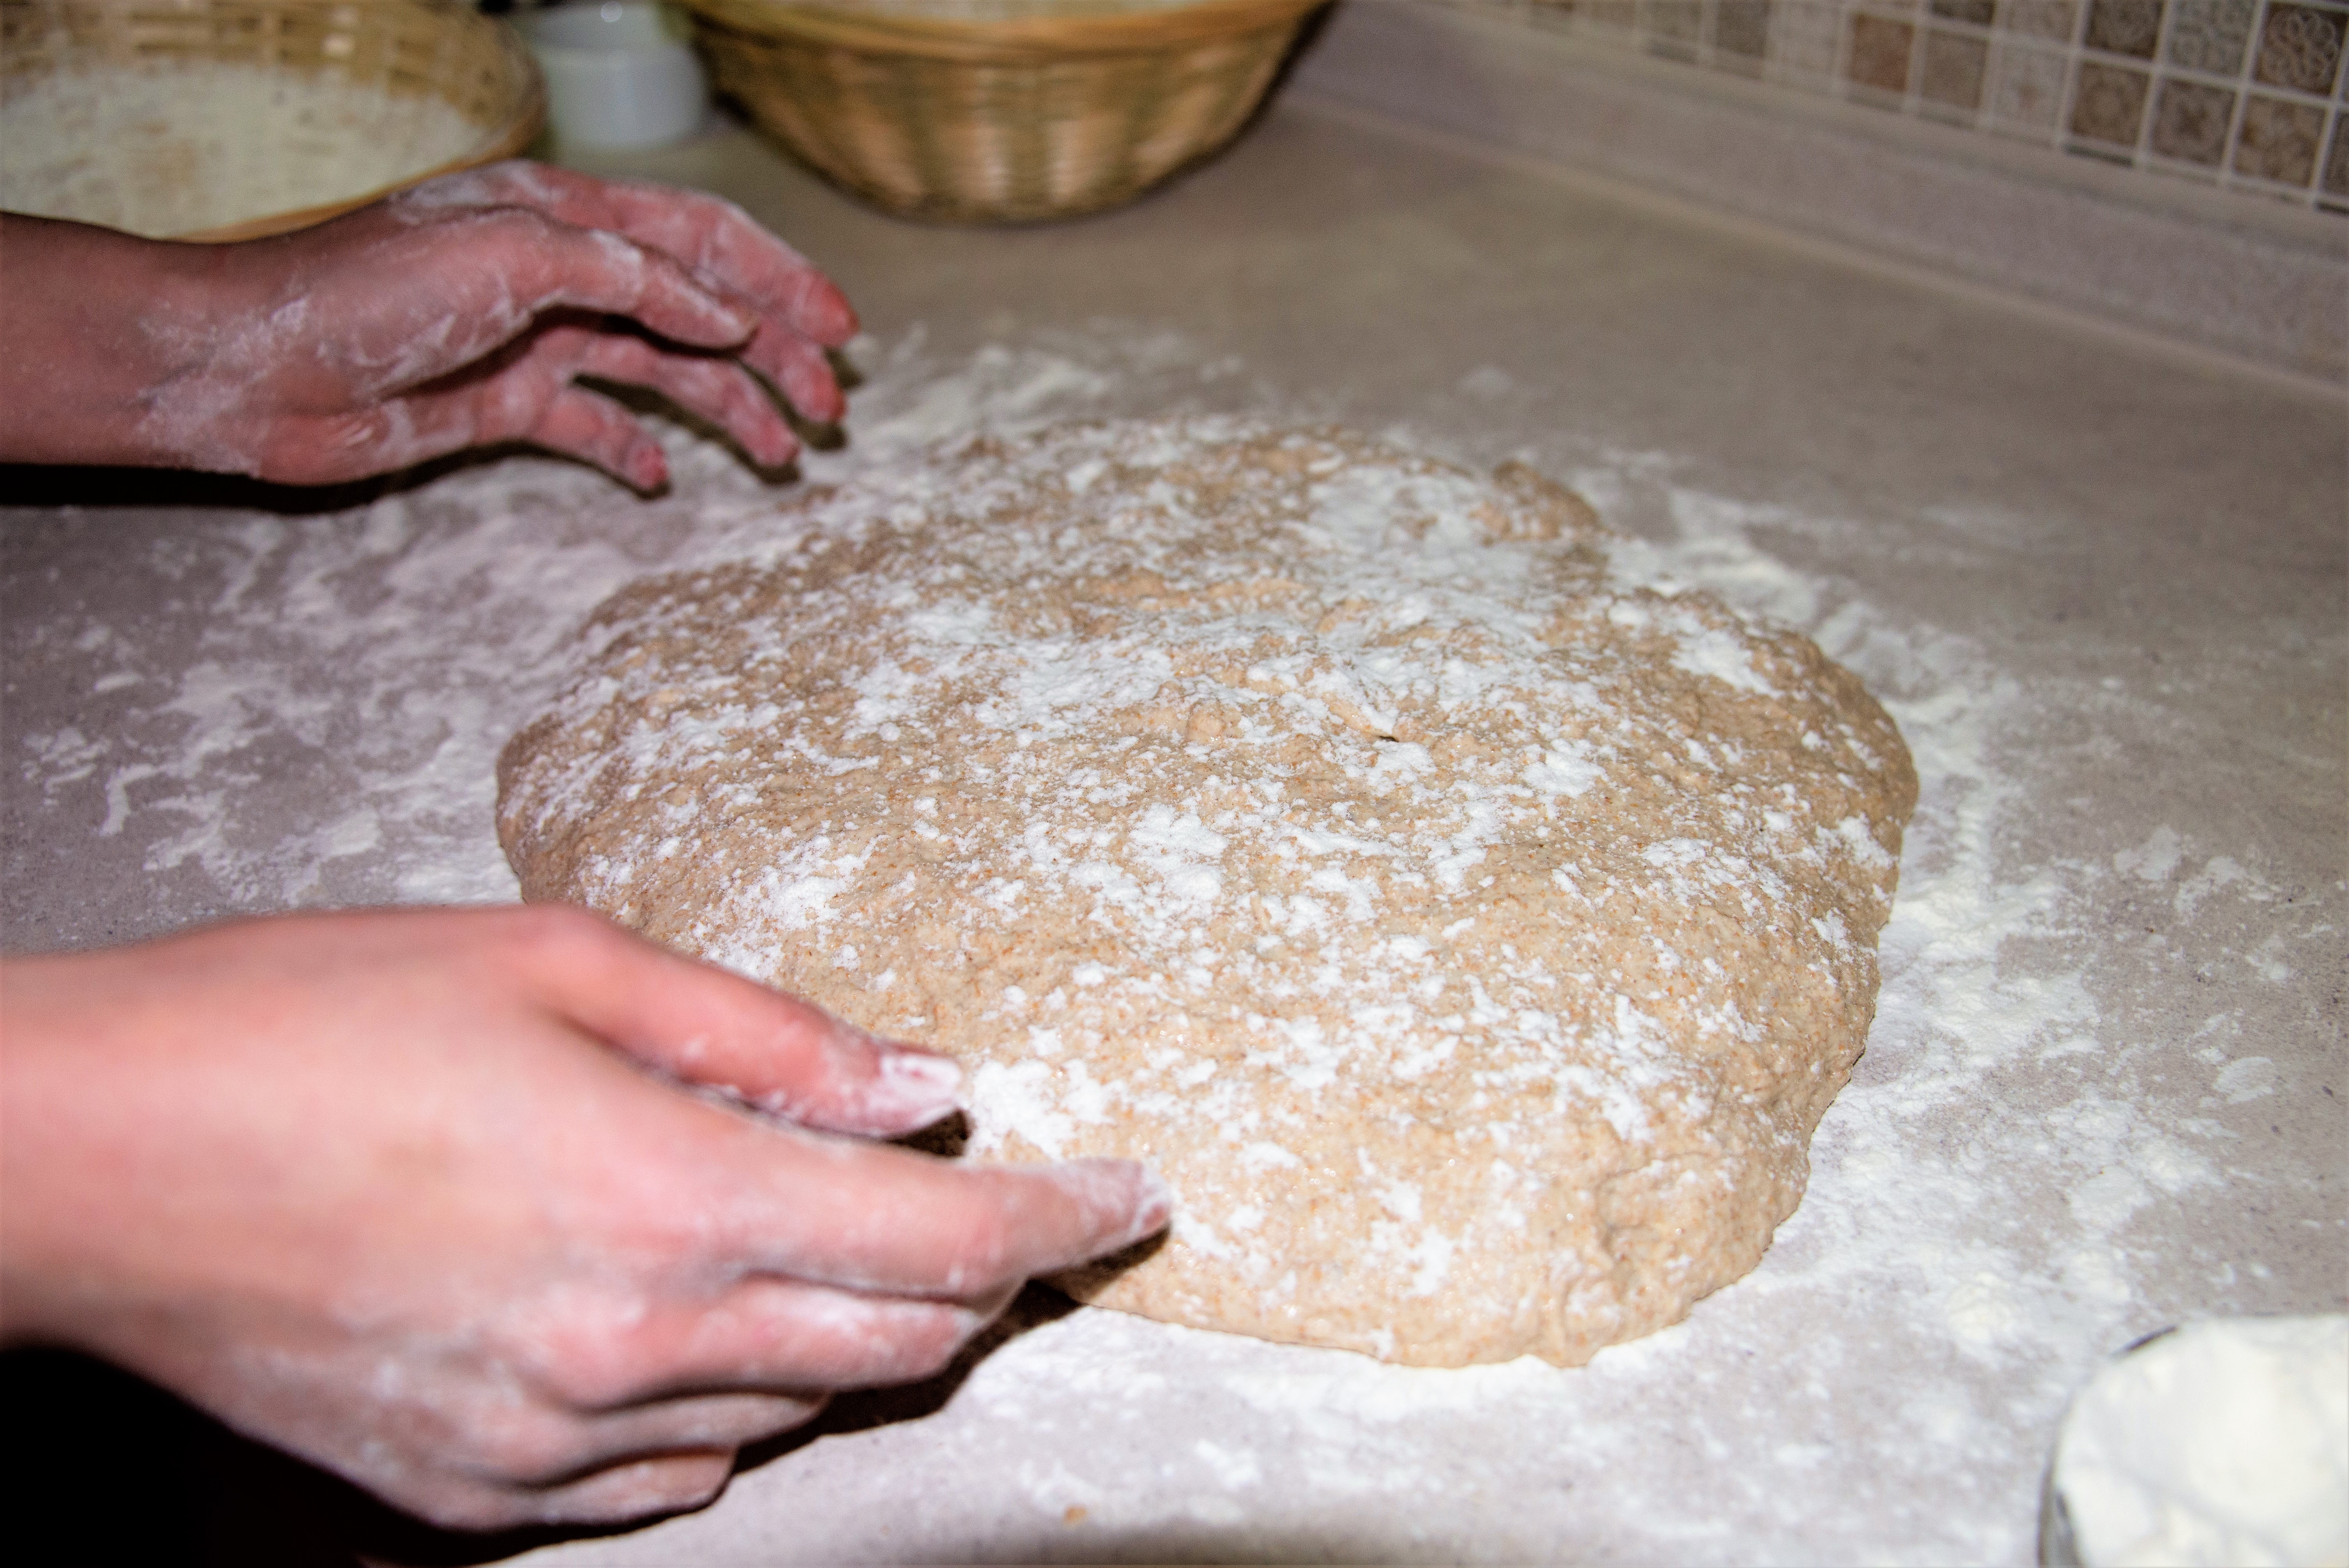
Now shaping was either very difficult, or very easy, depending on how you look at it. Such wet, 50% whole grain dough, was moody in my inexperienced hands so the technique was, basically, to dump it on a well-floured surface, cover it with more flour, and then somehow turn it into a round-looking thing. Did I tell you I didn’t have a dough scraper? Right…
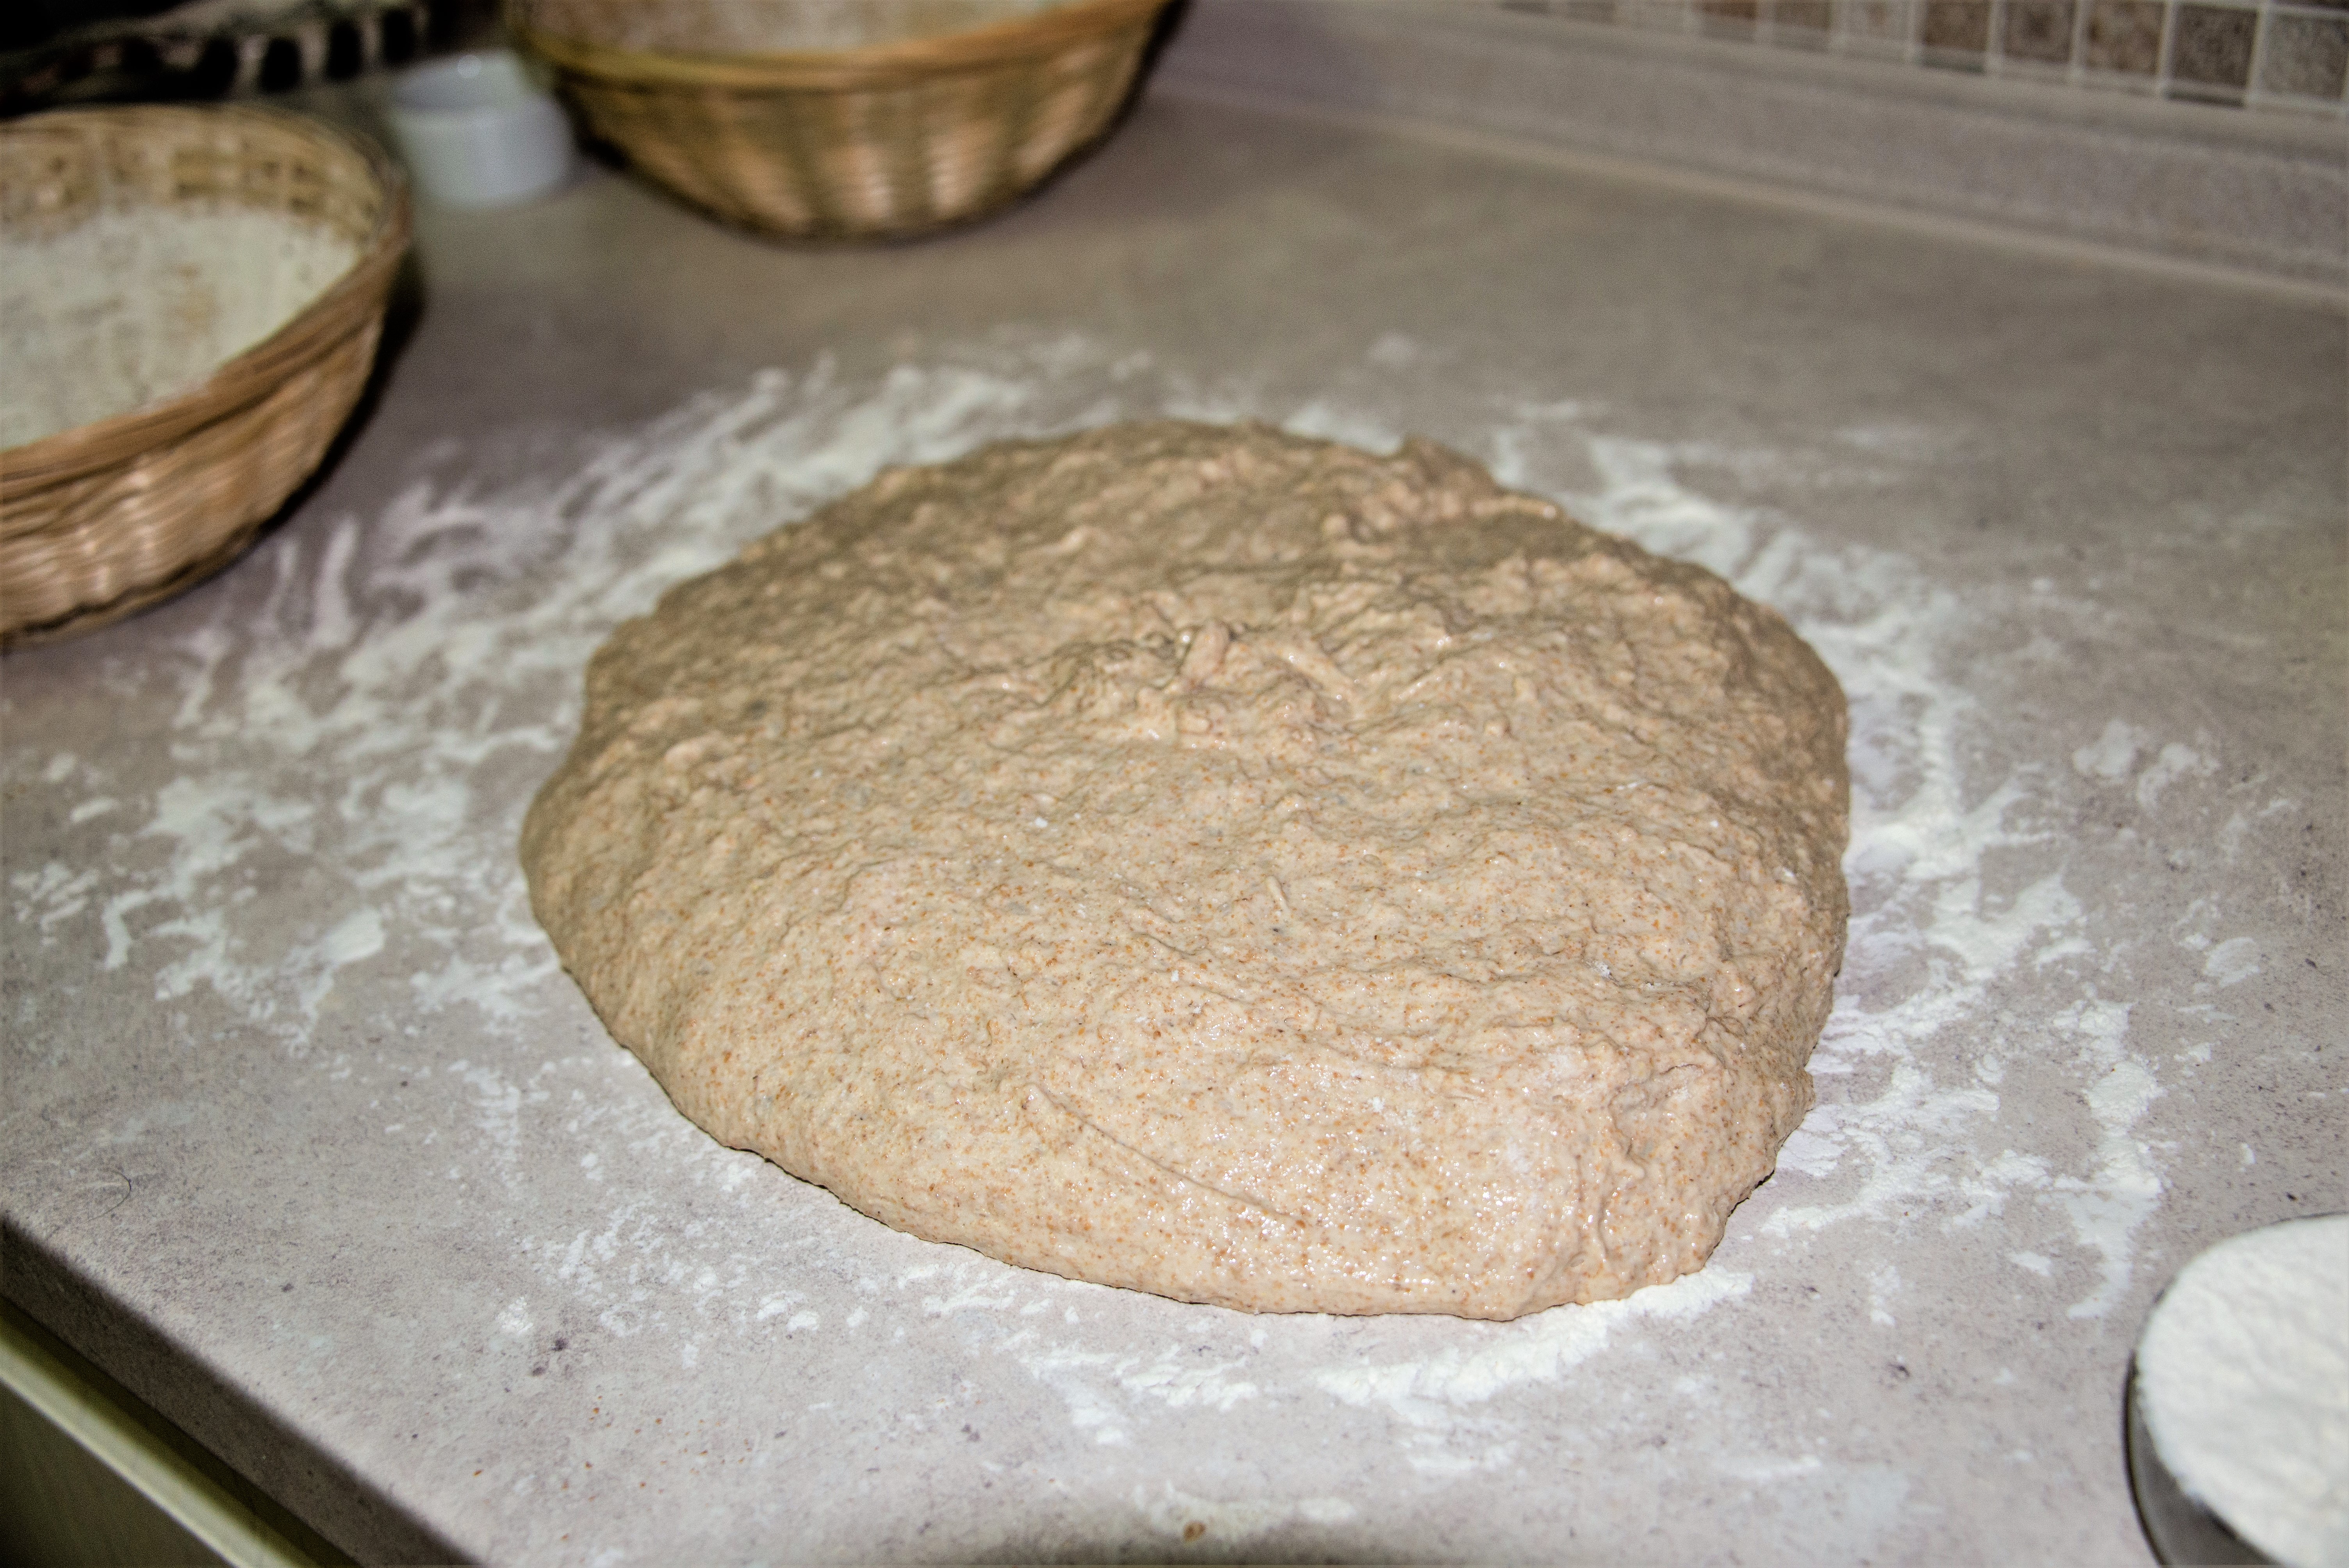
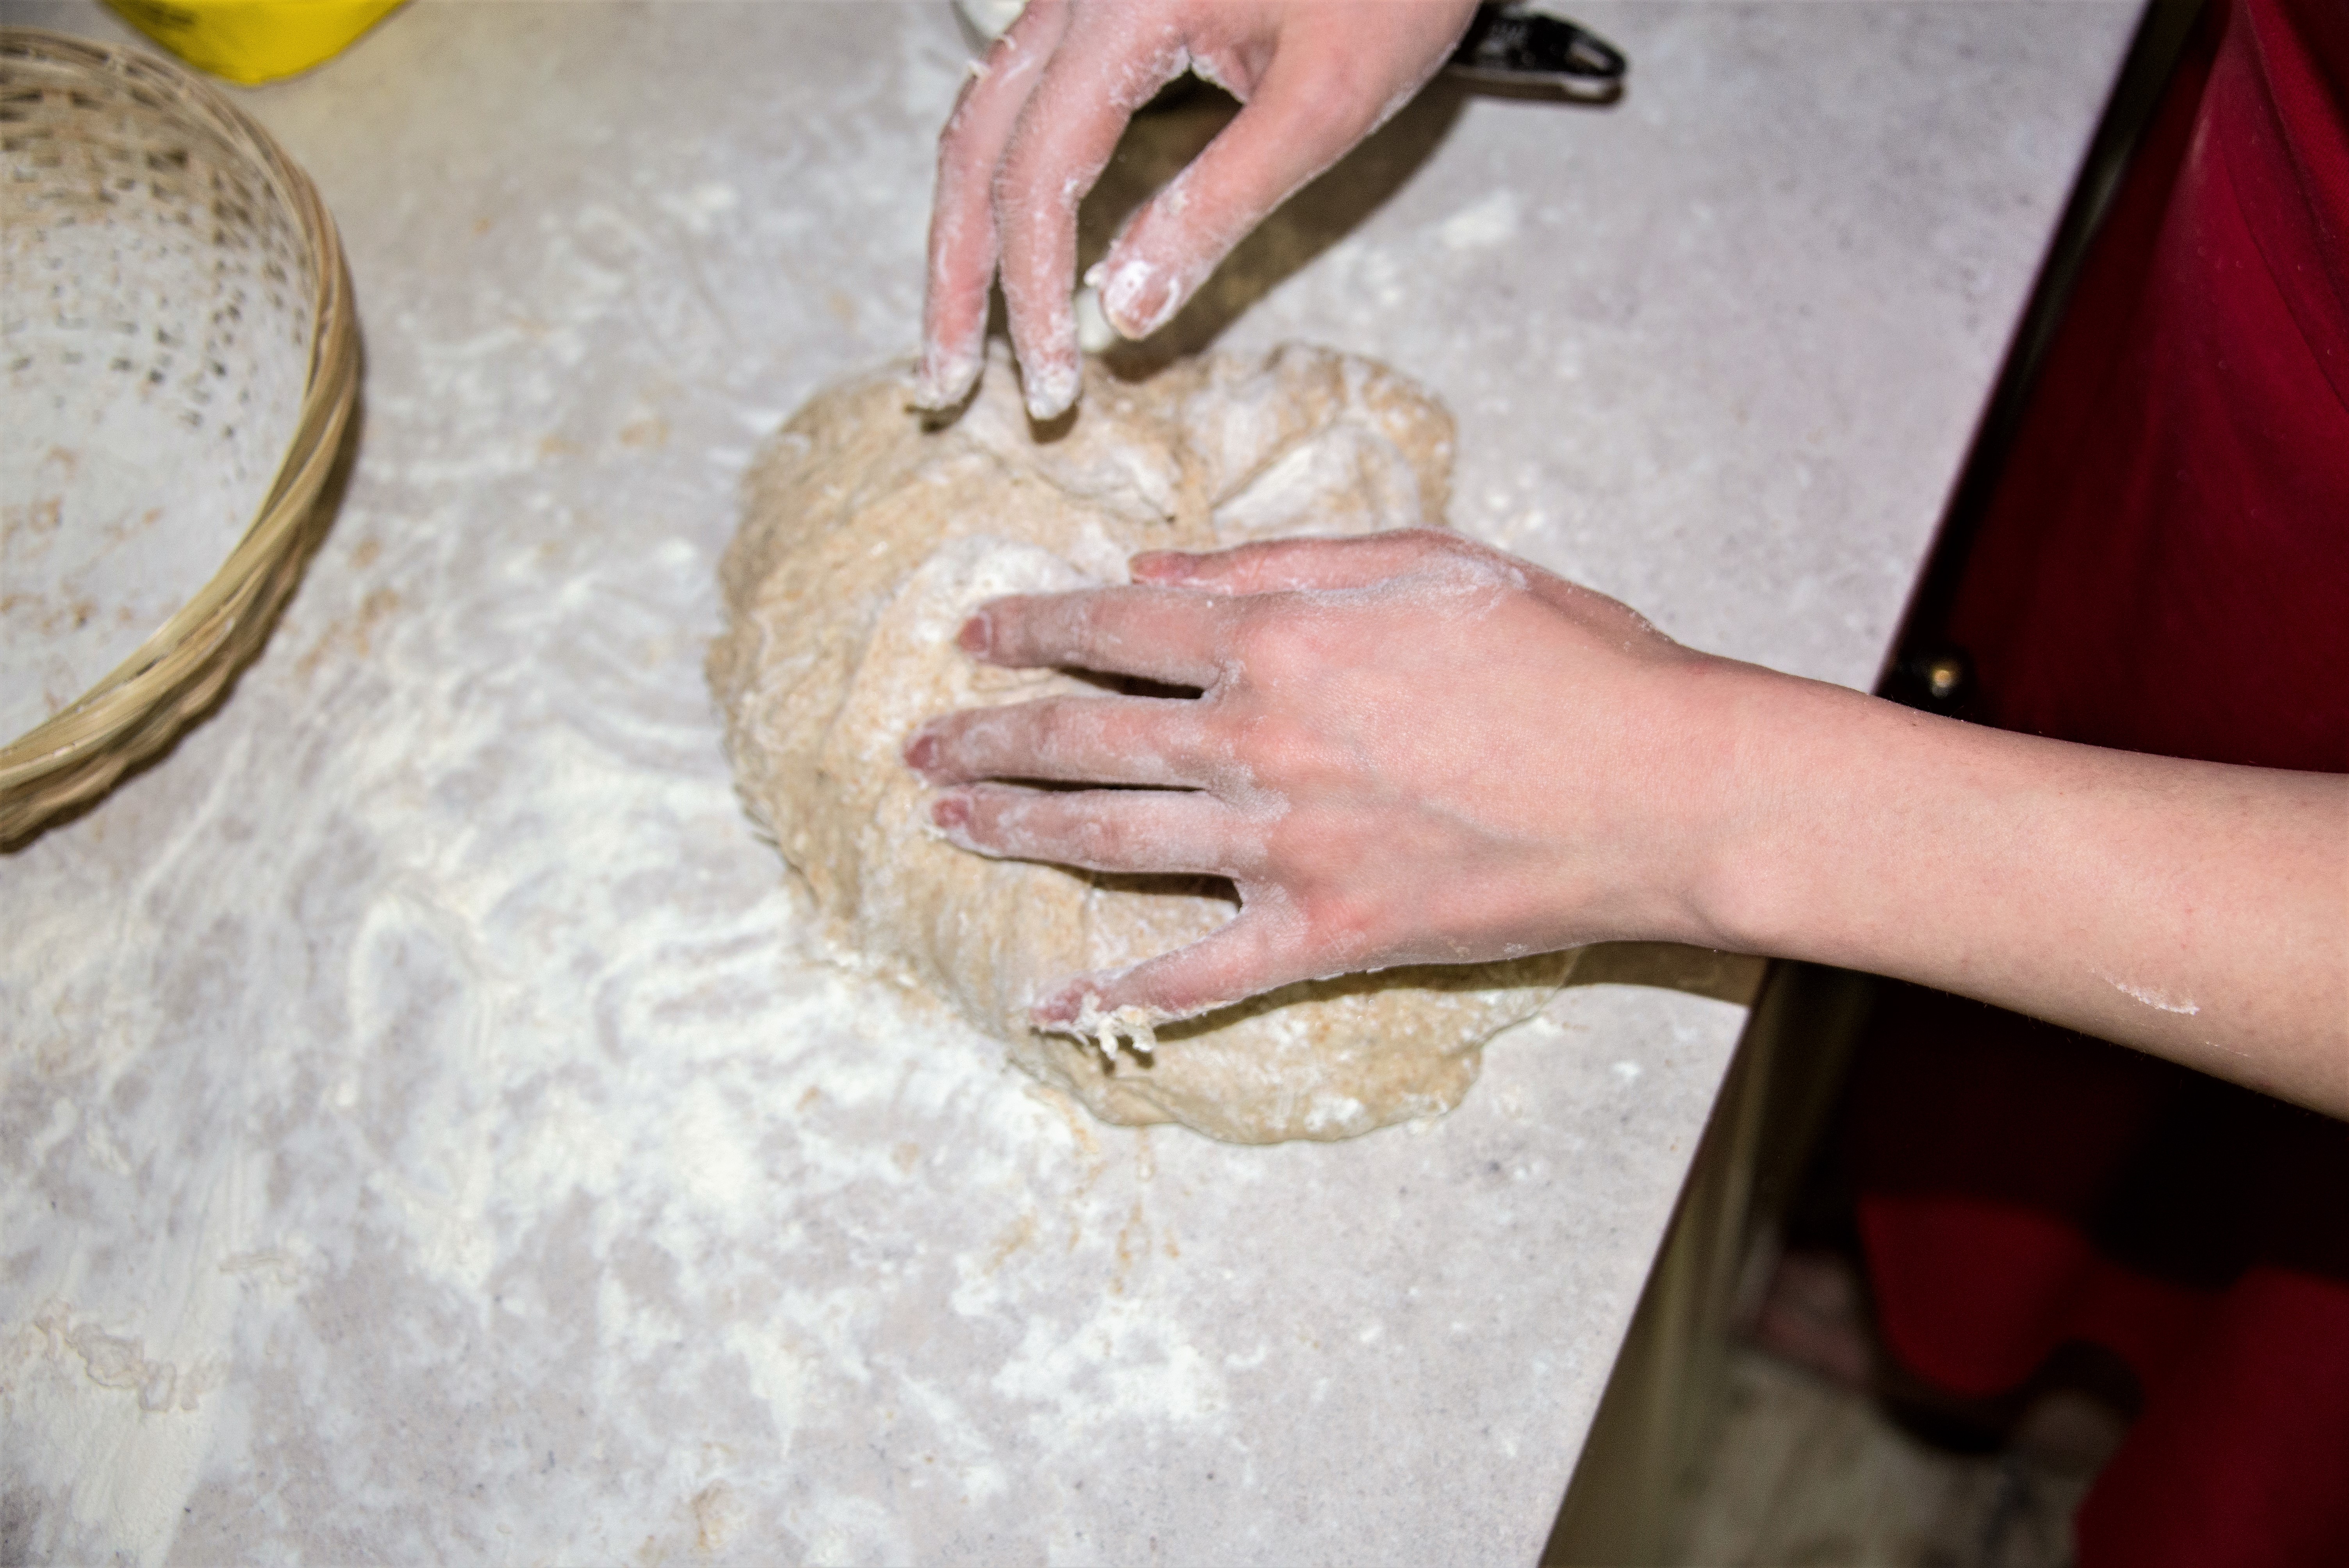
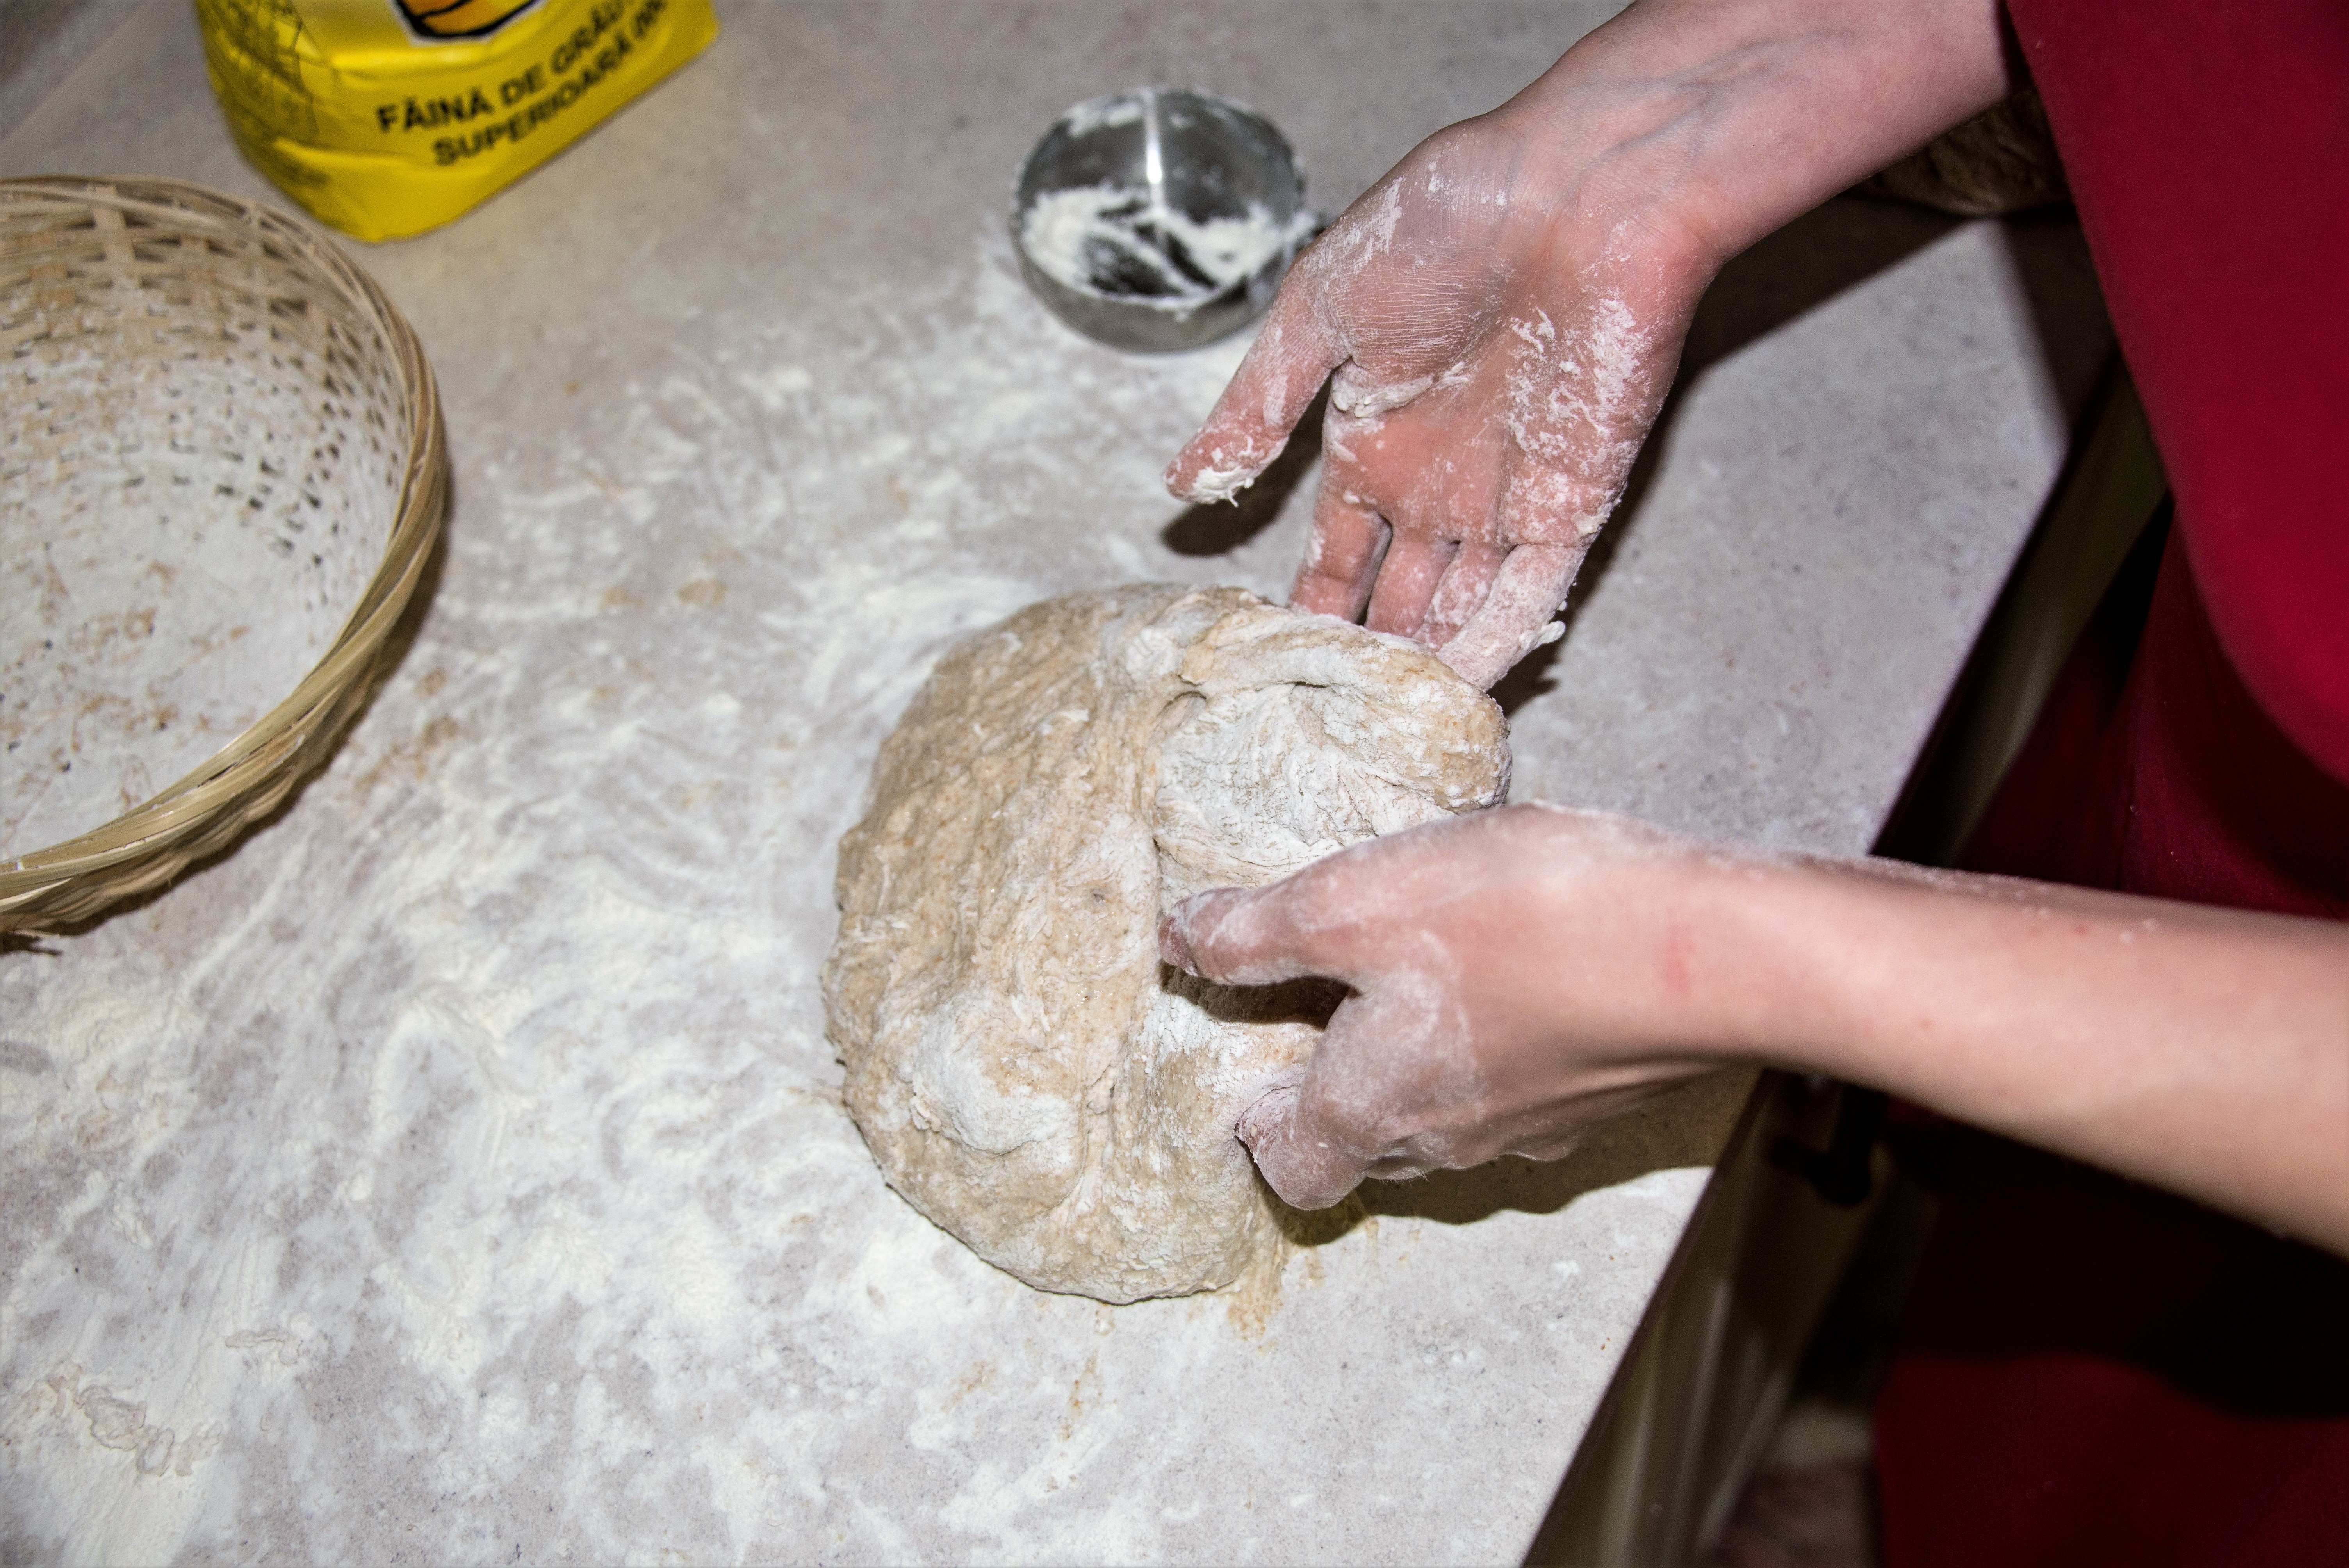
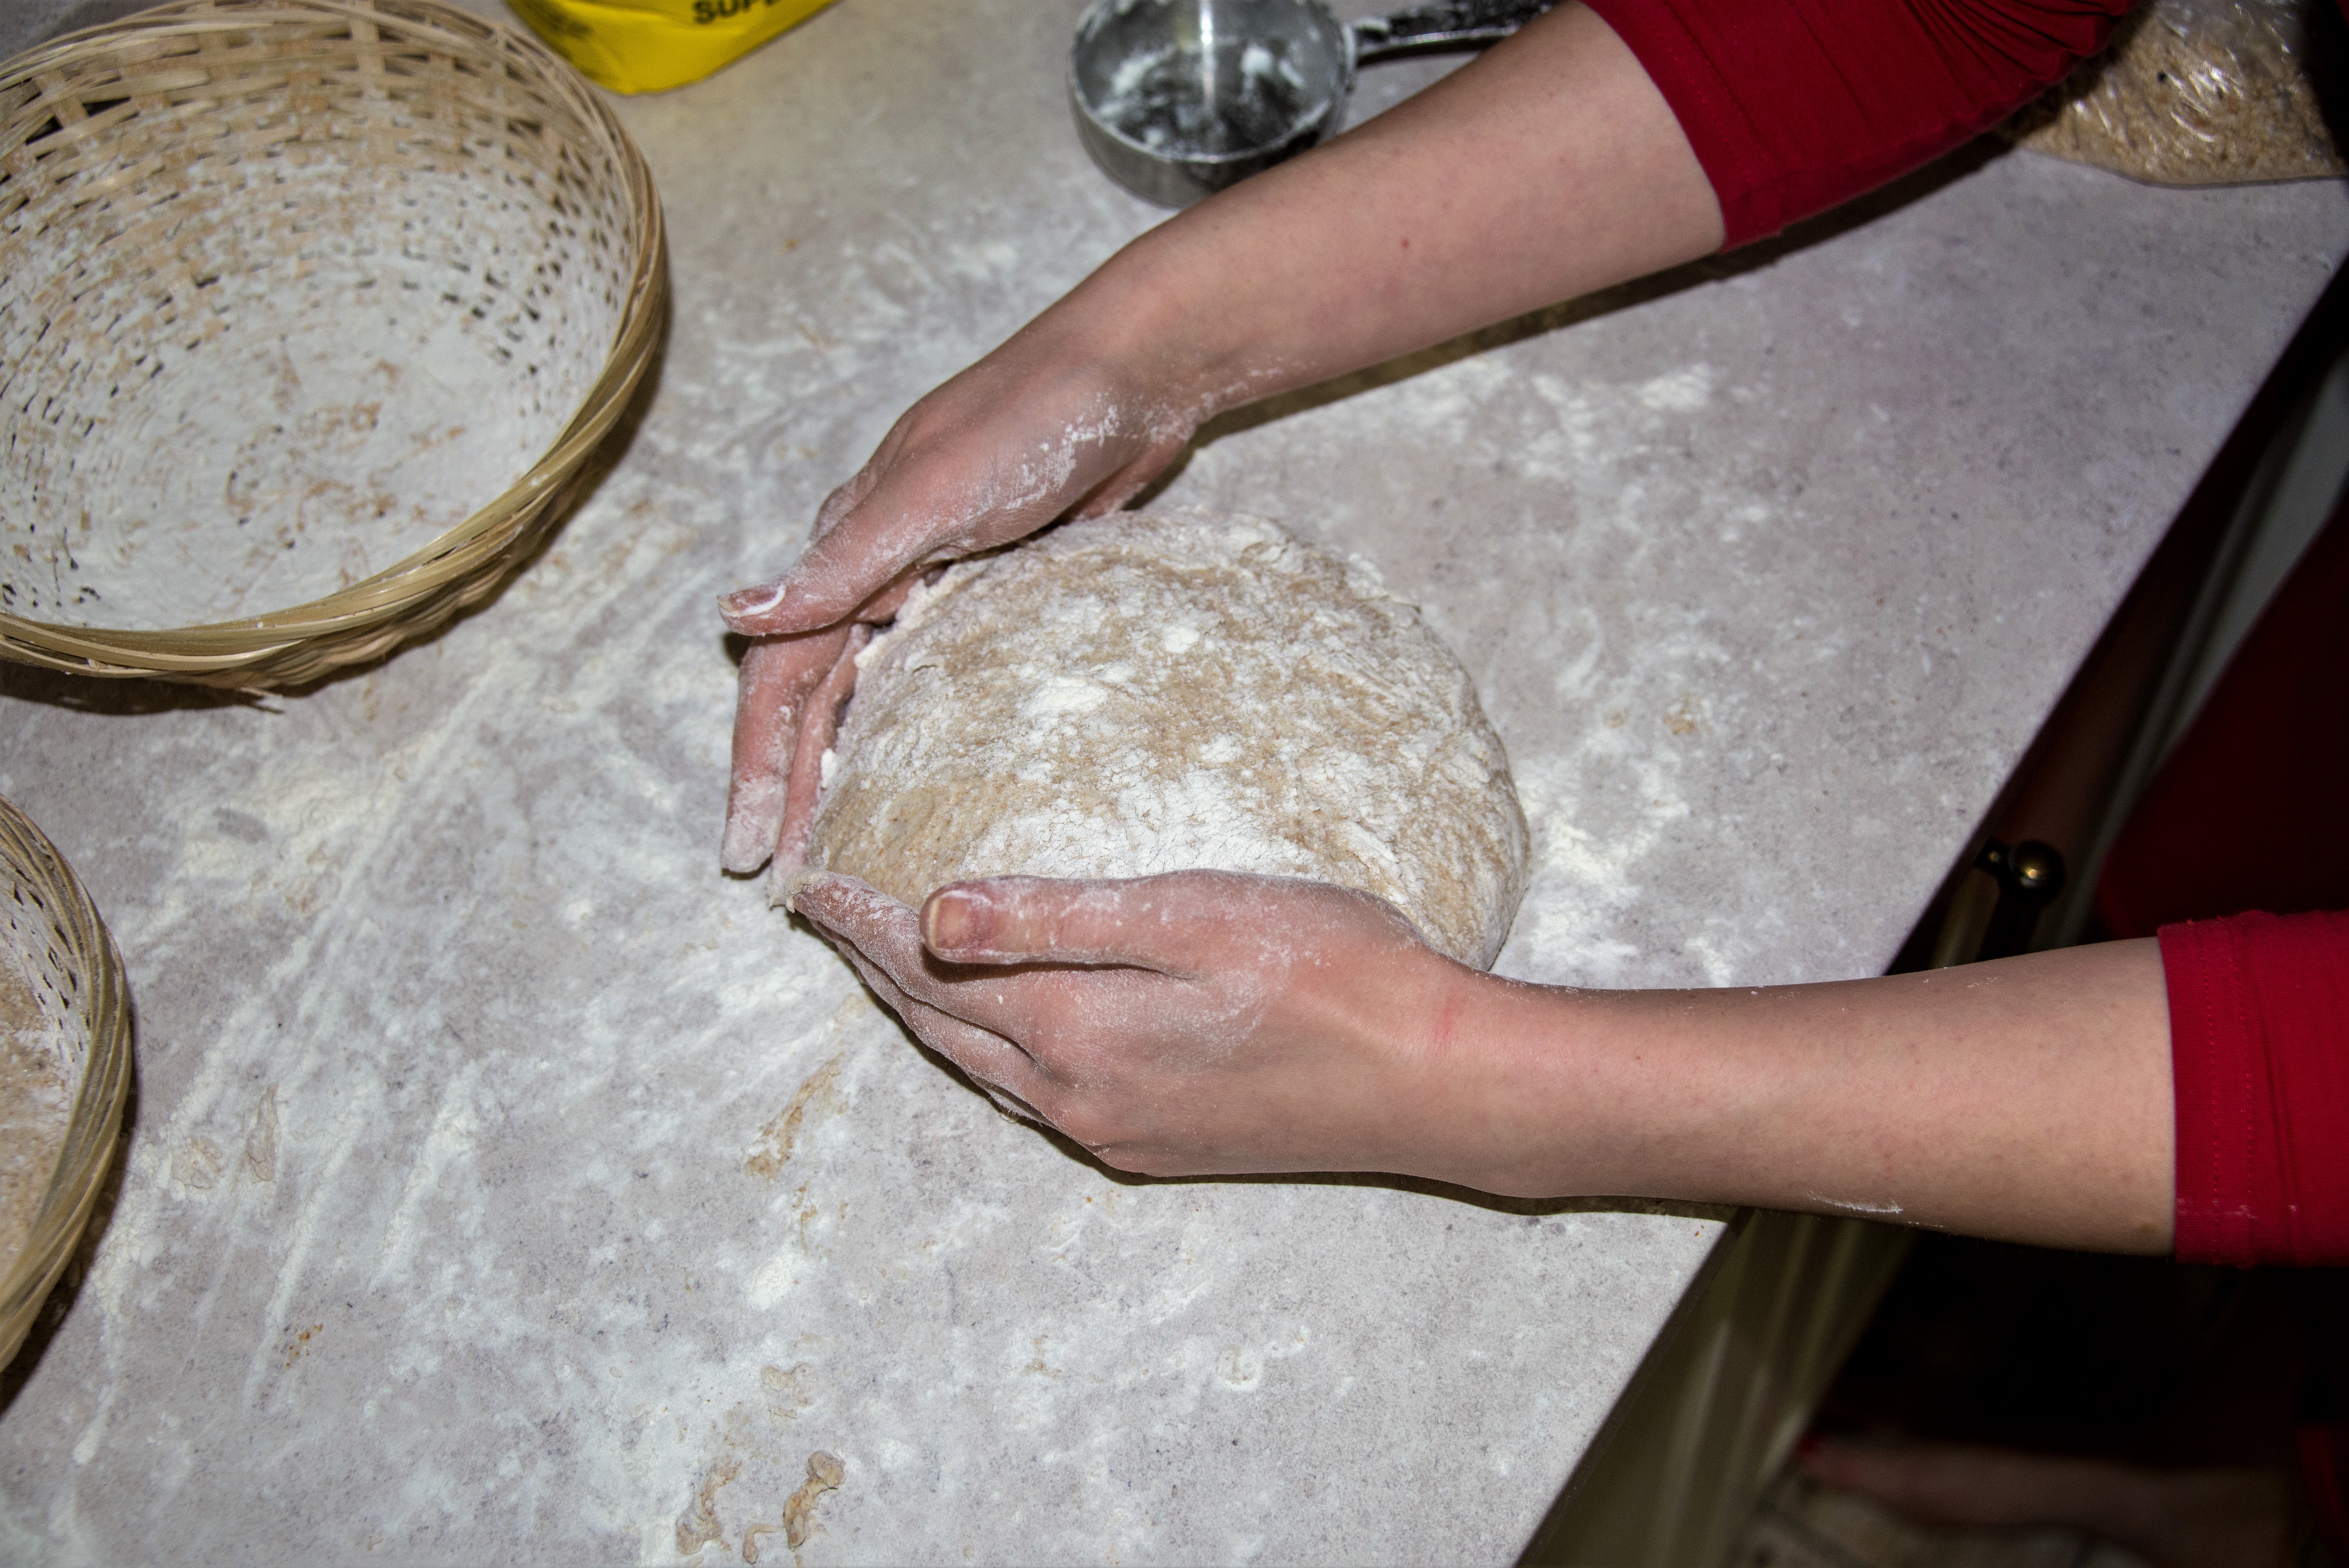
Some seeds on top makes it look like I totally knew what I was doing. I have no idea when those are supposed to be added, but I learned that lightly pressing seeds onto the shaped bread just before its final proof prevents them from falling off later.

I put my roundlets of hope into well floured baskets without any lining. Somehow the idea of fabric between my basket and bread felt intimidating. I though the bread would just stick to it and I would never peel it off. Silly me.

Proofing
I like the idea of putting my bread in the fridge overnight, also known as retarded fermentation. This was the only part of bread-making that was absolutely worry-free for me at the time because I knew the dough would just do its thing and there was no need for me to watch over it. My baskets, covered with plastic wrap, would go to sleep in the fridge for anywhere between 6 and 10 hours. Who needs consistency and precision anyway? I also slept a whole lot better knowing there would be properly proofed loaves waiting for me when I woke up. I was almost ready to leap out of bed at 6 in the morning to bake before work. Almost…
Scoring and baking
As soon as my get-up-and-bake alarm rang I would put an oven-safe pot (no plastic, glass or rubber elements) in the oven, turn the temperature up to maximum (275 degrees in my case) and go back to bed for 40 sweet minutes.
When the alarm rang again, it was time to get the bread out of the fridge and upturn it on a square of parchment paper for scoring. You can see how the bread stuck to the basket, tore and deflated. Bummer…

Scoring (cutting the bread) was my favorite part as it allowed me to make every loaf look different with minimal effort. However, having tried all sorts of patterns, I quickly discovered that a simple square was my favorite for bread baked in a pot, as it allowed my loaves to grow upward. I still come back to this conclusion every time I try a new pattern.

After scoring my bread went straight into the hot pot along with the parchment paper. That means there couldn’t be more than a few minutes between the fridge and the oven. Now I know this is not cocher, but up to this day I haven’t found a reason to let the dough warm up. The few times I let my bread-to-be wake up at room temperature it only deflated after scoring. I have never had an underbaked loaf, so I just continue doing what works for me – fridge to oven with quick scoring in between.

To help develop that lovely crust I sprayed some water right into the pot and then put the lid on. Okay, it wasn’t really a lid. Because the lid the pot came with wasn’t oven-proof, I used a glass dish of a similar size instead. See, there is space for improvisation! Lid on, and into the oven for 20 minutes.

I liked the transparent lid because it allowed me to see how the bread expanded. It didn’t grow too much this time, because the surface was torn, but it was still decent.

I lowered the temperature to 200 Celsius and the bread would spend ten more minutes in the pot firming up, and then 10 more on the rack, developing a uniform crust. The corners of parchment paper made it easy to fish the bread out!

Did I make any mistakes with such bread? Oh yes. Does my intuitive method make experienced bakers cringe? Maybe. Did it yield good bread nonetheless? Absolutely!

A story as long as this has got to have some life lesson in there, right? To me this lesson is that sourdough baking is no rocket science. At least it doesn’t need to be right from the start. Of course scrapers, banettons, proofing cabinets, dough thermometers, oven stones, home mills and other contraptions will have their effect, but they aren’t indispensable. Flour, water, salt and passion is pretty much all it takes to get you started. I didn’t even have the patience to follow advice, and I still stumbled across a good loaf. Who knows where you can get on your journey?

“Flour, water, salt and passion is pretty much all it takes to get you started”…those are exactly the words I keep using when I talk about my men (=starters) & breads
LikeLike
😀 There are quite a few parallels between men and bread, I’d say!
LikeLike
hahaha, yes indeed Anna
LikeLike
Incredible journey to such greatness. What are the effects of freshly milled whole grain flours that you elude to?
LikeLike
Thank you for the love! Whole grain flour is trickier to work with, since it ferments much faster and is coarser, so you need to be gentle with the dough so as not to damage the structure. It just won’t stretch the way white flour does. Now freshly milled whole grain flour adds another layer of difficulty, taking the above-mentioned points to another level.
LikeLike