Let me start by saying that I’m not claiming this recipe got any blue ribbons or golden medals. All I’m saying is that this is the best pizza I have ever made or eaten, and I have eaten a lot of pizzas. It is paper-thin, yet not soggy; crisp on the outside, chewy on the inside and gloriously golden and bubbly.
This is a very simple, straightforward recipe, but there are also a few tricks to it I will point out what’s essential and let you play with the rest. Let’s begin, shall we?
Levain
You will need 200g of liquid levain at 100% hydration. I’ll tell you how I make mine, but you do you. As long as your weights are the same and you use glutinous flour – you’ll get there. Here’s how I make mine:
- 85g water
- 85g flour (I used half unbleached bread flour and half stoneground)
- 30g mother sourdough*
*My sourdough is rye, and if you’ve read about it in my other posts, you’ll now it’s super potent. If you’re using white flour levain, you might want to increase that to 40g. Mix it all and let it grow for anything between 5 and 8 hours.
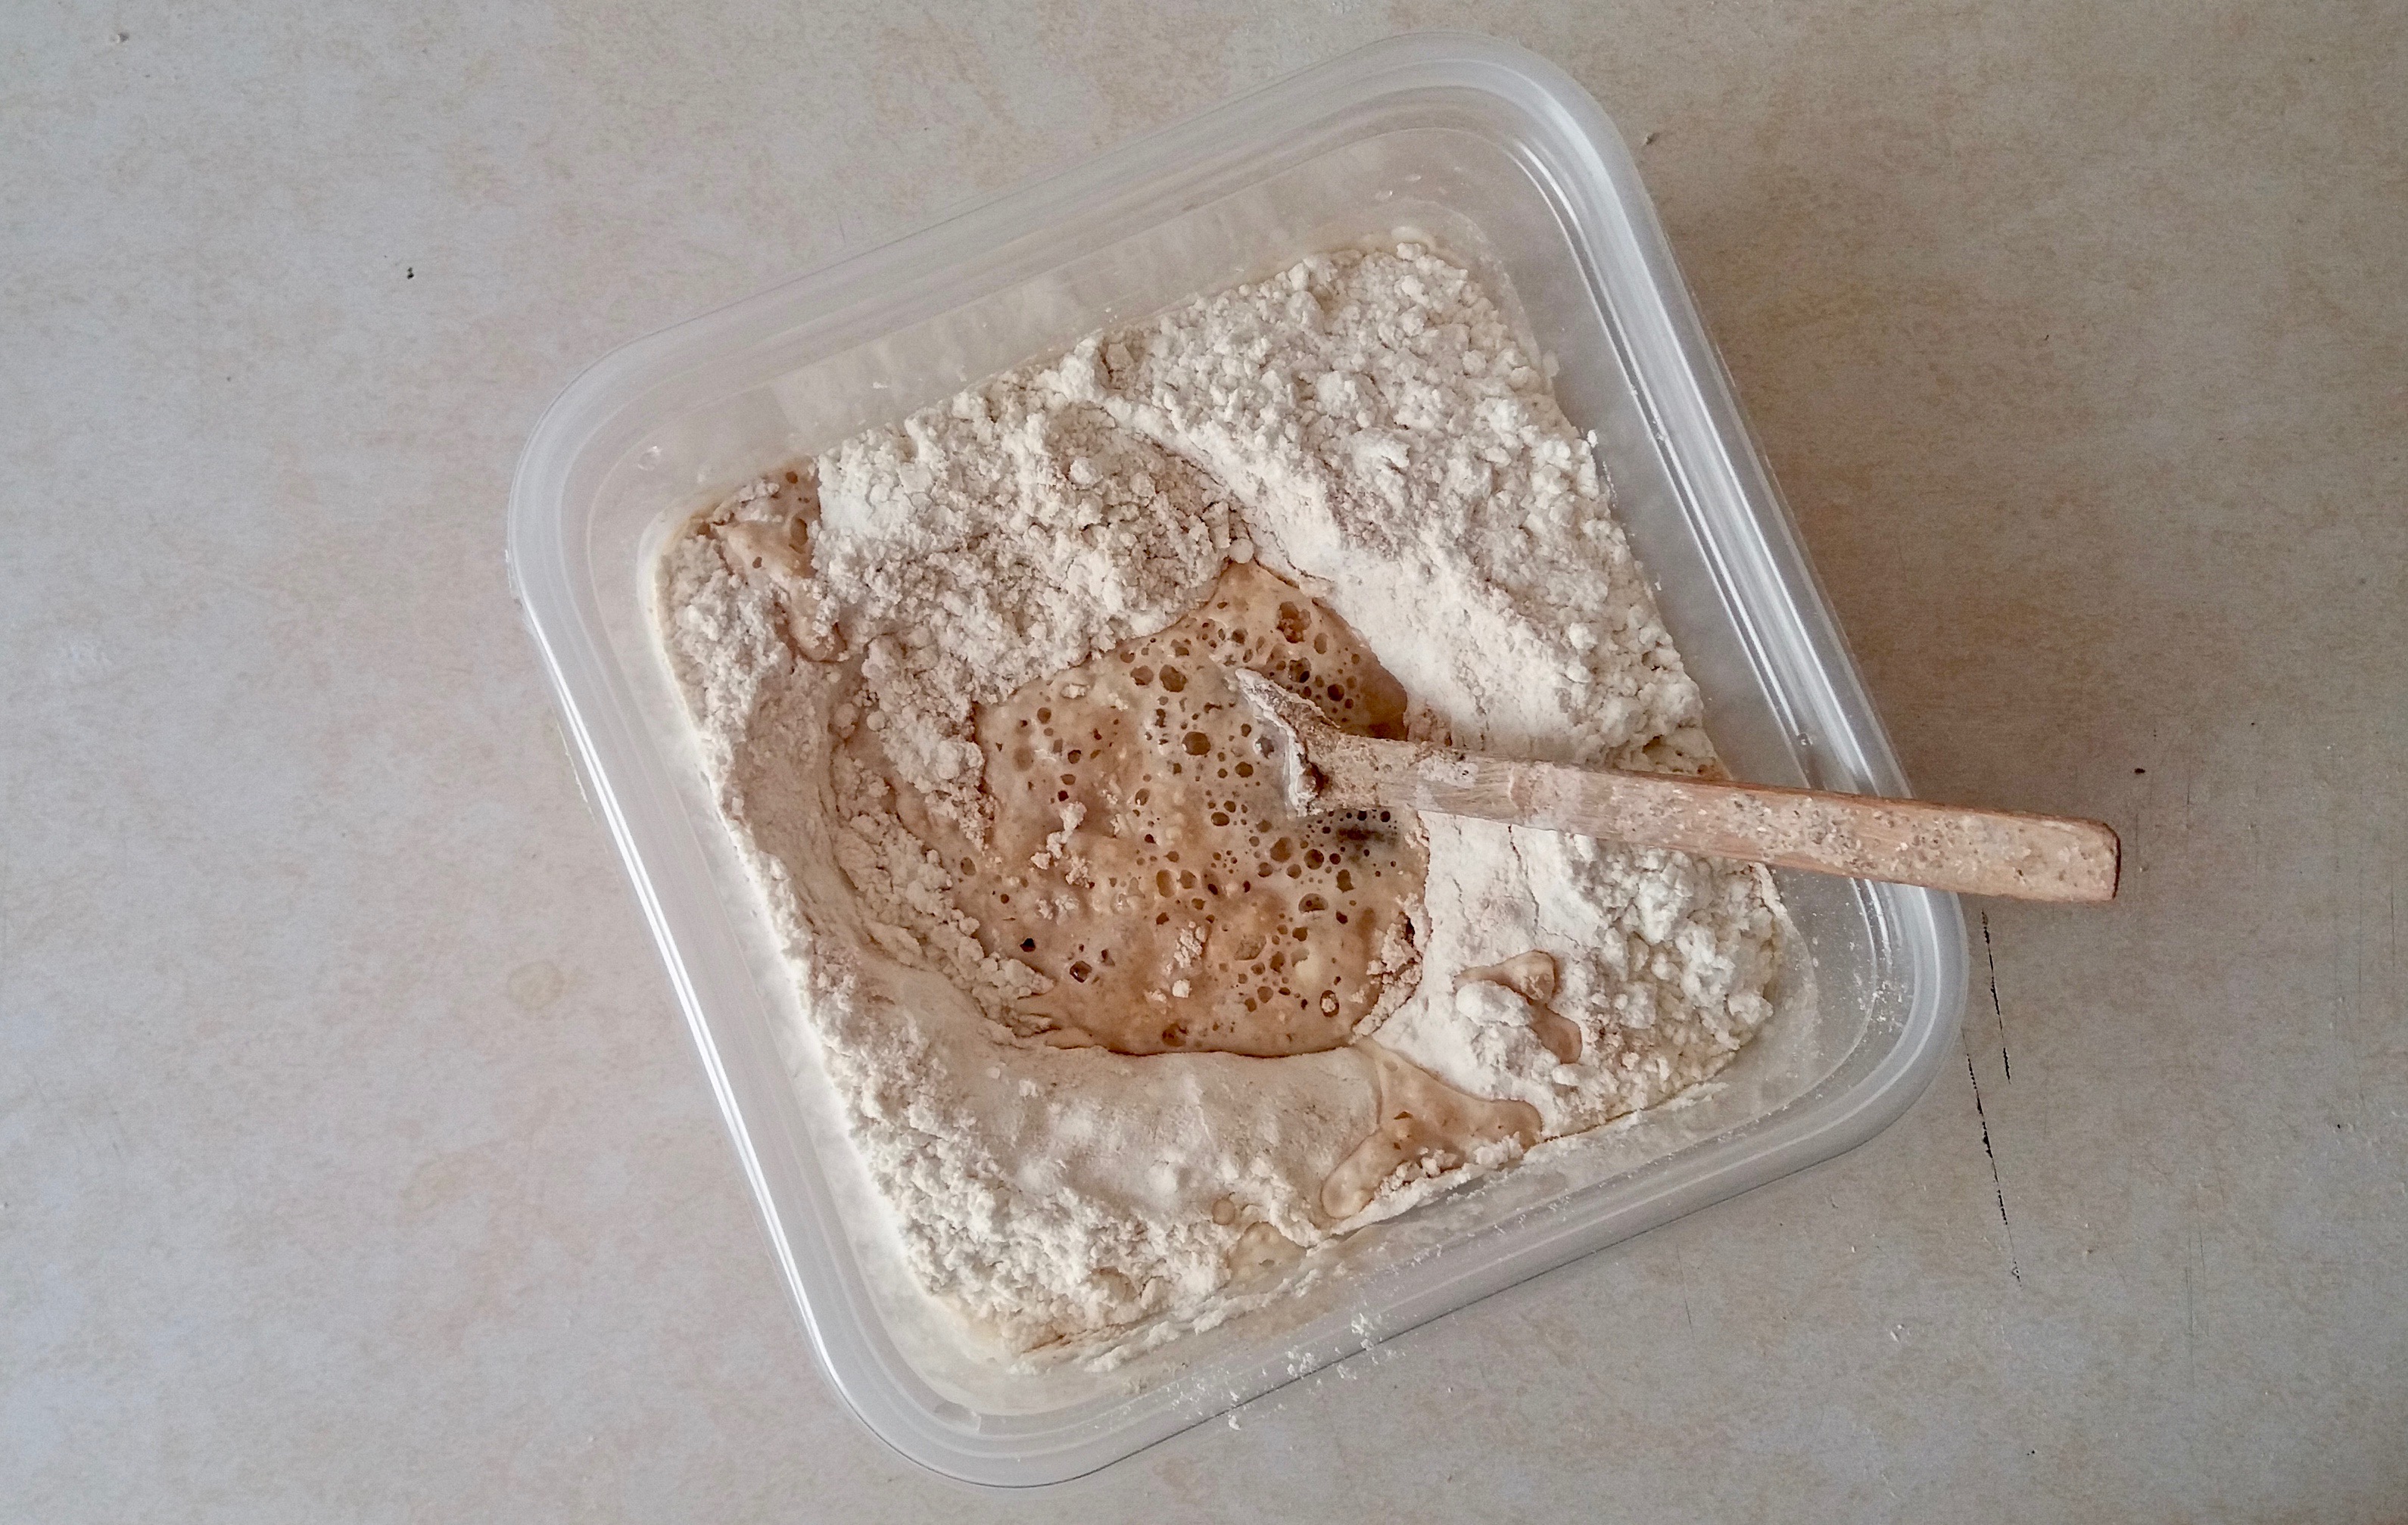
As soon as your levain is bubbly enough and at least doubled in volume – you’re good to go. Your dough will stay in the fridge for anything in between 24 and 72 hours, building up flavor, so you might want to use the levain as young as you can to avoid too much acidity.
Dough build
We will be making dough for six pizzas (barely a dinner for two, I know), and you will find that the process is very much like your regular bread. Here’s what you’ll need:
- 650g bread flour*
- 430g water + 30g
- 200g levain
- 15g salt
- 20g olive oil
*You can play with your flours, but do it at your own risk and let me know how that goes. It is important that the dough doesn’t overferment in the fridge and that it stretches well, so be careful with too much wholegrain. But you can still try it and share with me.
Mix the flour, levain and 430g water into a shaggy mass. As soon as you don’t see any streaks of dry flour – you’re done!

Cover the bowl and leave it for 30 minutes. After that time has passed, dissolve your salt in the remaining 30g of water. This is important! If you just sprinkle the salt on top, it will not dissolve properly once you add the oil and you will end up with hard knots of salty dough that are tricky to get rid of.
Pour the dissolved salt and mix it into the dough with your fingers. Then add the olive oil and mix again. Do not just pour these in one go. Saving 2 minutes is not worth it.
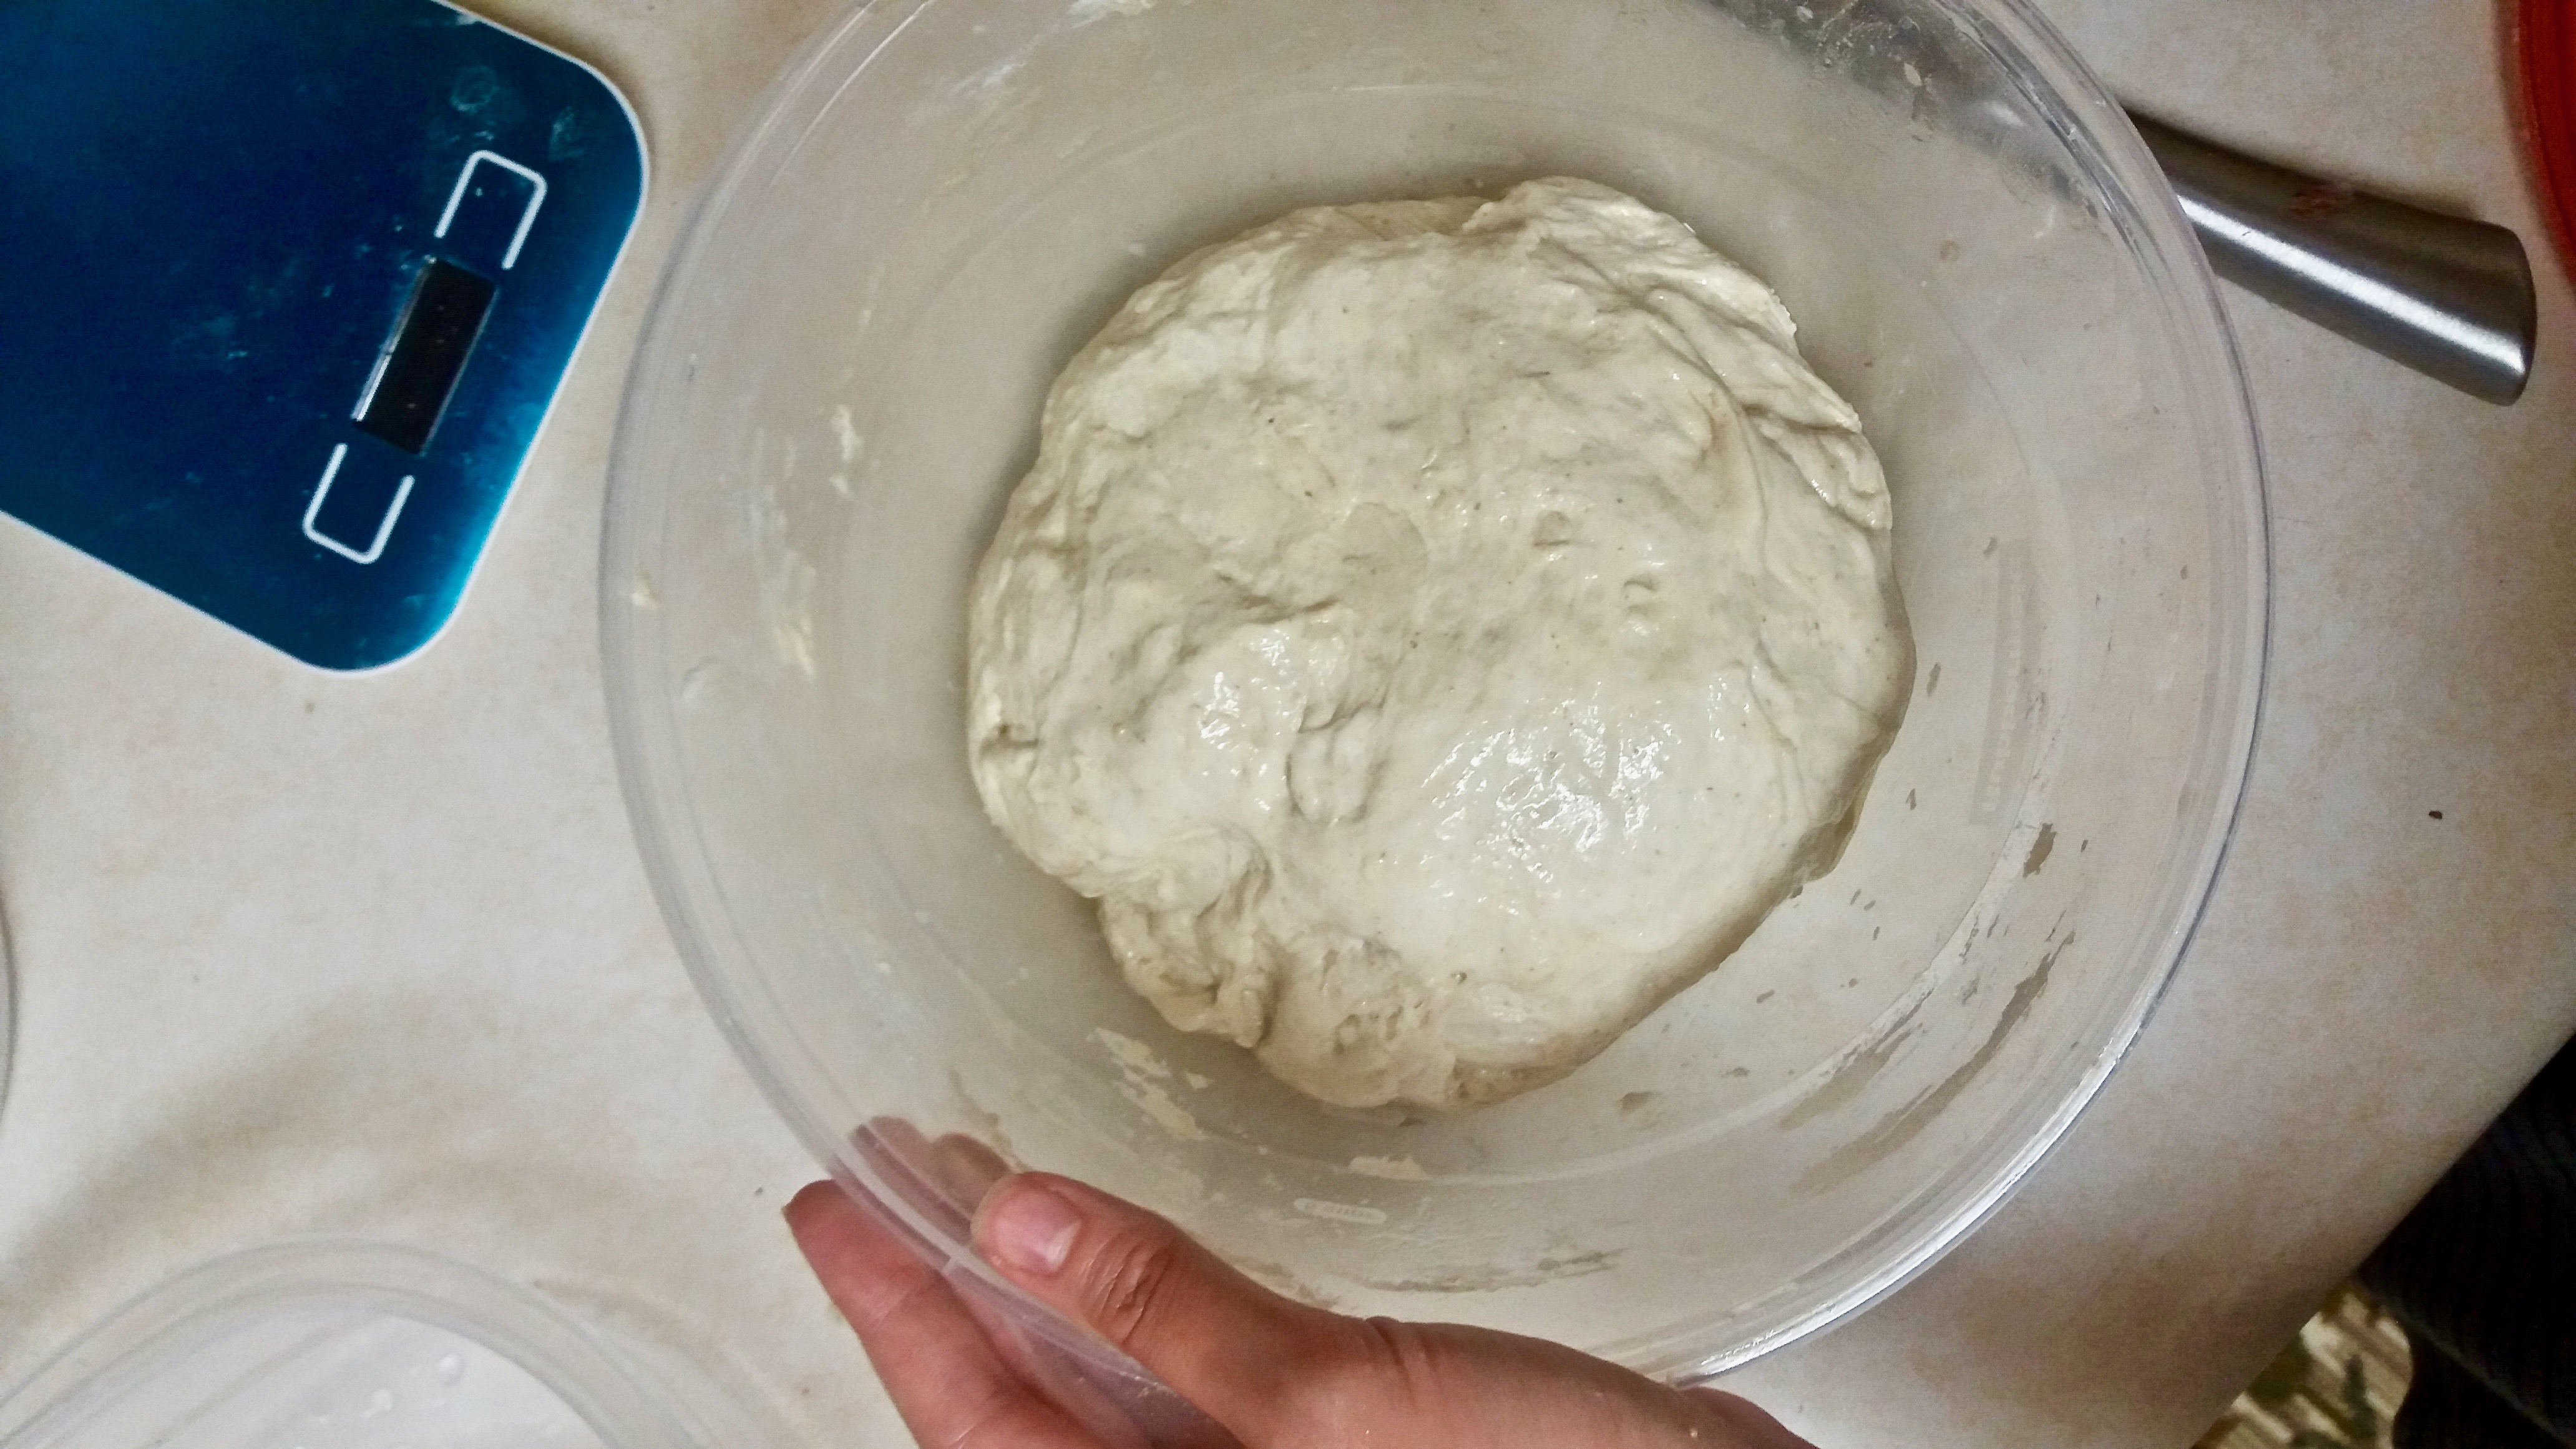
Now your dough is all smooth and pretty. Because of the oil in it you do not need to worry about transferring it to a clean bowl as it will not stick. You know the drill from here – 4 sets of stretch-and-fold every 30 minutes and then 1-2 more hours to bulk up.
Shaping
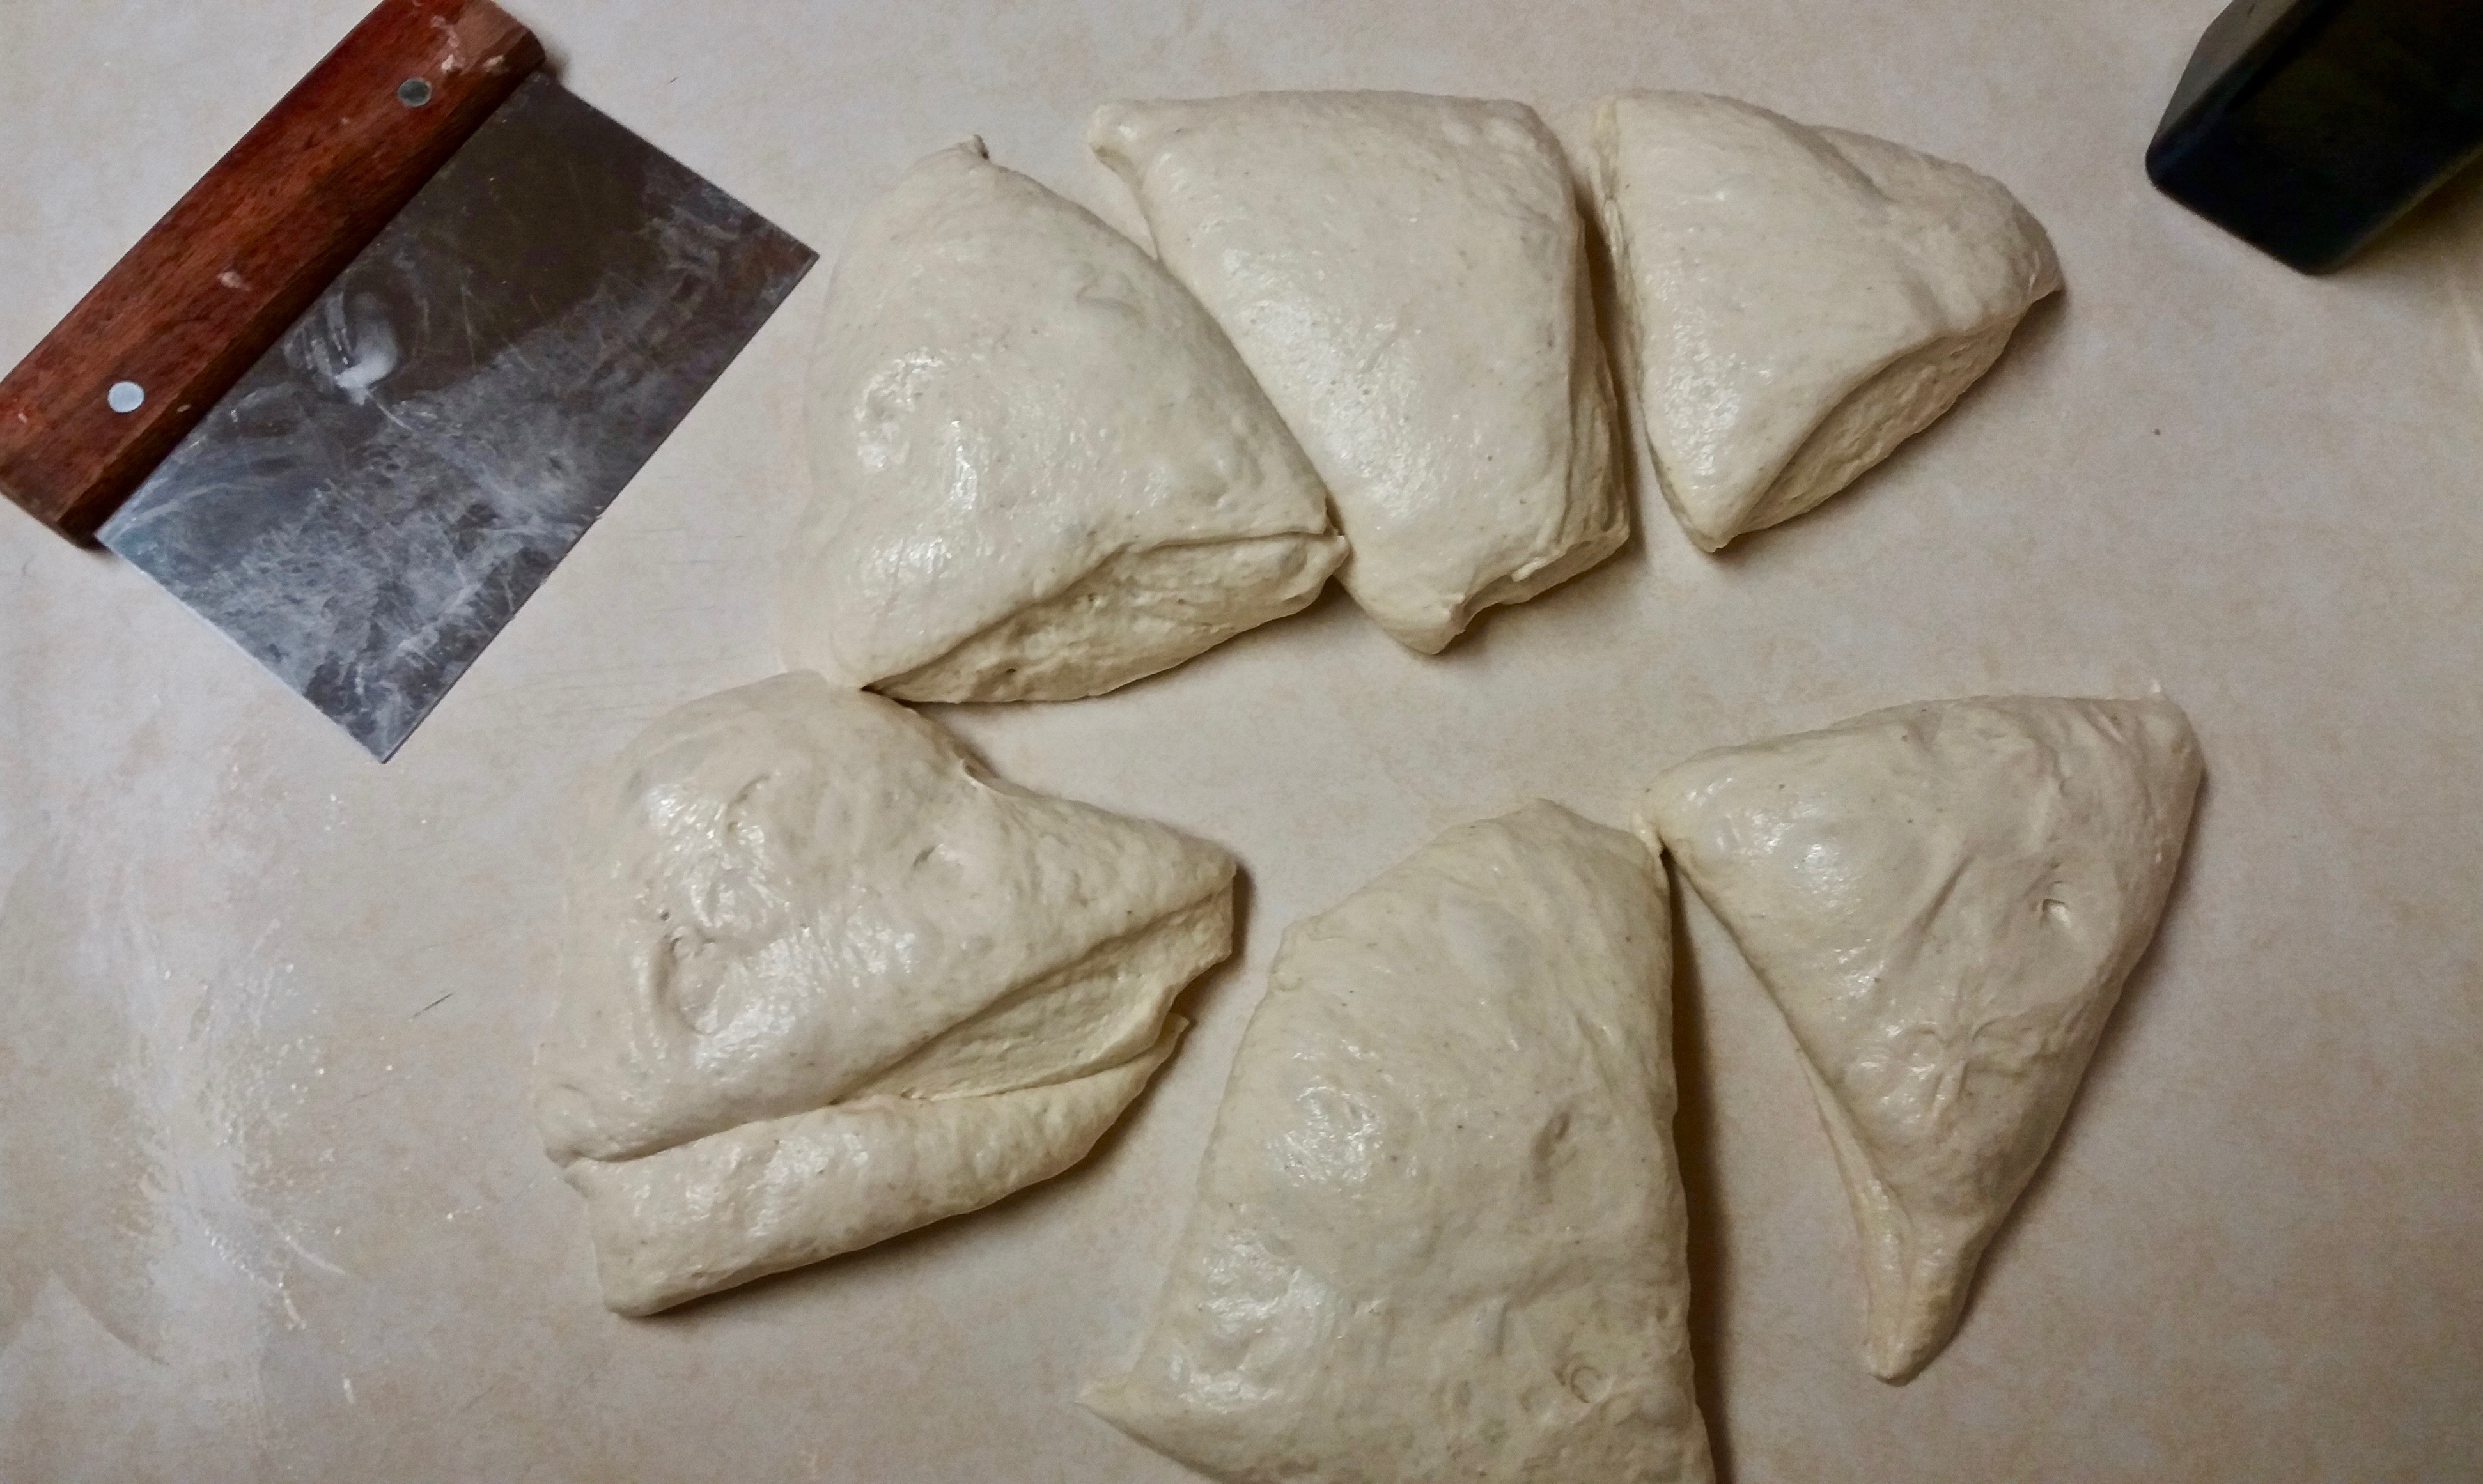
When your dough is ready for you it will be nicely puffed and bubbly. Take six small bowls or cups and lightly coat them with olive oil up to the rim to allow for dough expansion. Spread some olive oil on your working surface, greasing your hands while you’re at it! Upturn the dough, divide it into six parts and shape them much like you would shape bread boules. No need for bench rest or pre-shape.
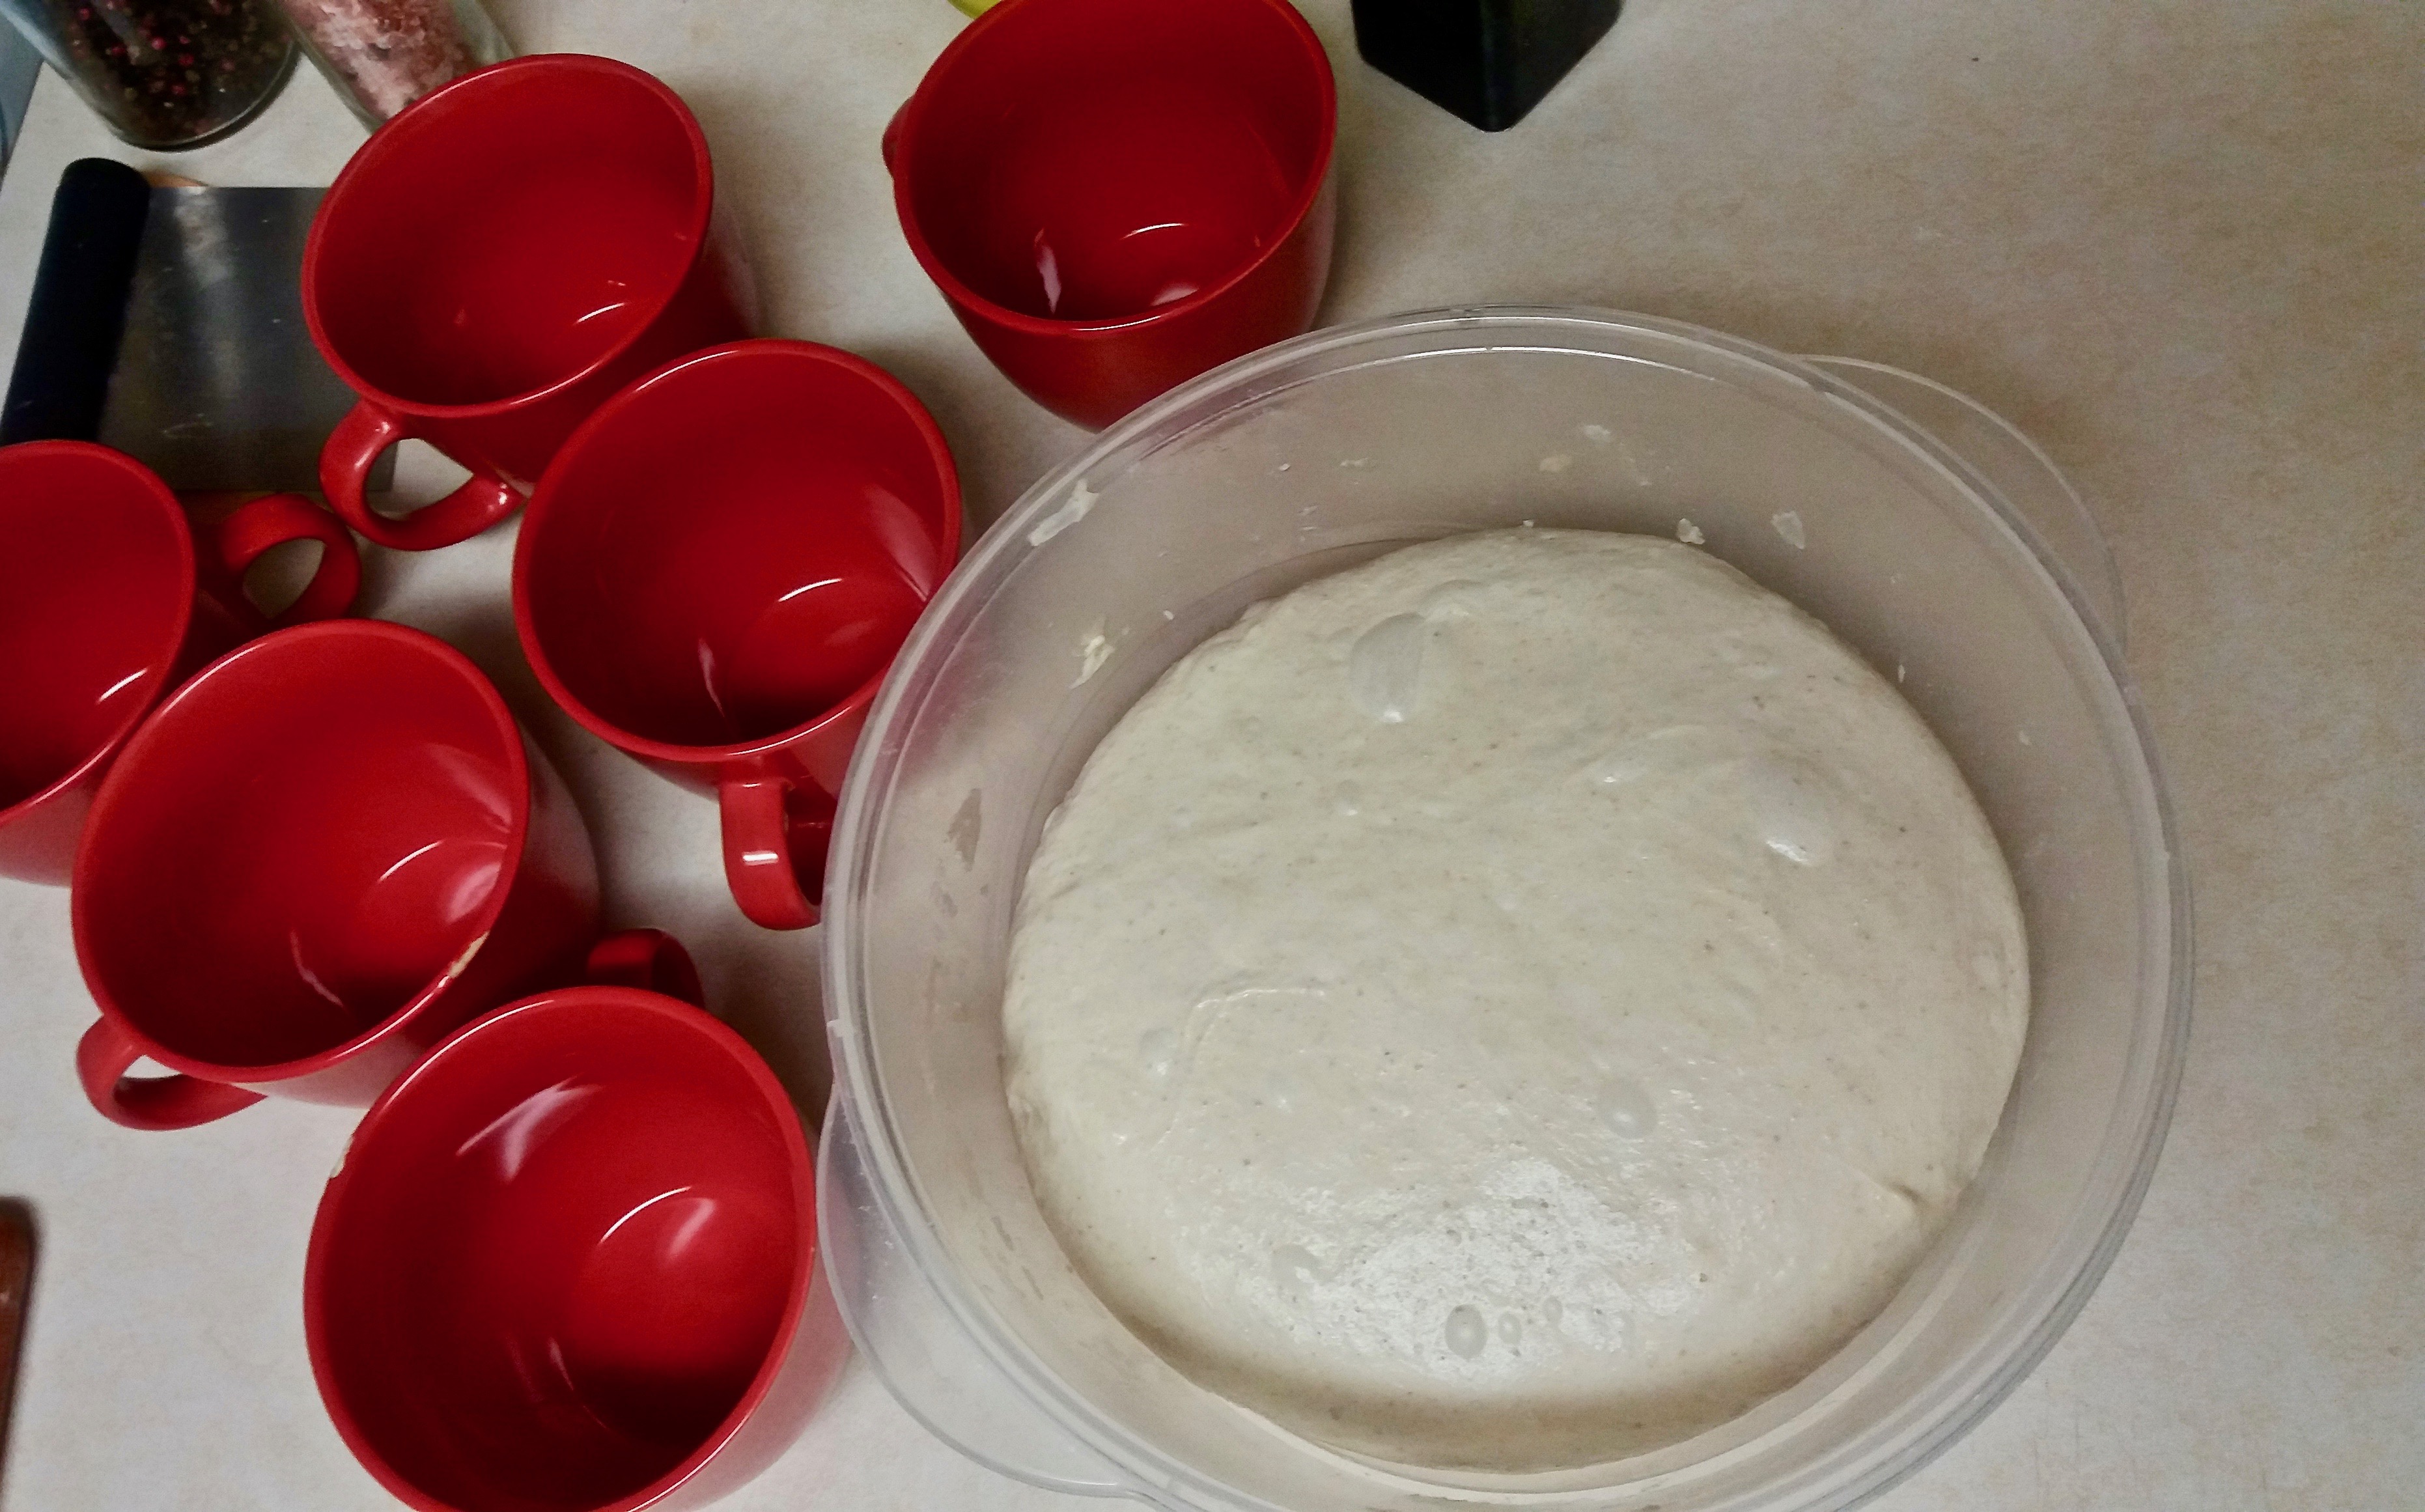

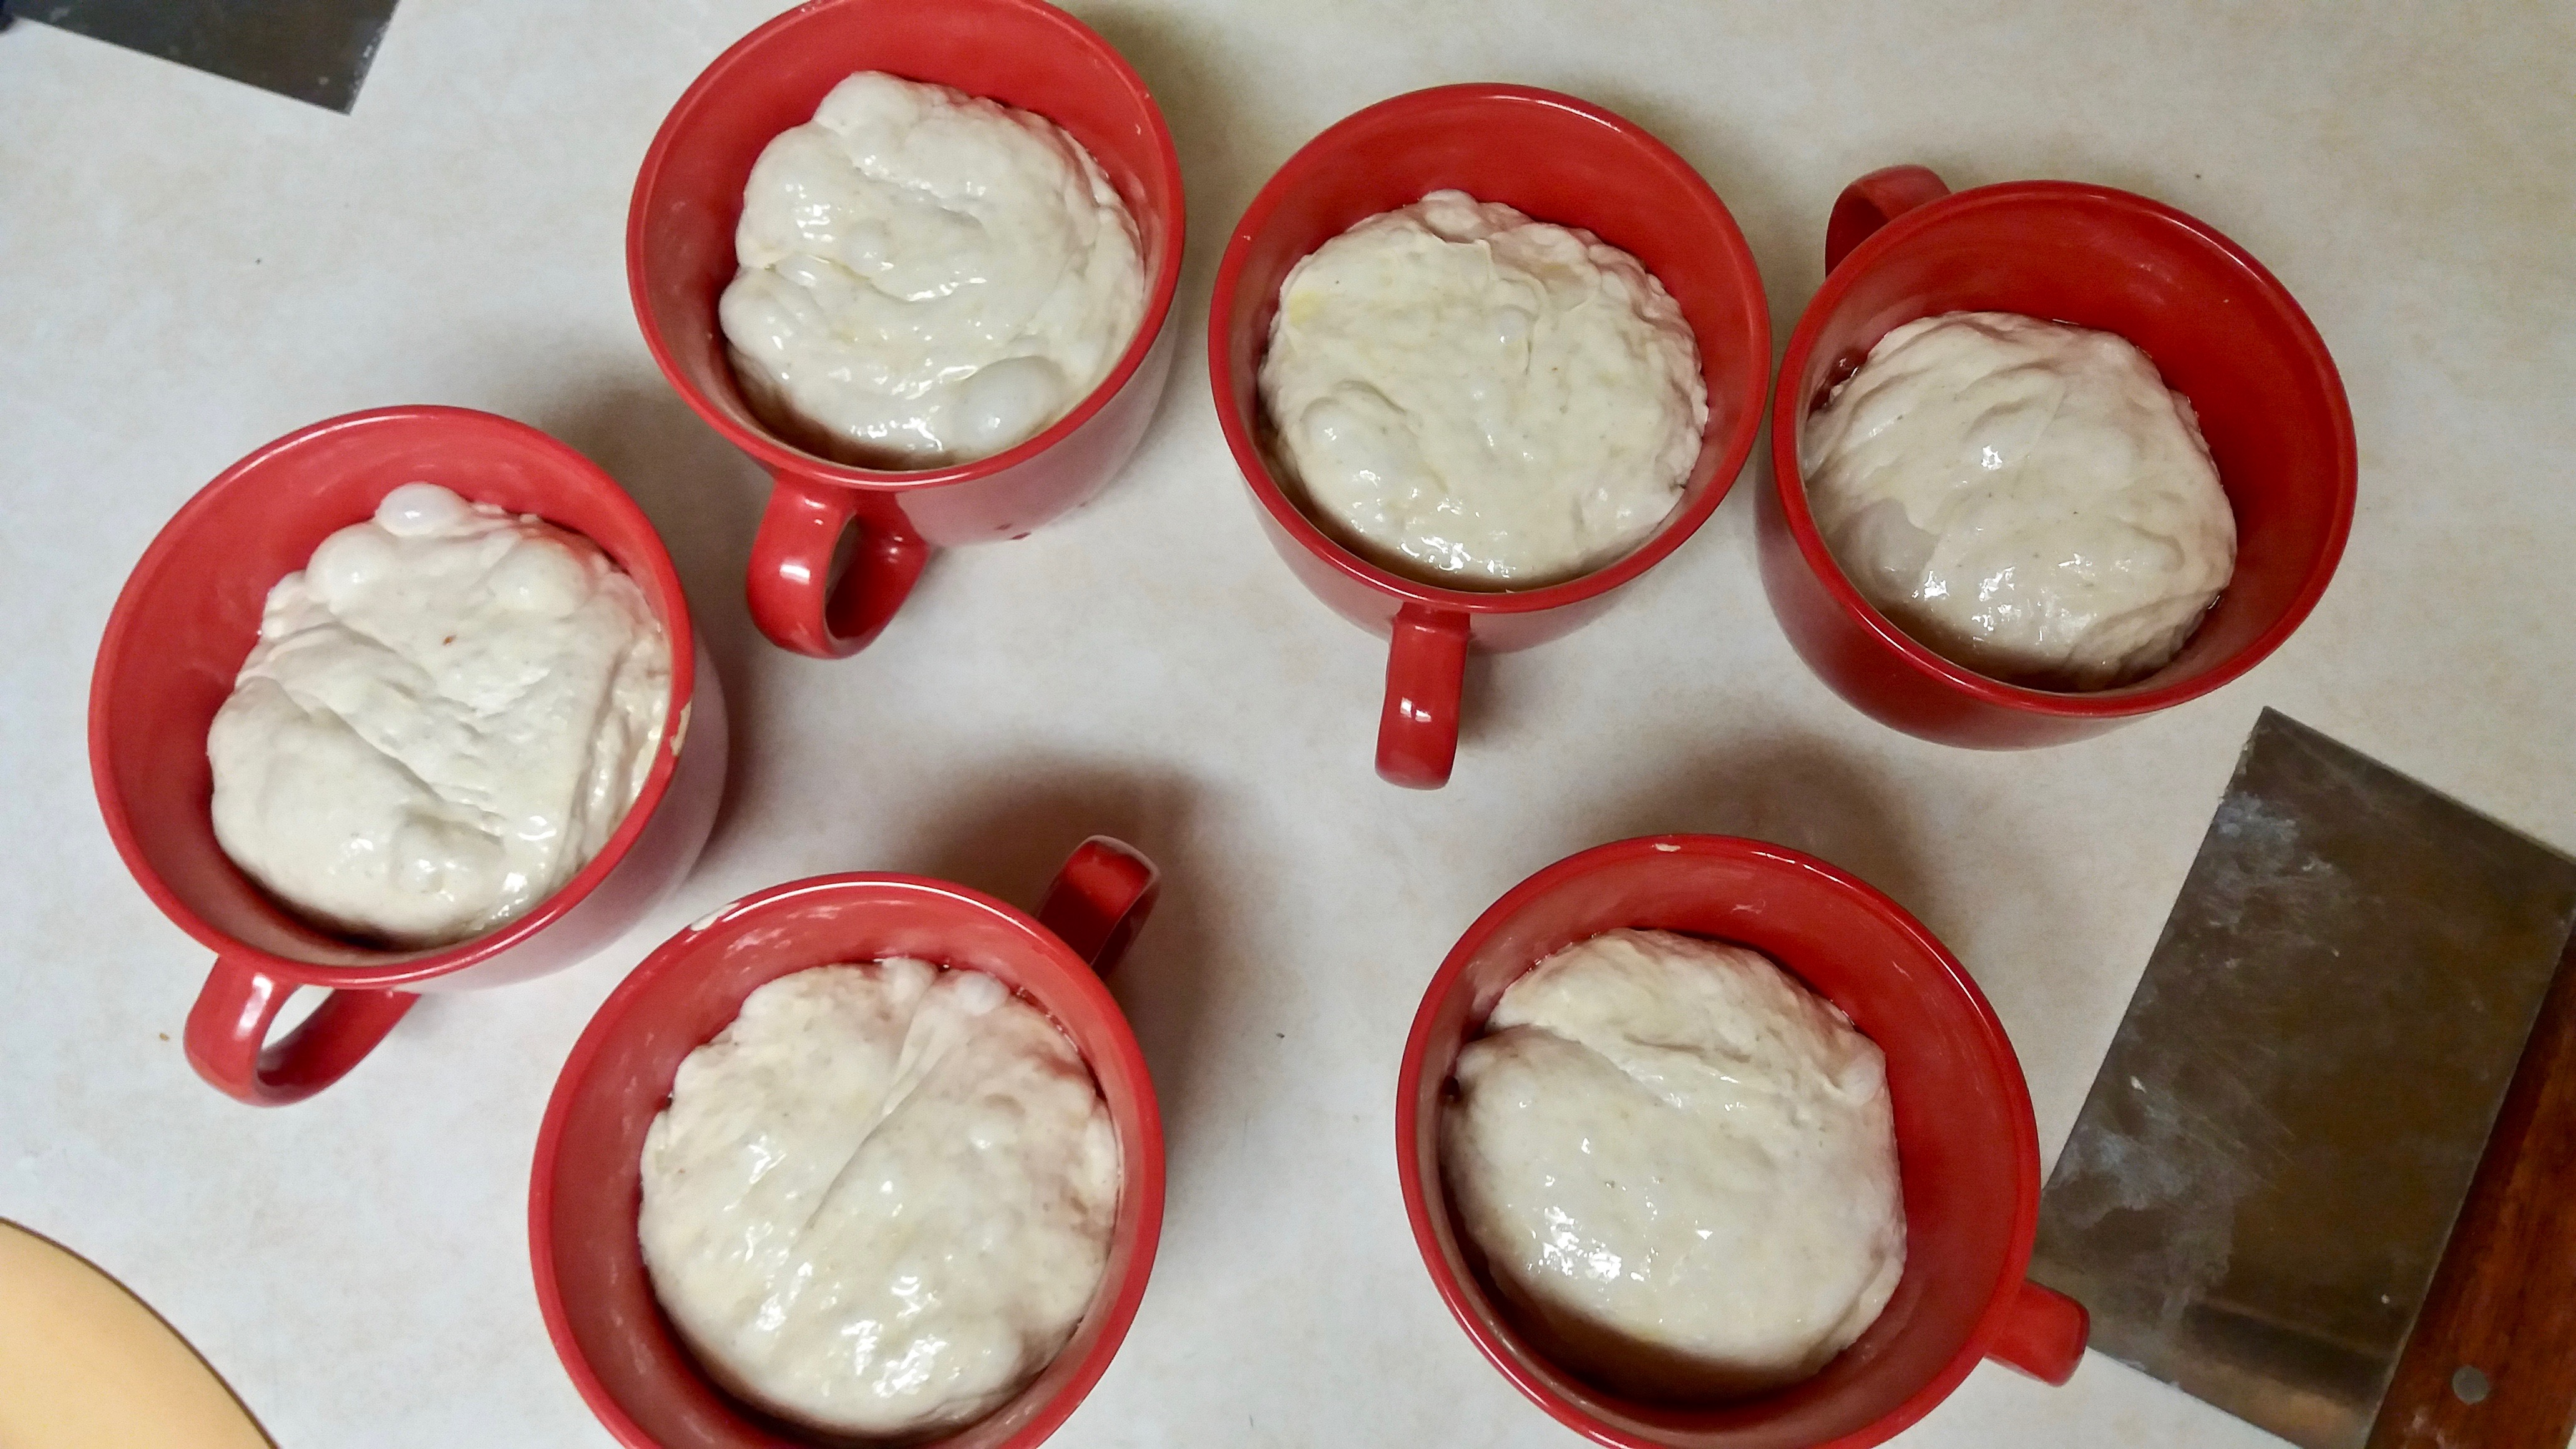
Place the dough balls into your bowls, brush them with a drop of oil and cover with plastic or beeswax wrap so they don’t dry out. Put your containers into the fridge for a minimum of 24 and up to 72 hours. The longer the proof – the more flavorful and stretchier the dough. I like to keep it for at least 48 hours. That’s a long time to wait for pizza!
Heat
Now for the fun and the most responsible part. The key for your perfect pizza is heat – all the heat you can get!
I highly recommend baking on a pizza steel or pizza stone if you make bread or pizza at least once a month. If you don’t feel comfortable forking out $80 on a stone (because who does?) I recommend checking out stores like Marshall’s or Home Goods for marble pastry boards. I got mine for $10! take off the little rubber feet and you’re good to go! The color of their stone will change a little and you might get a minor crack or two, but hey! It’s 10 bucks!
Where were we? Oh yes, heat! Heat the oven with your stone in it at the highest temperature possible (500F/260C in my case) for at least an hour. If you don’t have a stone you can use a regular baking tray upturned, but don’t expect to have your mind blown in this case. Without a stone 30 minutes is enough to heat the oven.
Sauce
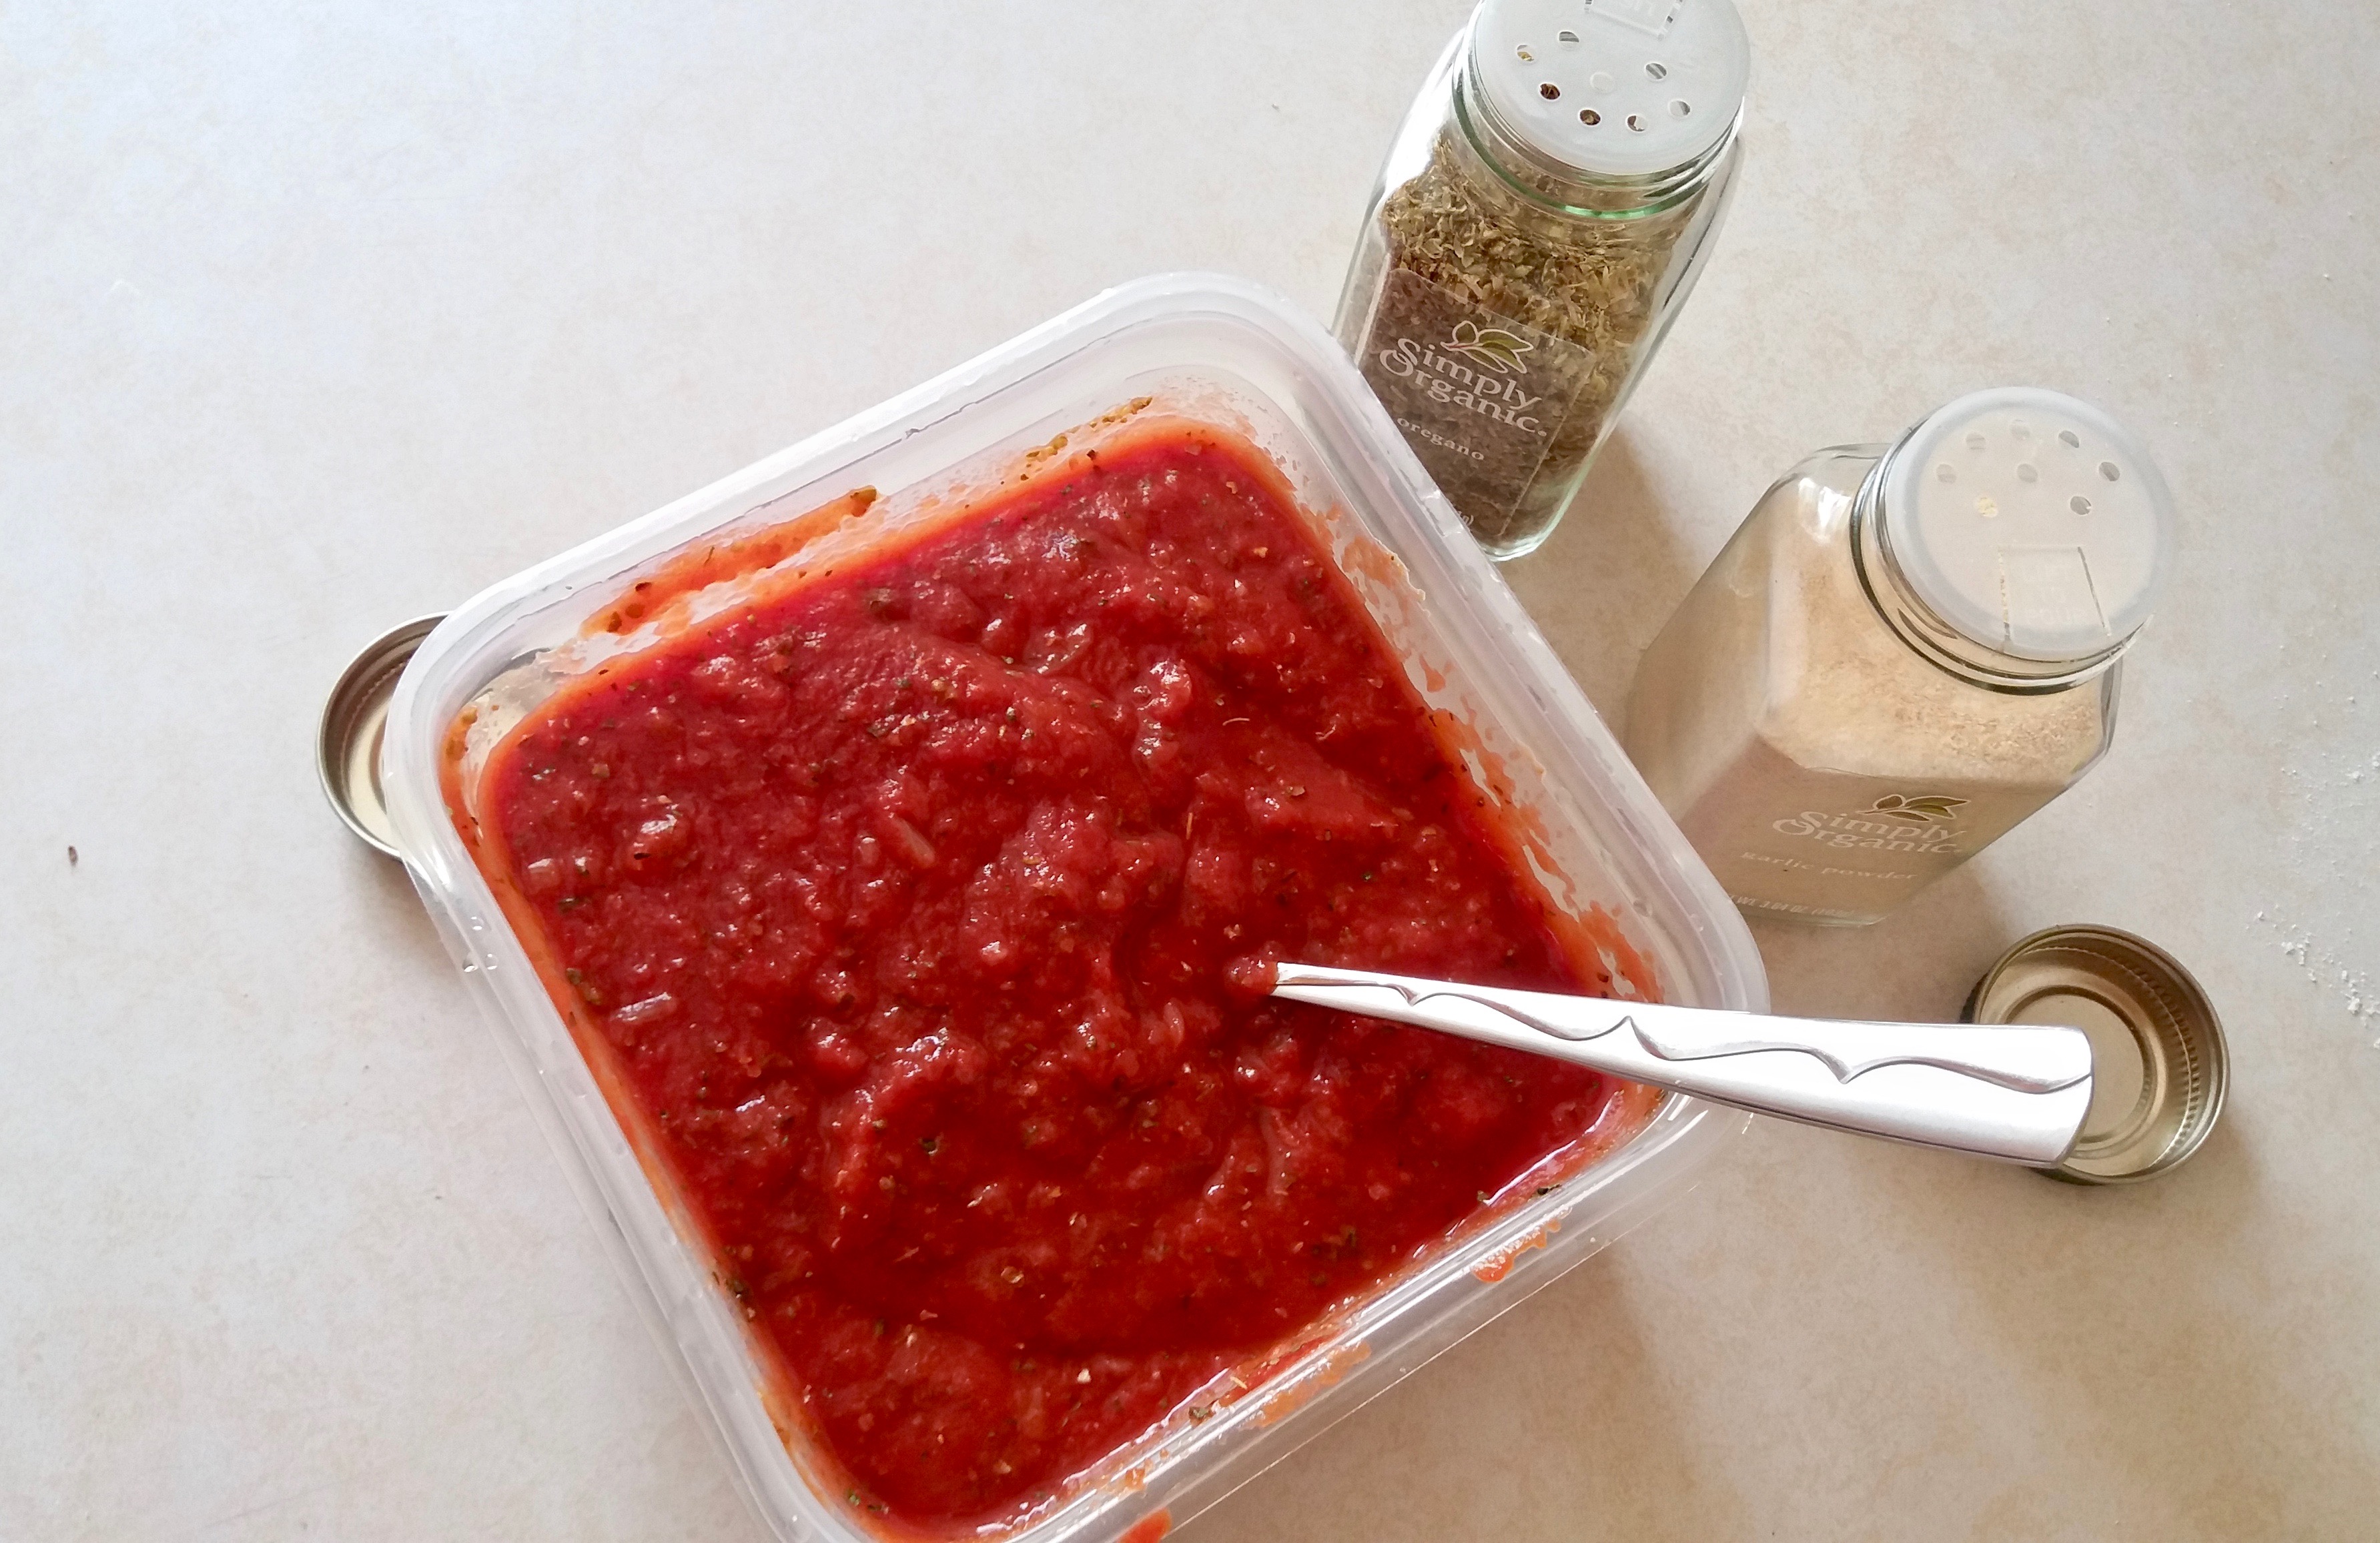
Good pizza needs good sauce and everyone has their own definition of what that is. My perfect sauce has texture without being chunky and flavor without being sour. And I really appreciate it if I can get away with minimal prep. This recipe makes enough sauce for 12 pizzas so you can store leftovers in the fridge for your pizza night next Friday, or use it as pasta sauce. Here’s what you’ll need:
- 28oz/800g tomato puree
- 1 small onion
- 1.5 tbsp dried oregano
- 1.5 tbsp dried basil
- 2 tsp salt
- 1 tsp dried garlic
- 1 tsp sugar
The only cooking you have to do is peel, dice and caramelize the onion. I like to batch-cook onions and freeze them in small portions. That way when I want to make this sauce, or any other, I just thaw them right on the skillet. You can skip this step and substitute fried onion for a table spoon of onion powder, but the texture and flavor won’t be the same.
Once you have your onions sorted out mix all of the ingredients in a glorious sauce.
Shaping
This is my favorite part. Stretching pizza dough gives me anxiety every single time, but what wouldn’t I do for good food!
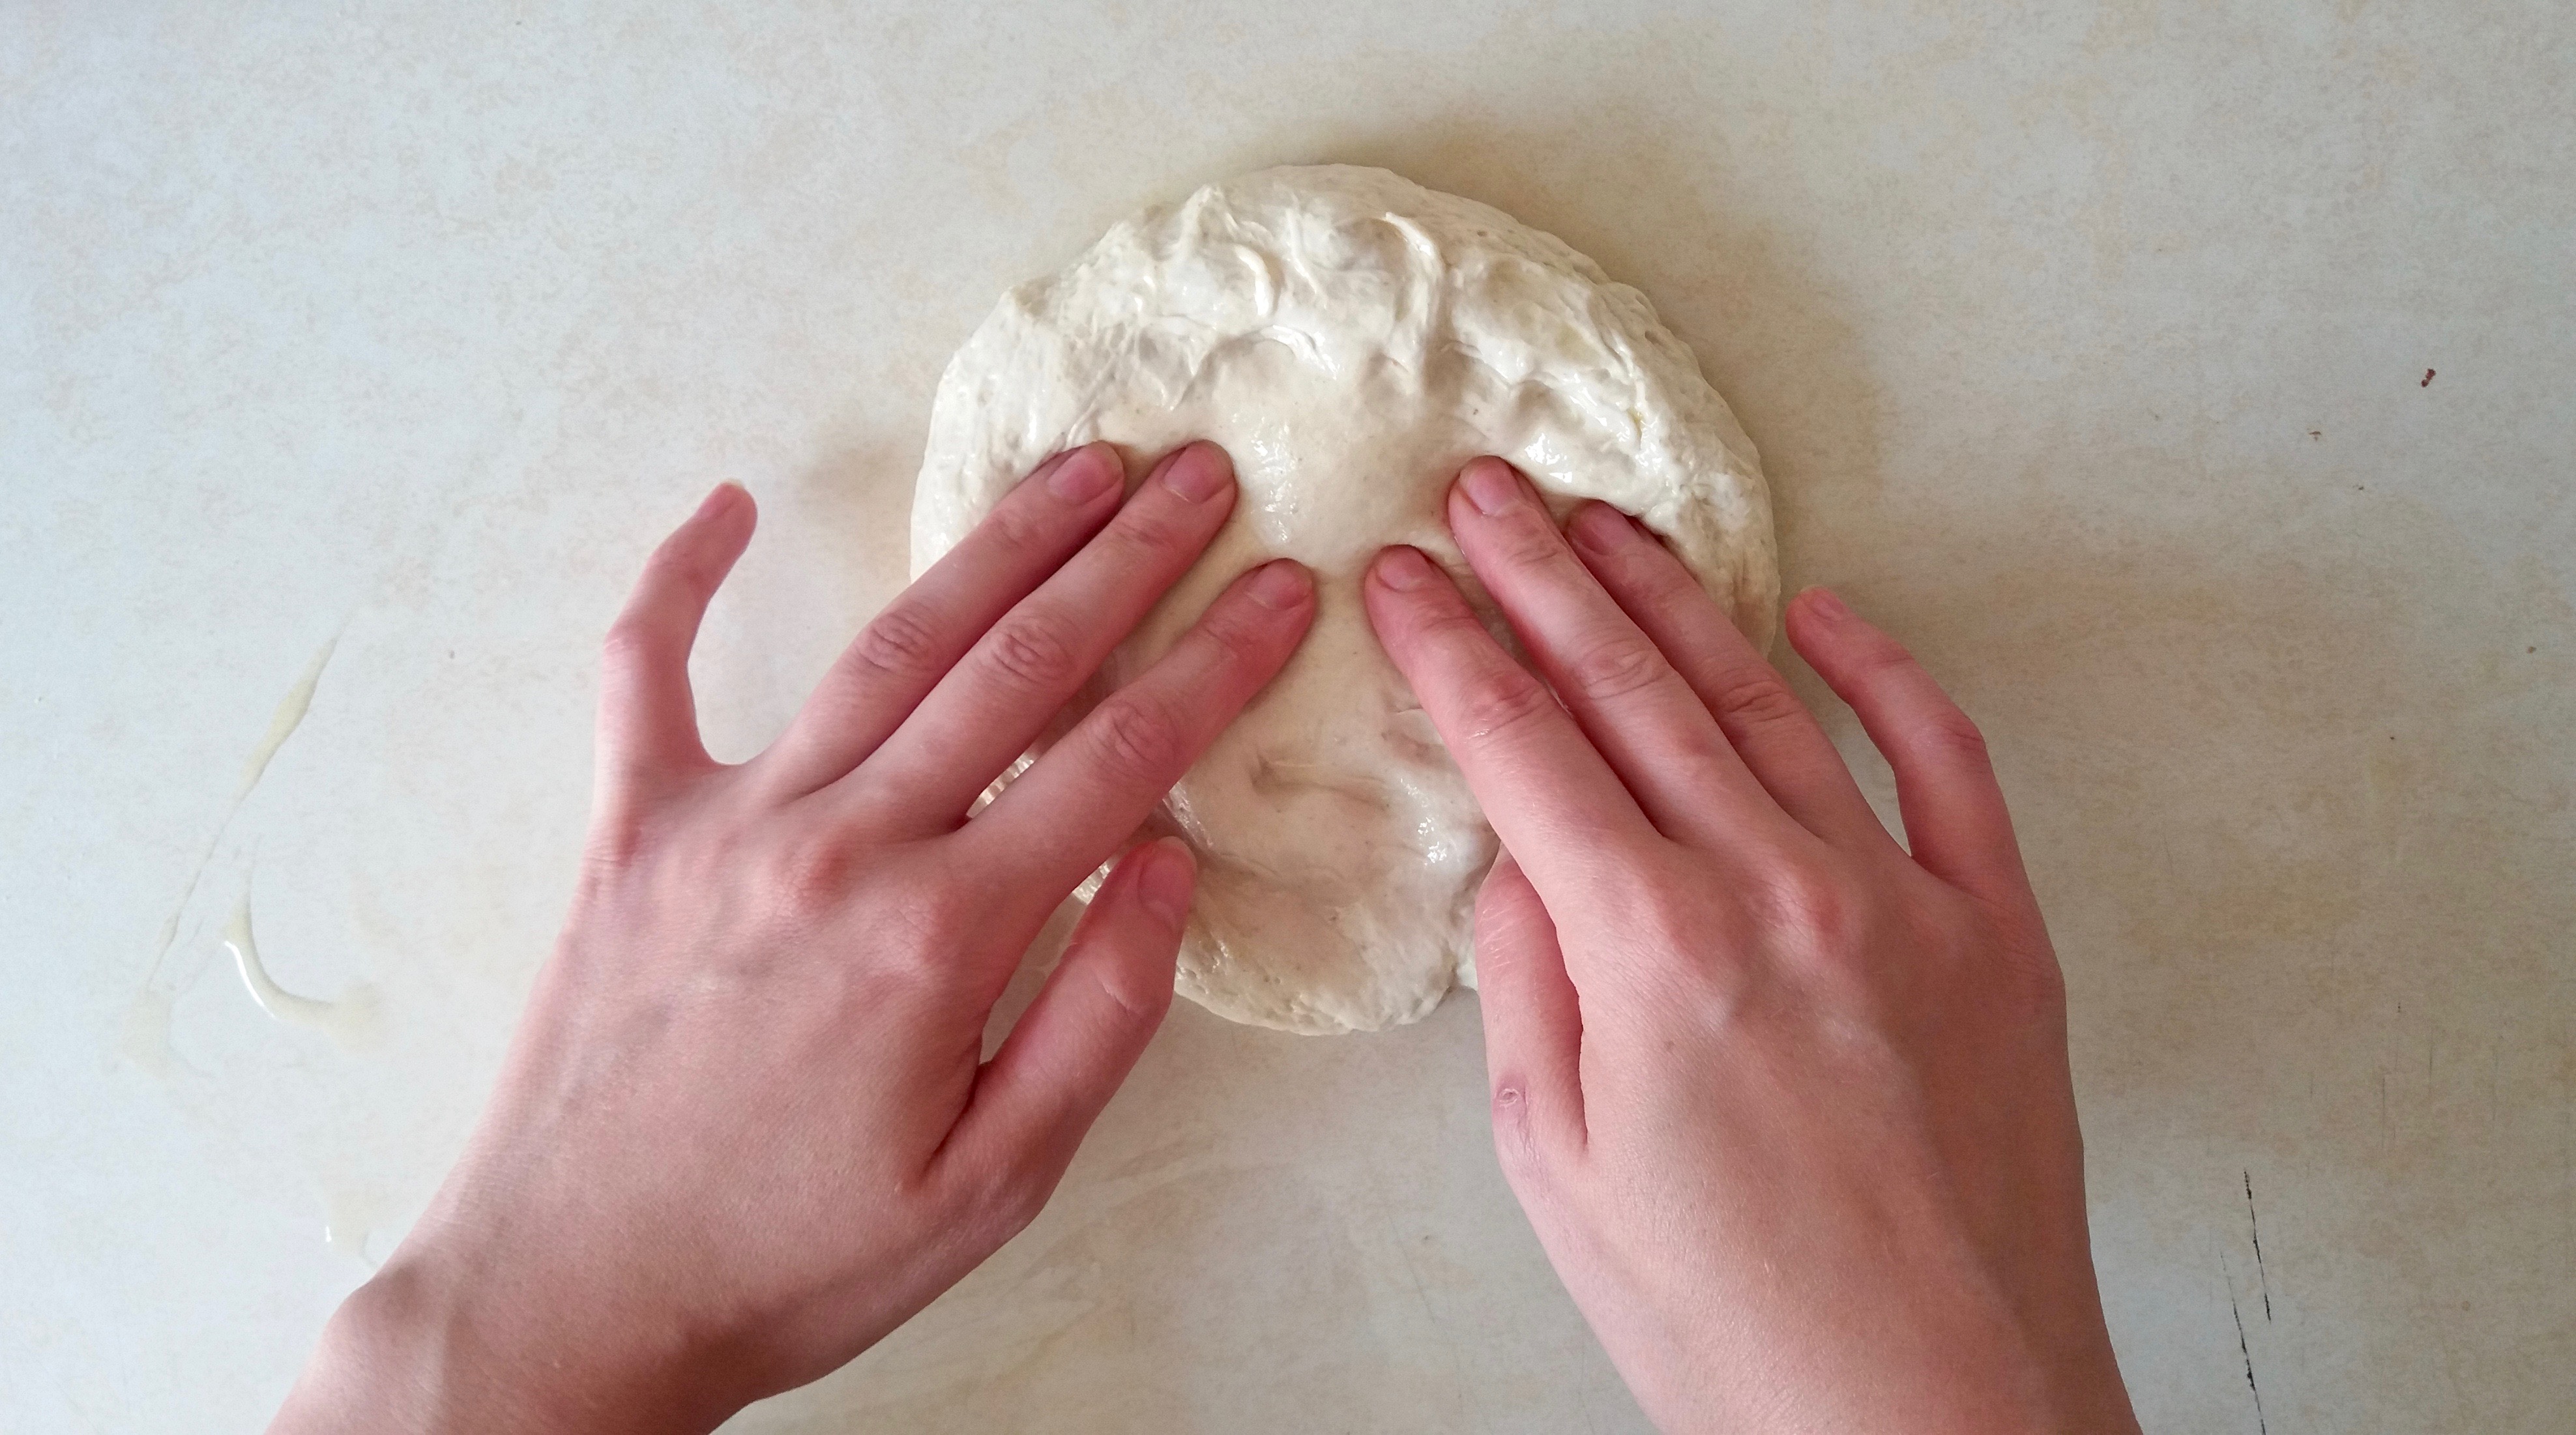
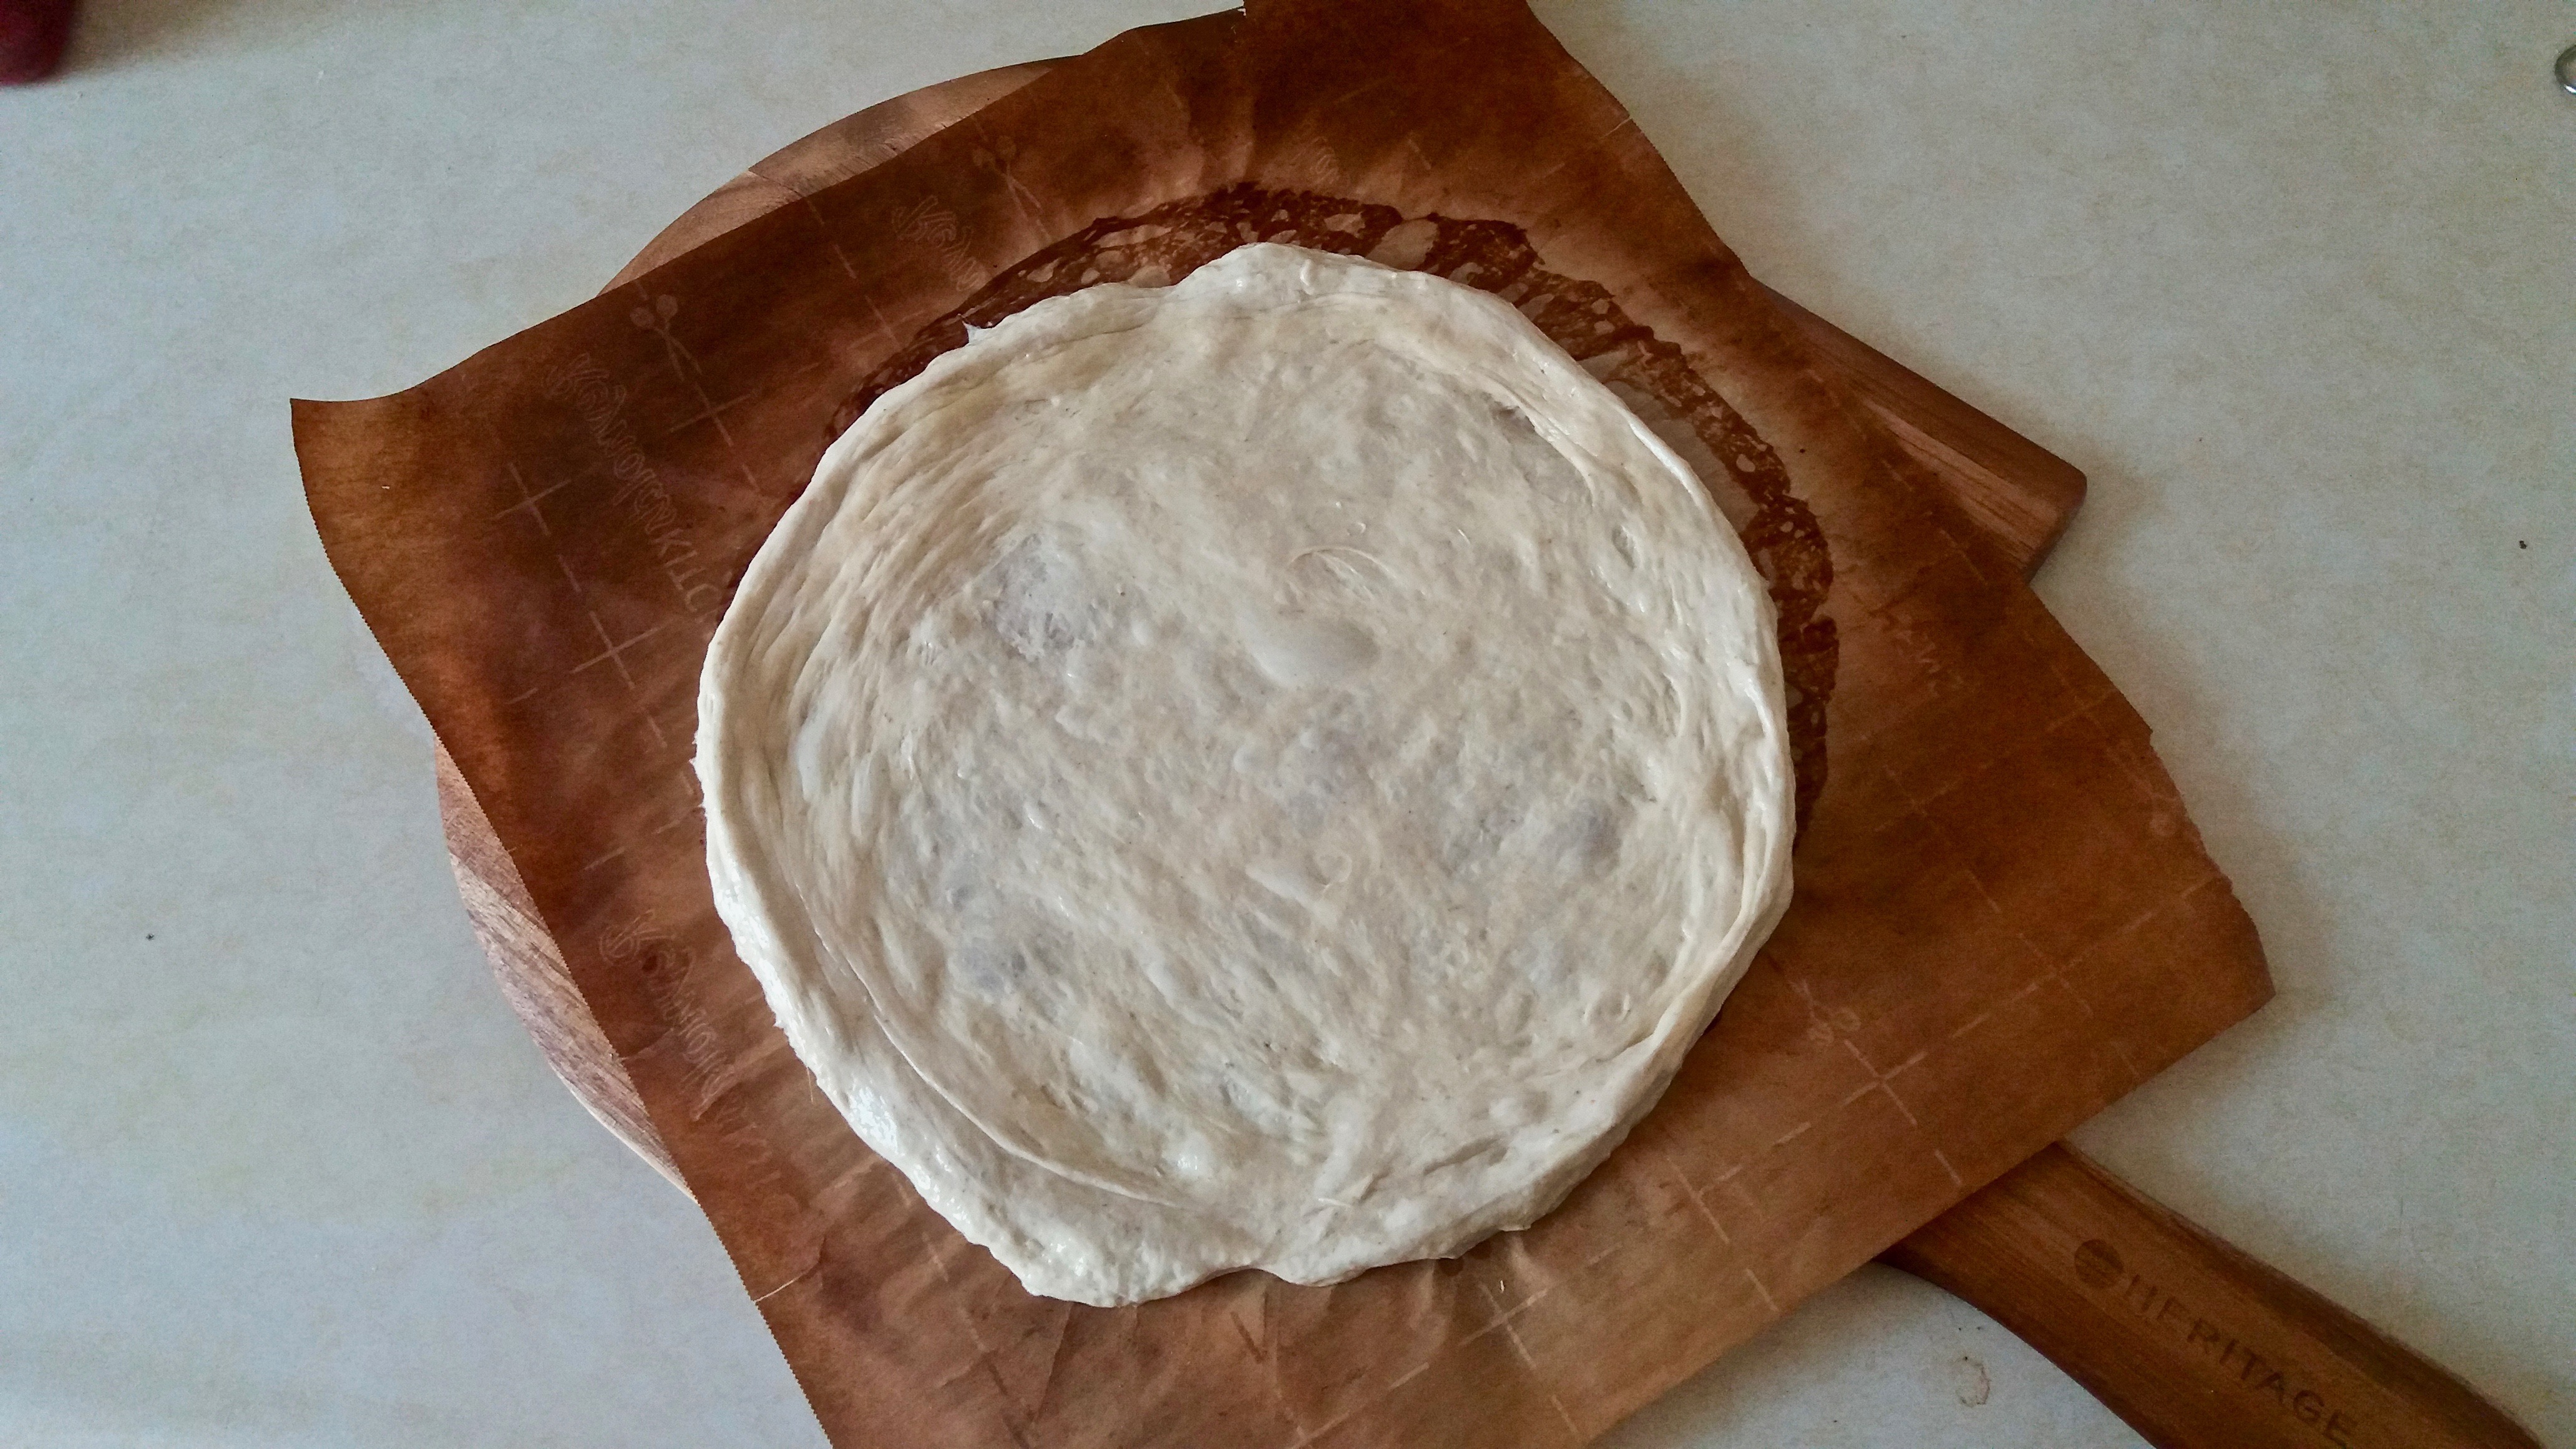
Brush your work surface with olive oil and put a ball of dough on it lightly pressing with your fingertips around to make it into a disk. Once the edges have formed, lift the dough disc and stretch it more with your fists. If the edges seem too thick you can stretch them with your fingers. Using strong bread flour really helps the dough stretch without tearing! Once the dough looks right put it on a piece of parchment and stretched out the edges, lifting them if needed. You can also watch a video on tossing dough but I’ll confess that they didn’t help me much. It’s all in the practice! You can try rolling it with the pin but the dough might fight back and it will end up being dense.

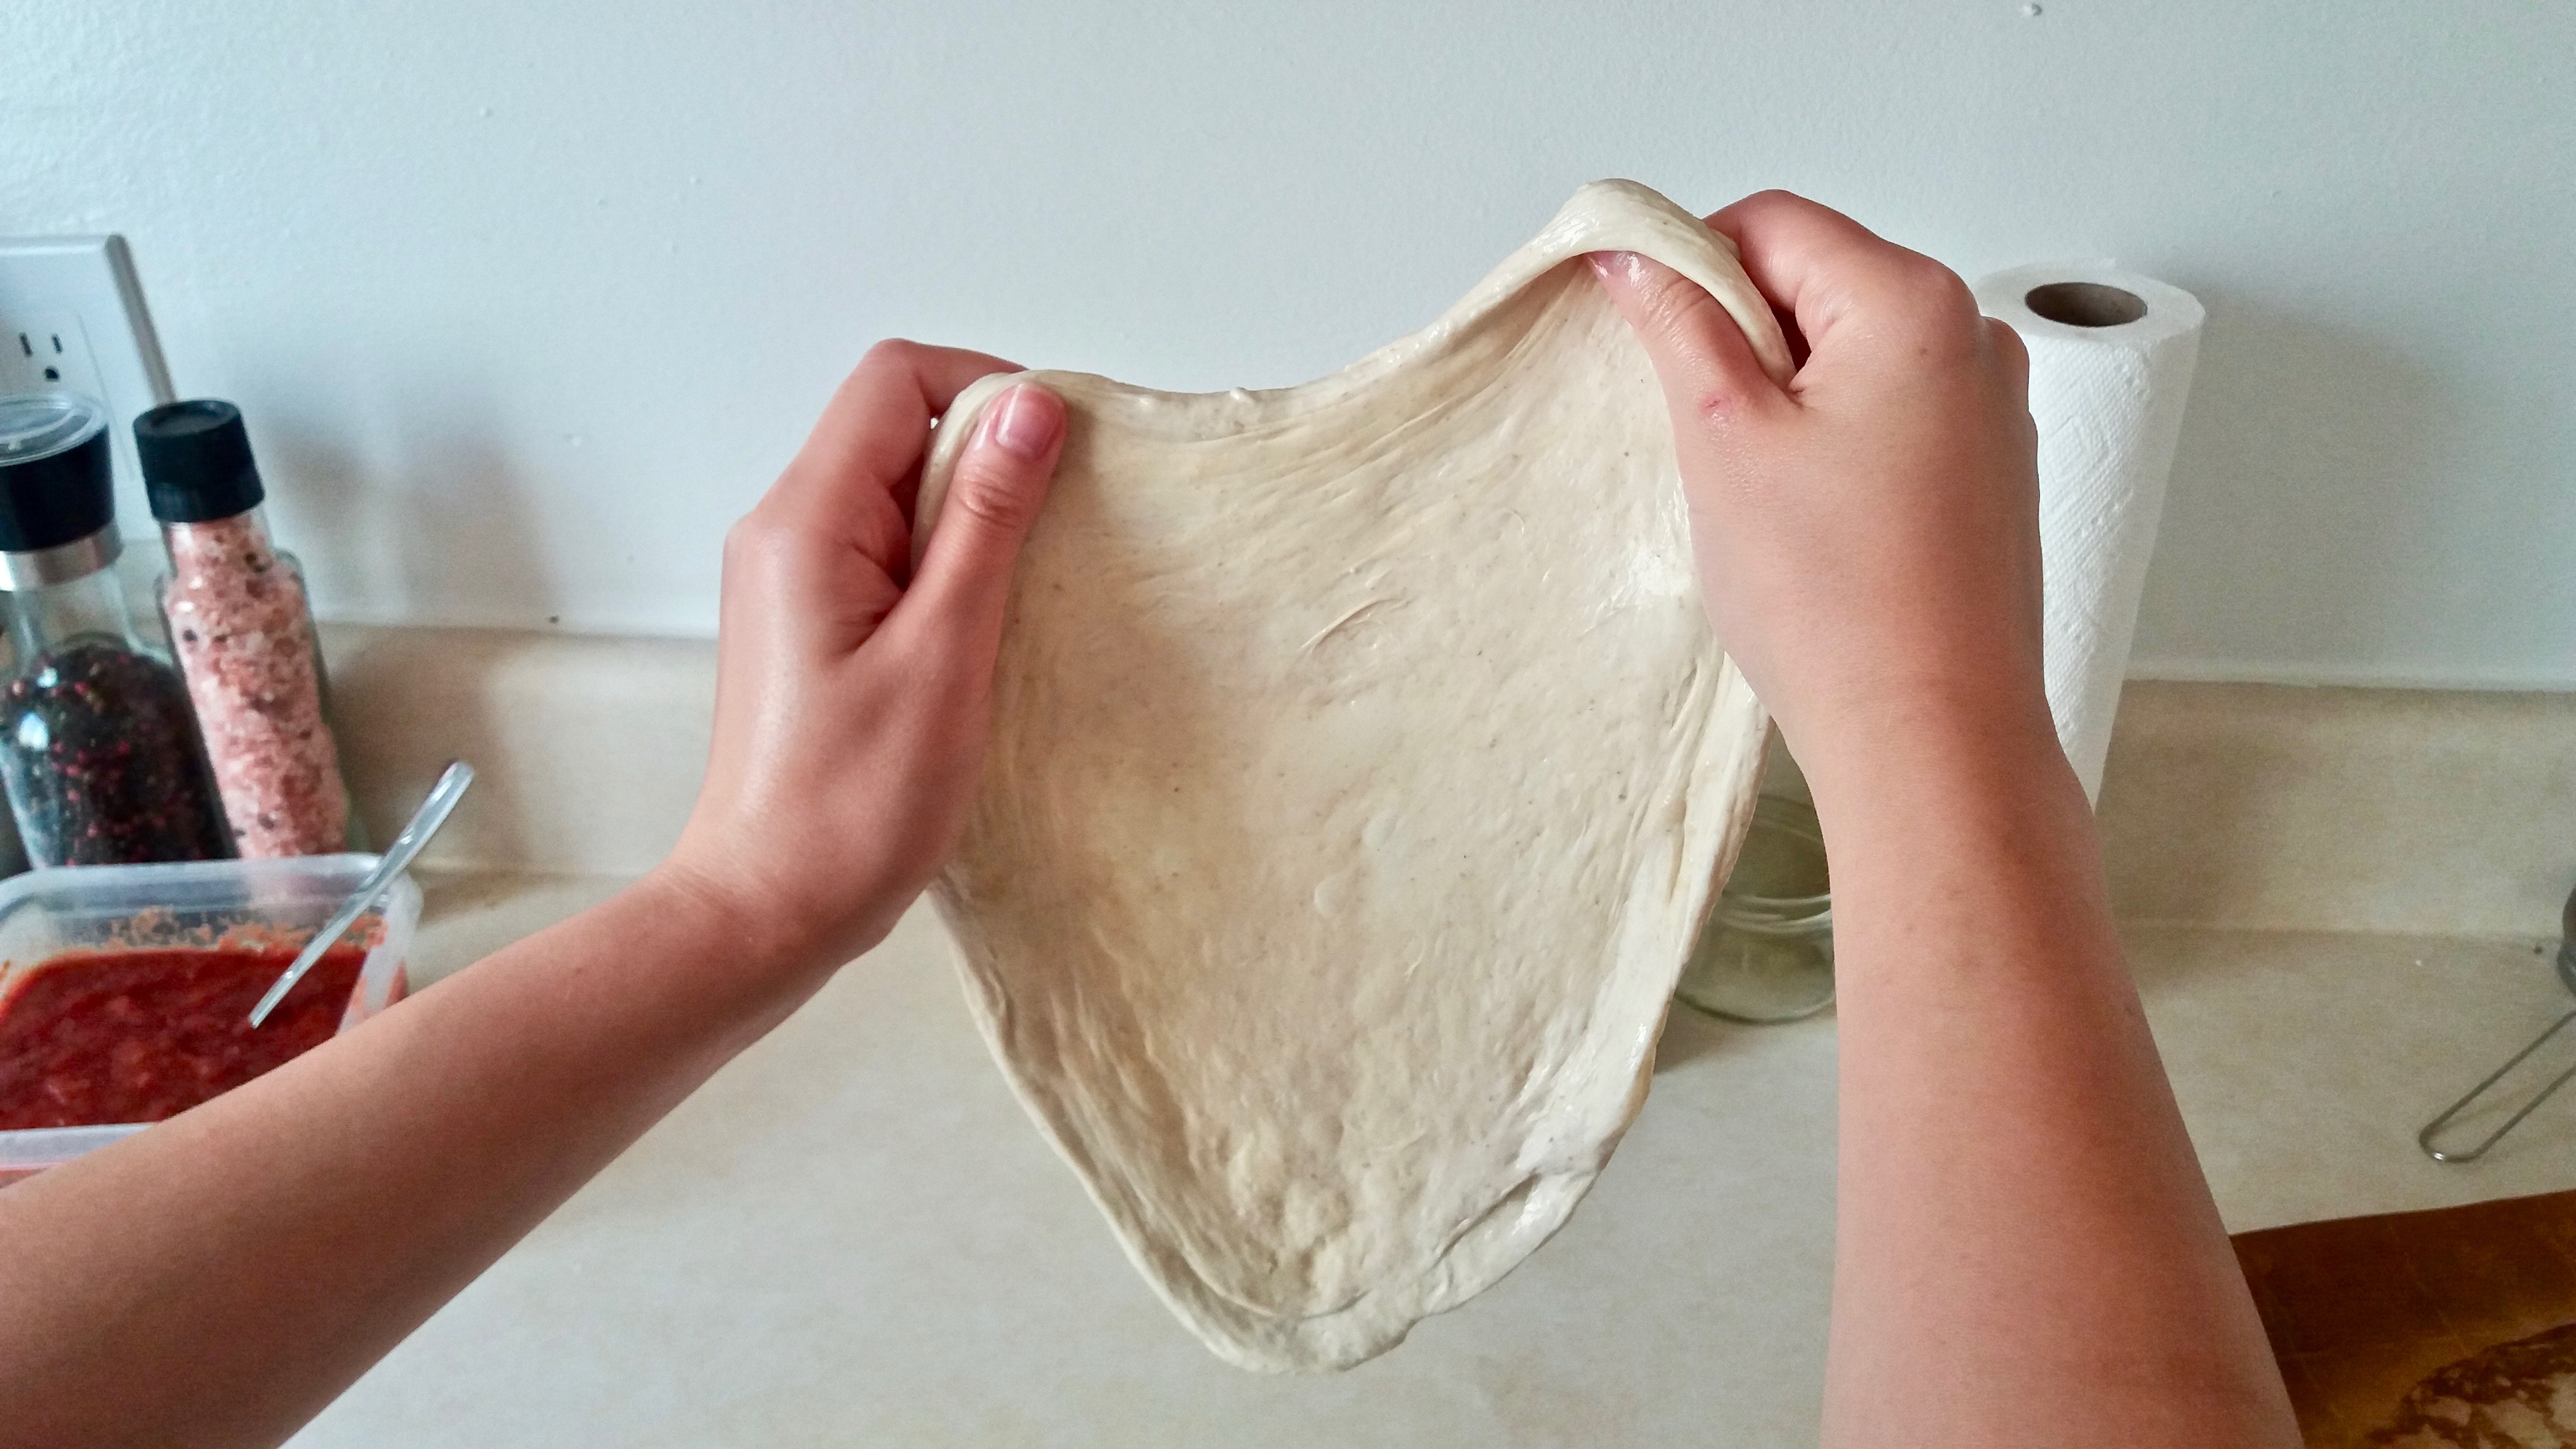
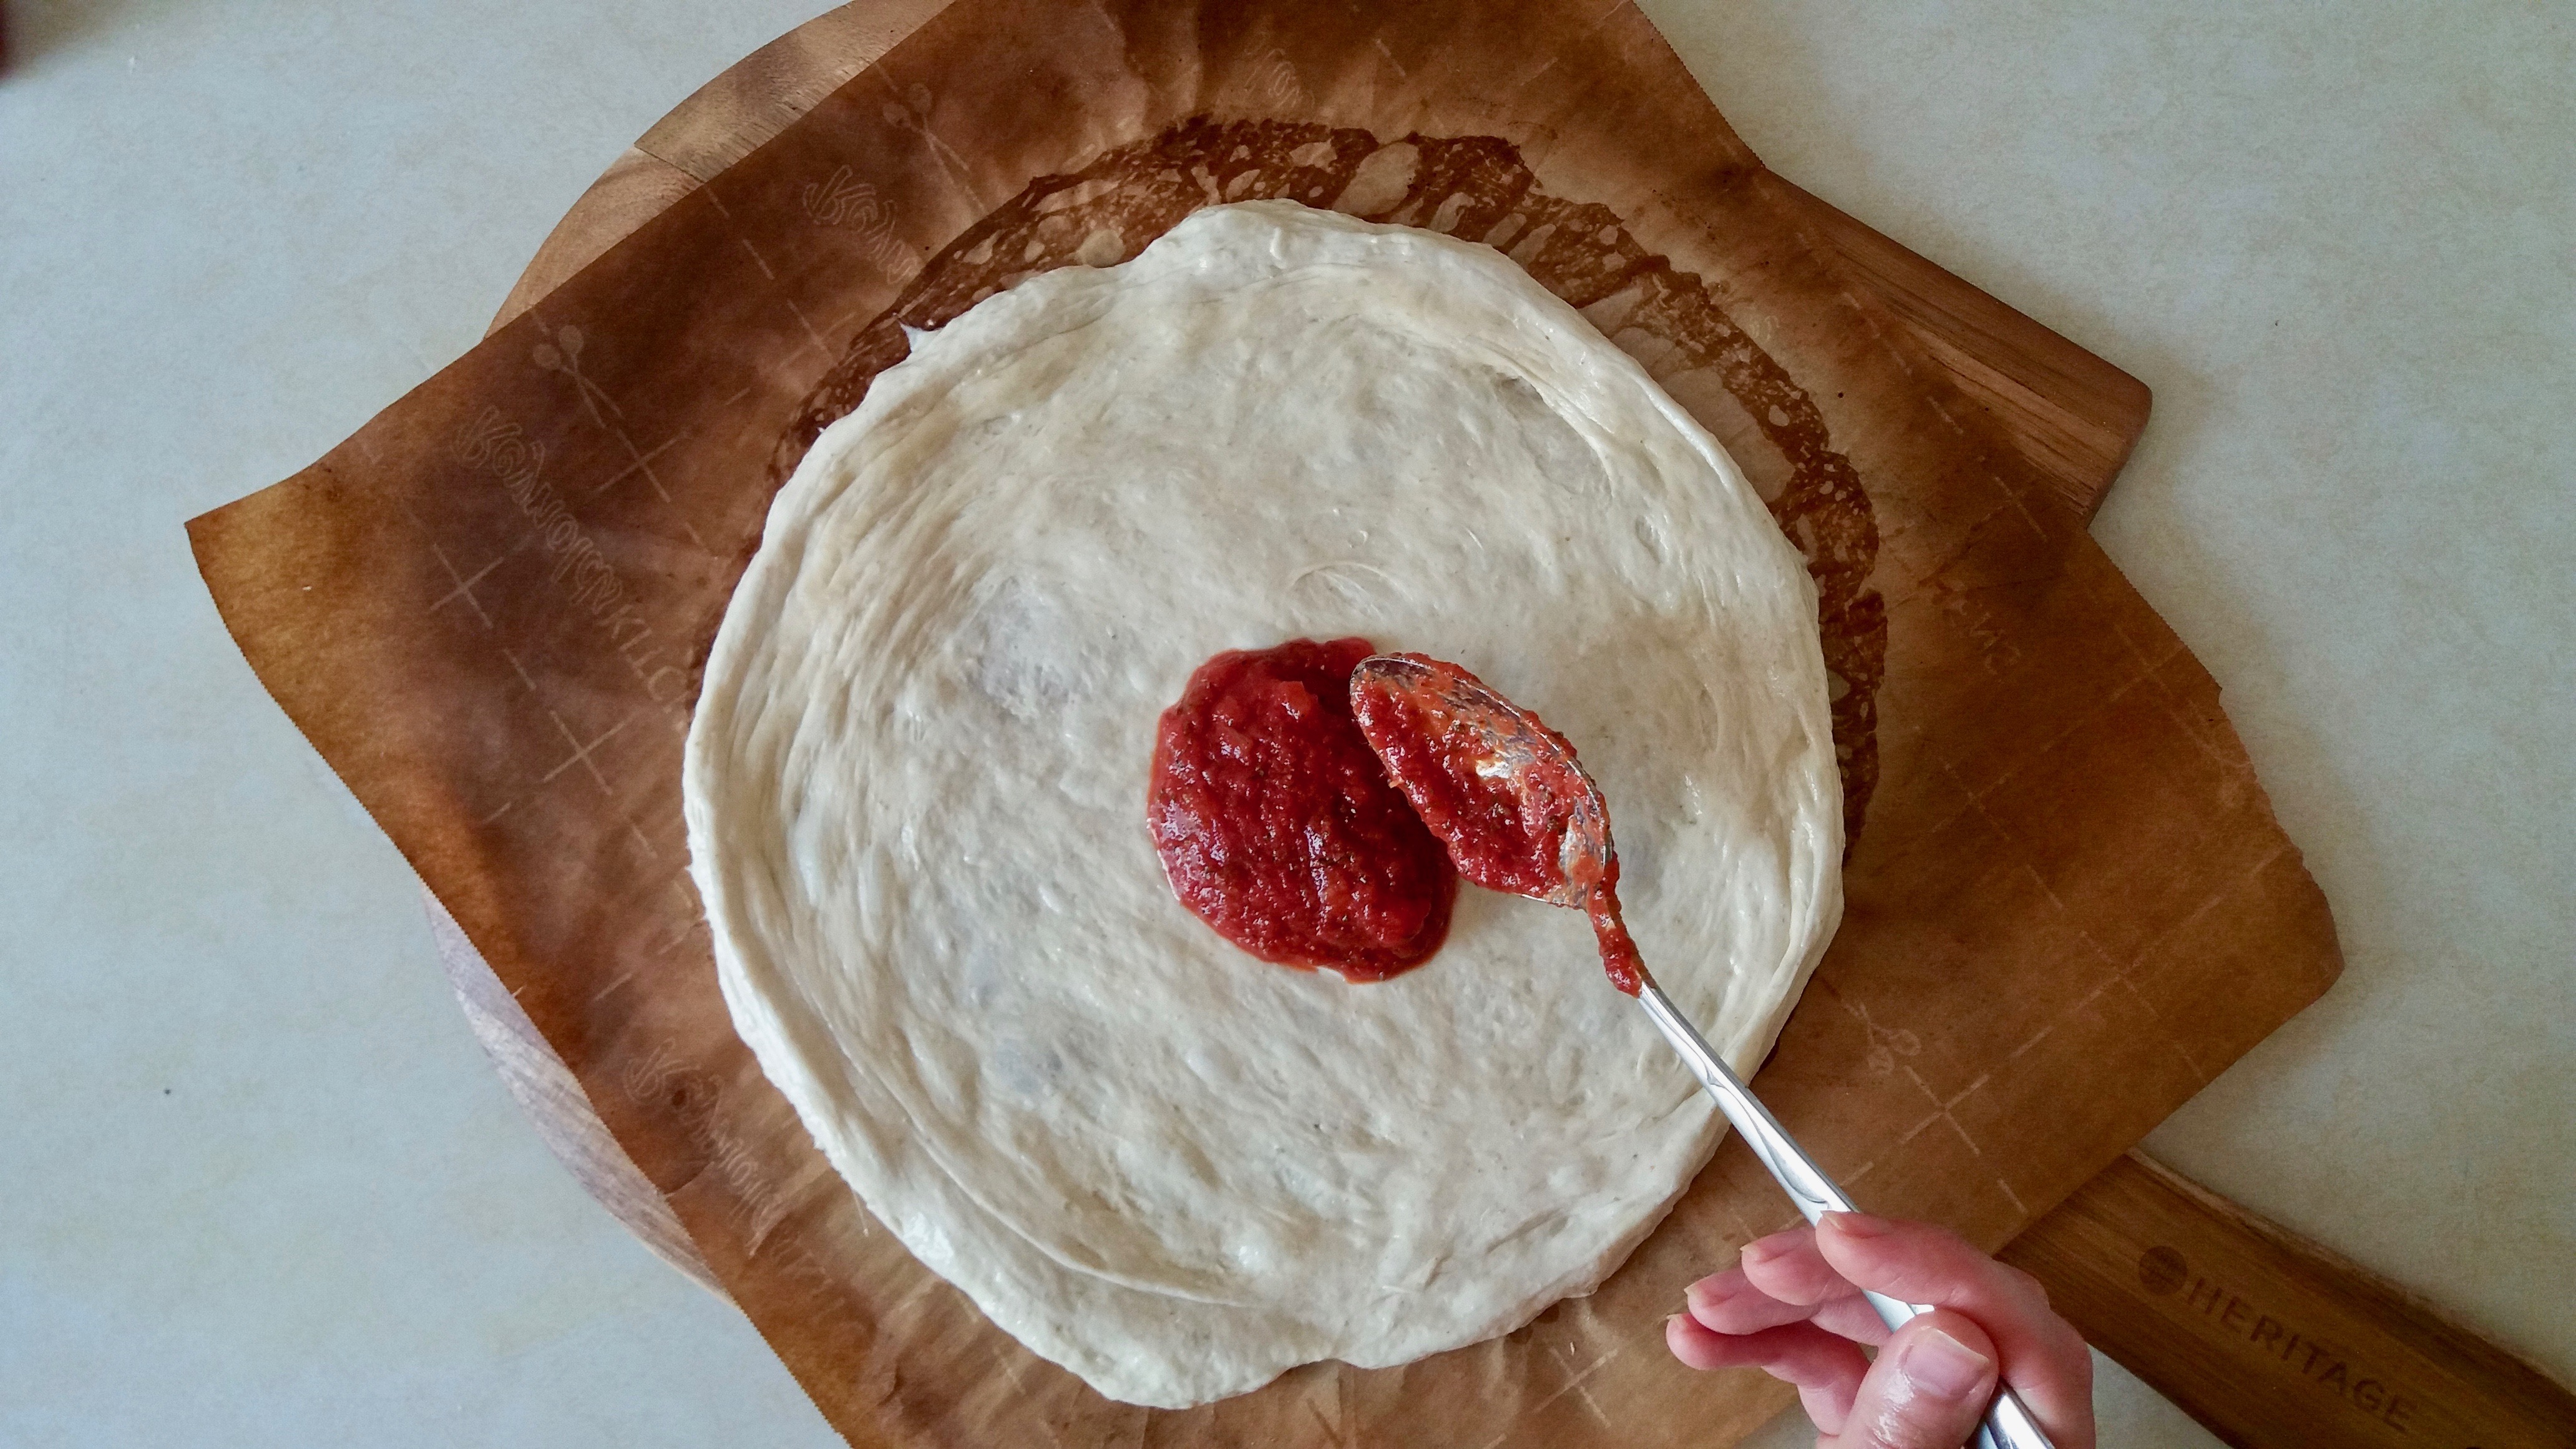
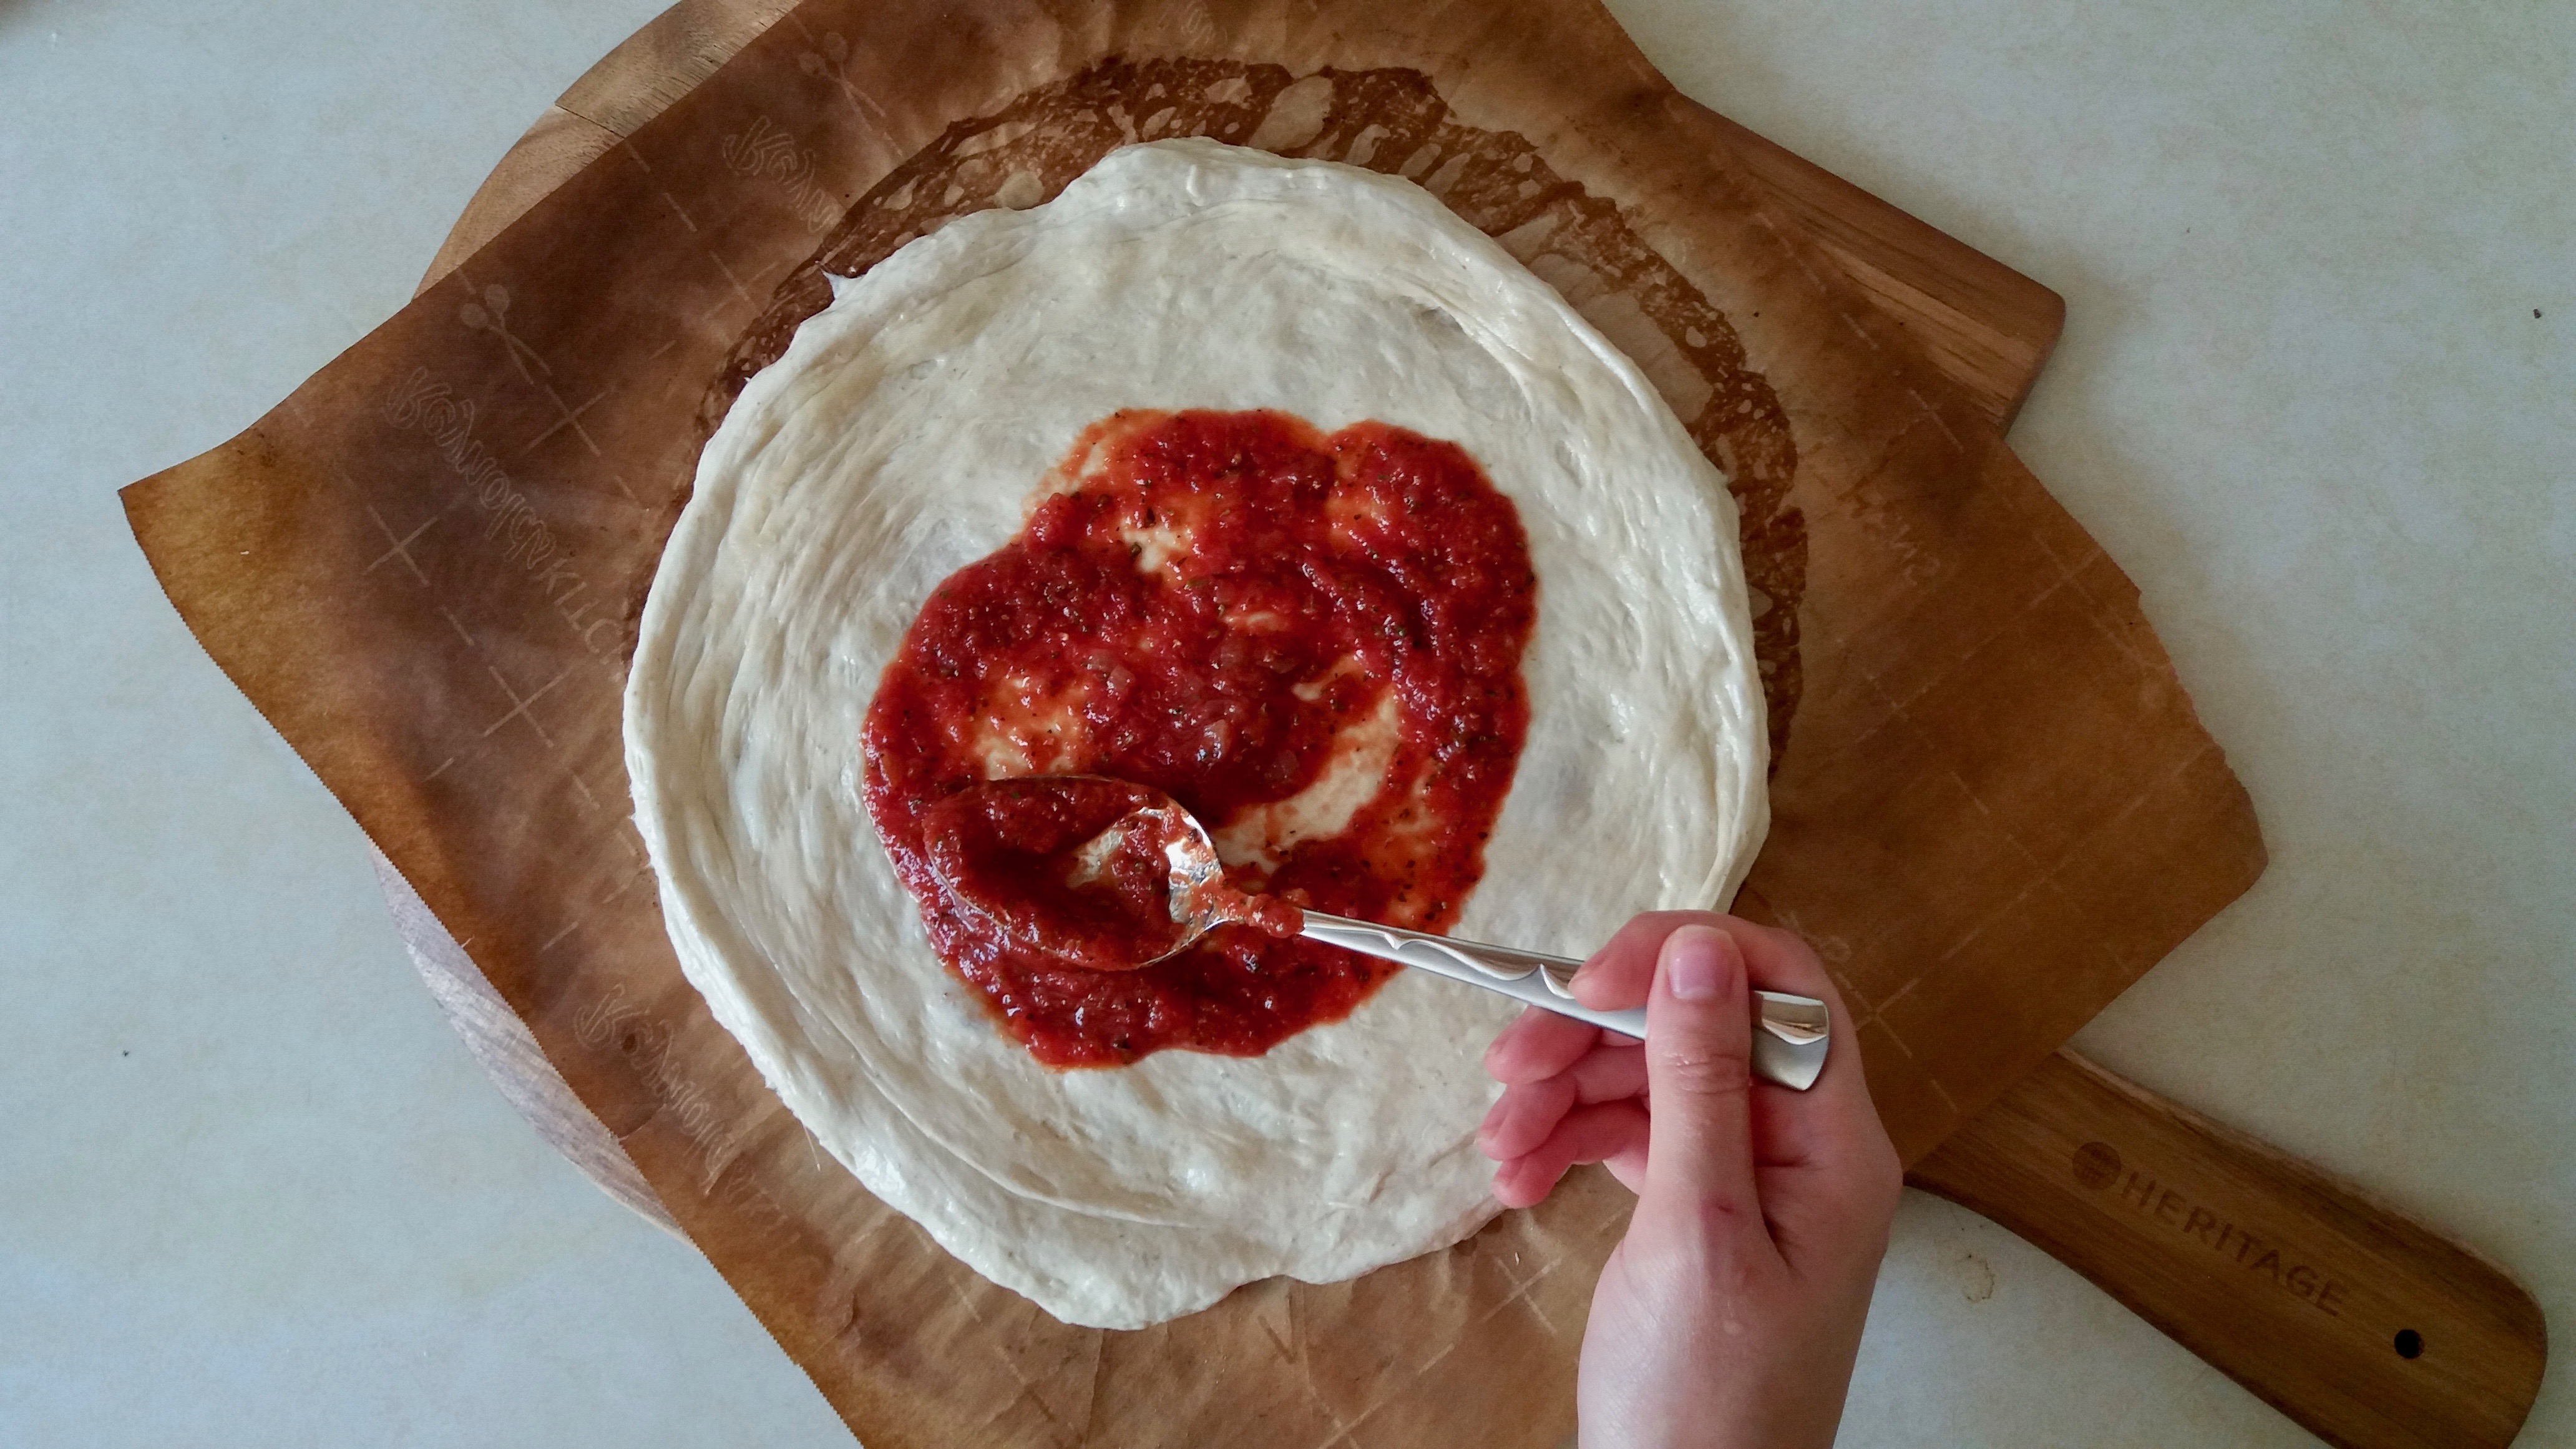
. Hand-stretching dough looks intimidating but it gives you aerated, soft dough. Don’t worry if the dough tears. Just patch it up with pieces of dough torn from the edge. Put a heaping spoonful of sauce in the middle, spread it around and no one will know!
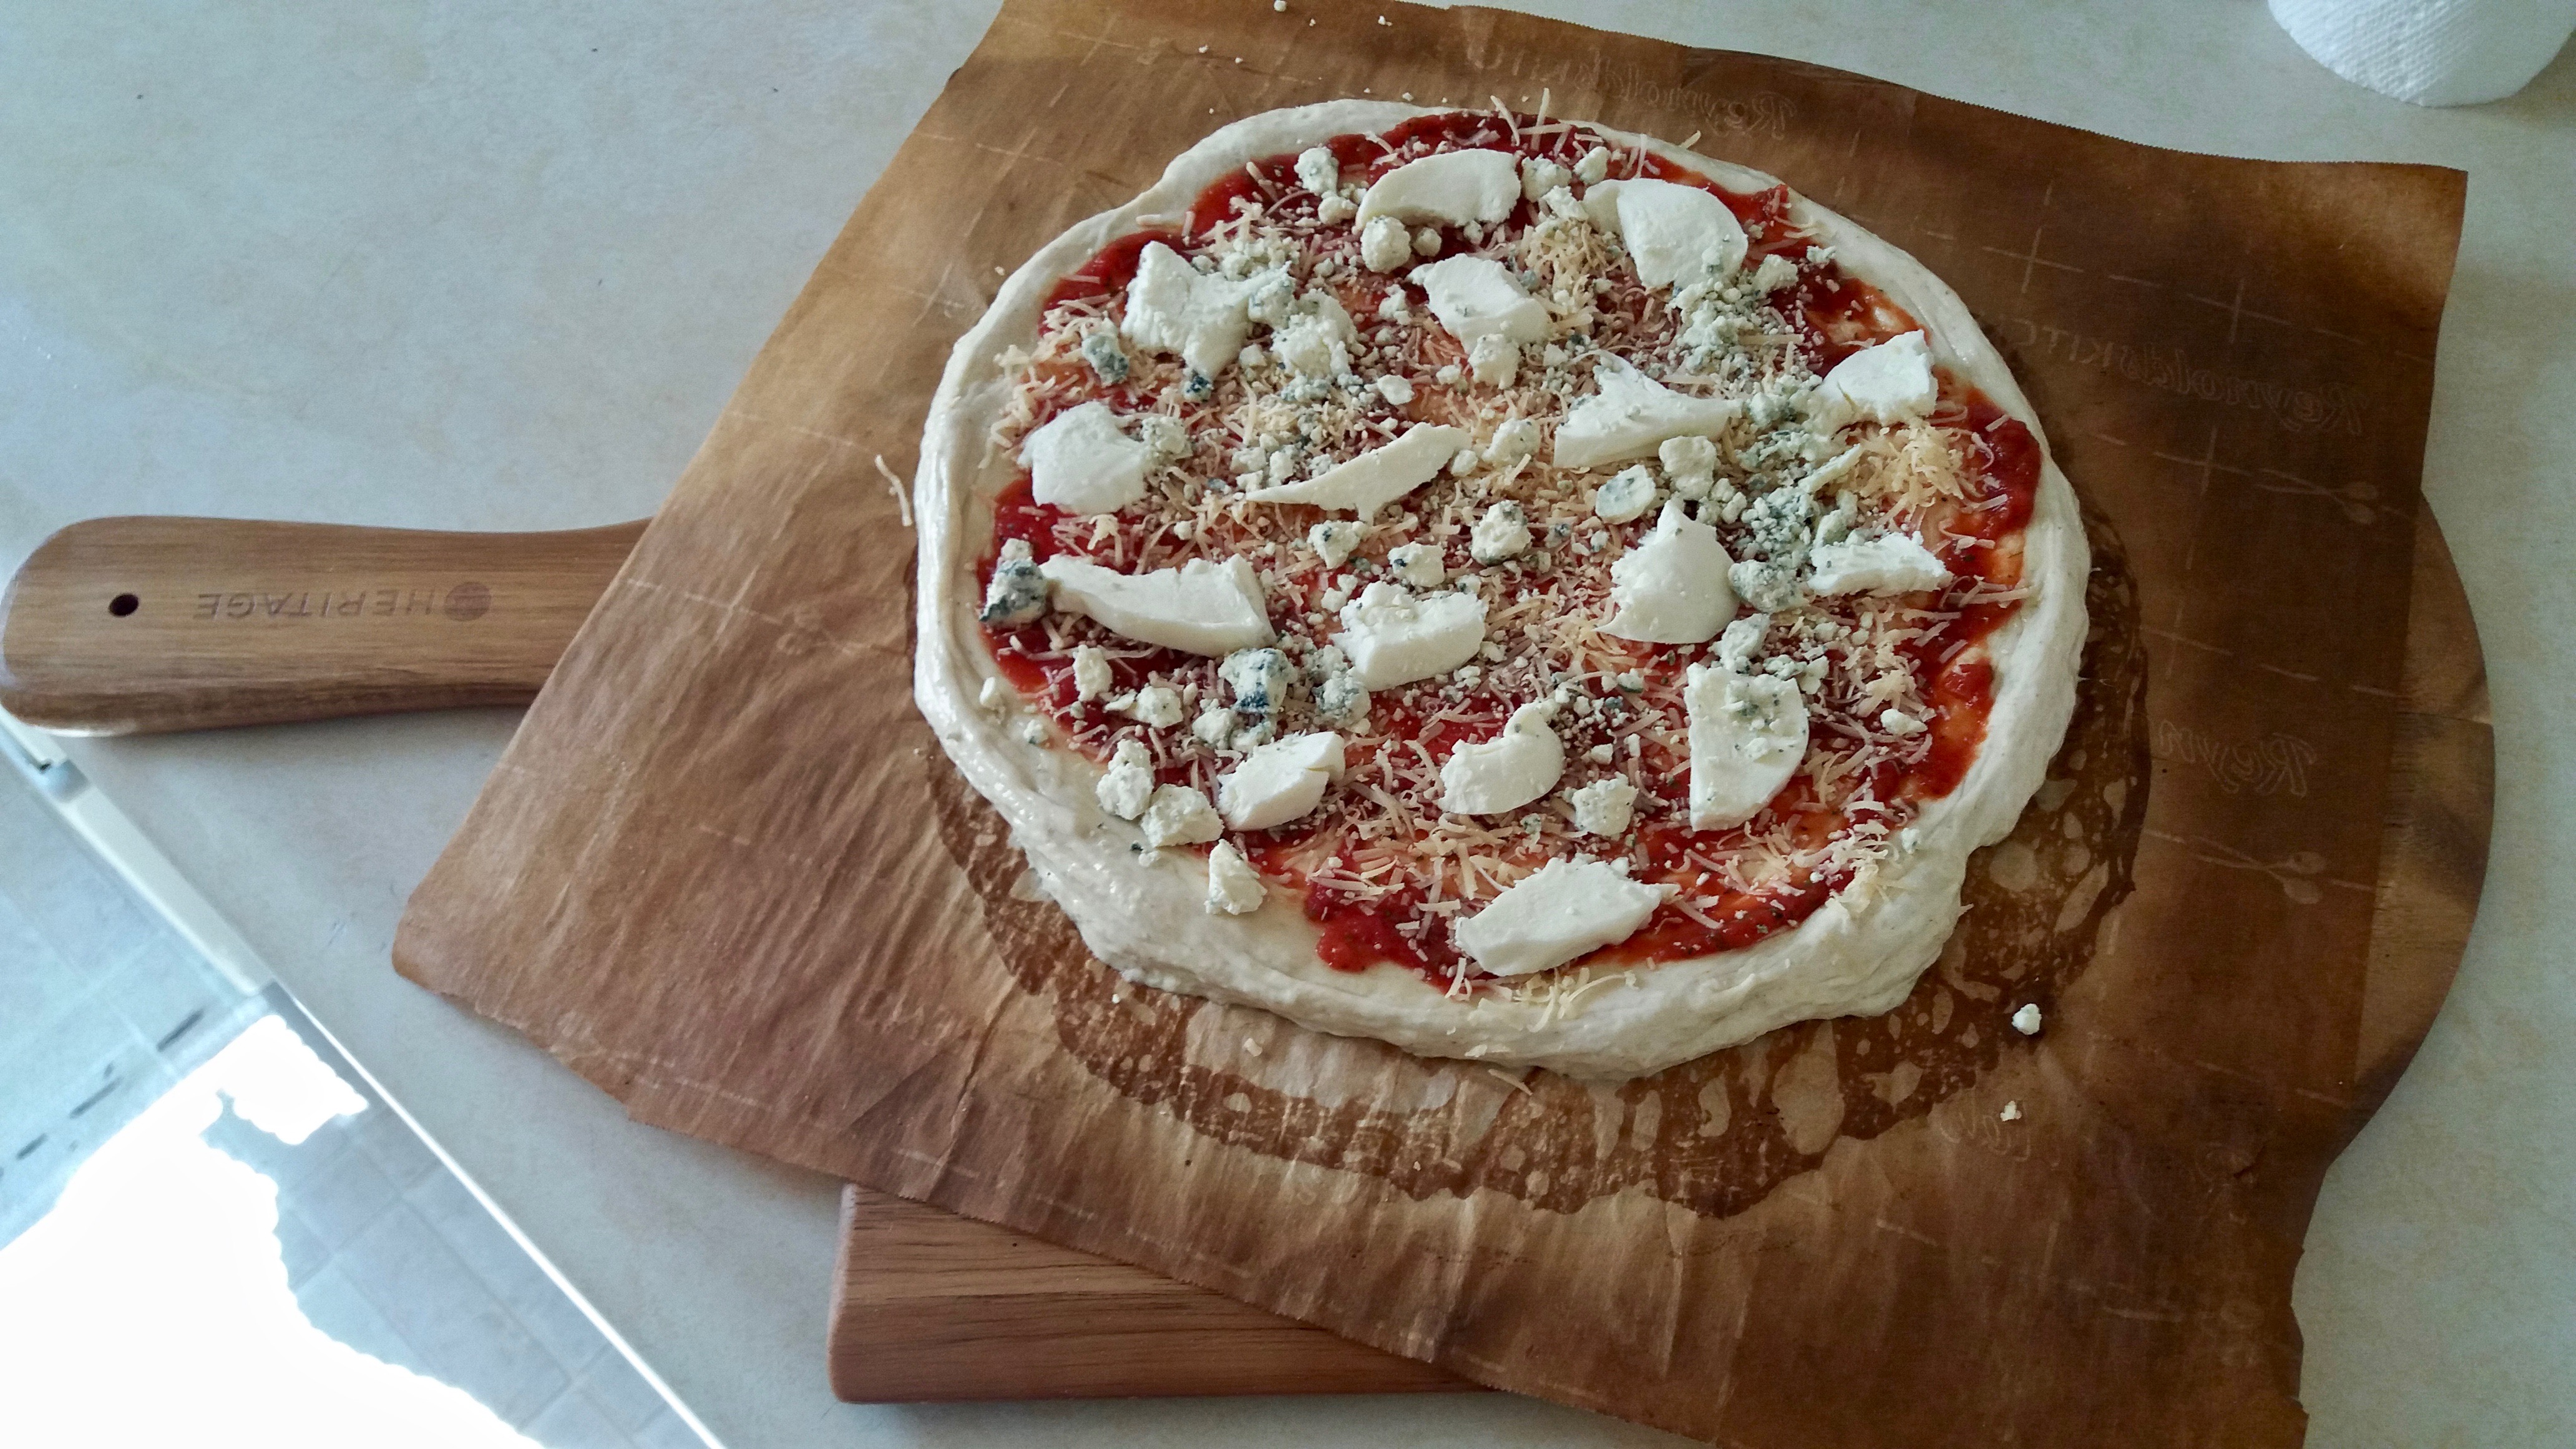
As for the toppings – the world is your oyster! Any kind of cheese, meat or veggie that you think is good on pizza is good on pizza! Hold off on leafy greens and add them after the pizza comes out of the oven. I went for a three cheeses pizza this time – aged asiago, mozzarella and blue cheese.
Slide the pizza into the hot oven using a peel or a large wooden cutting board. Bake for 7-8 minutes and… drumroll…
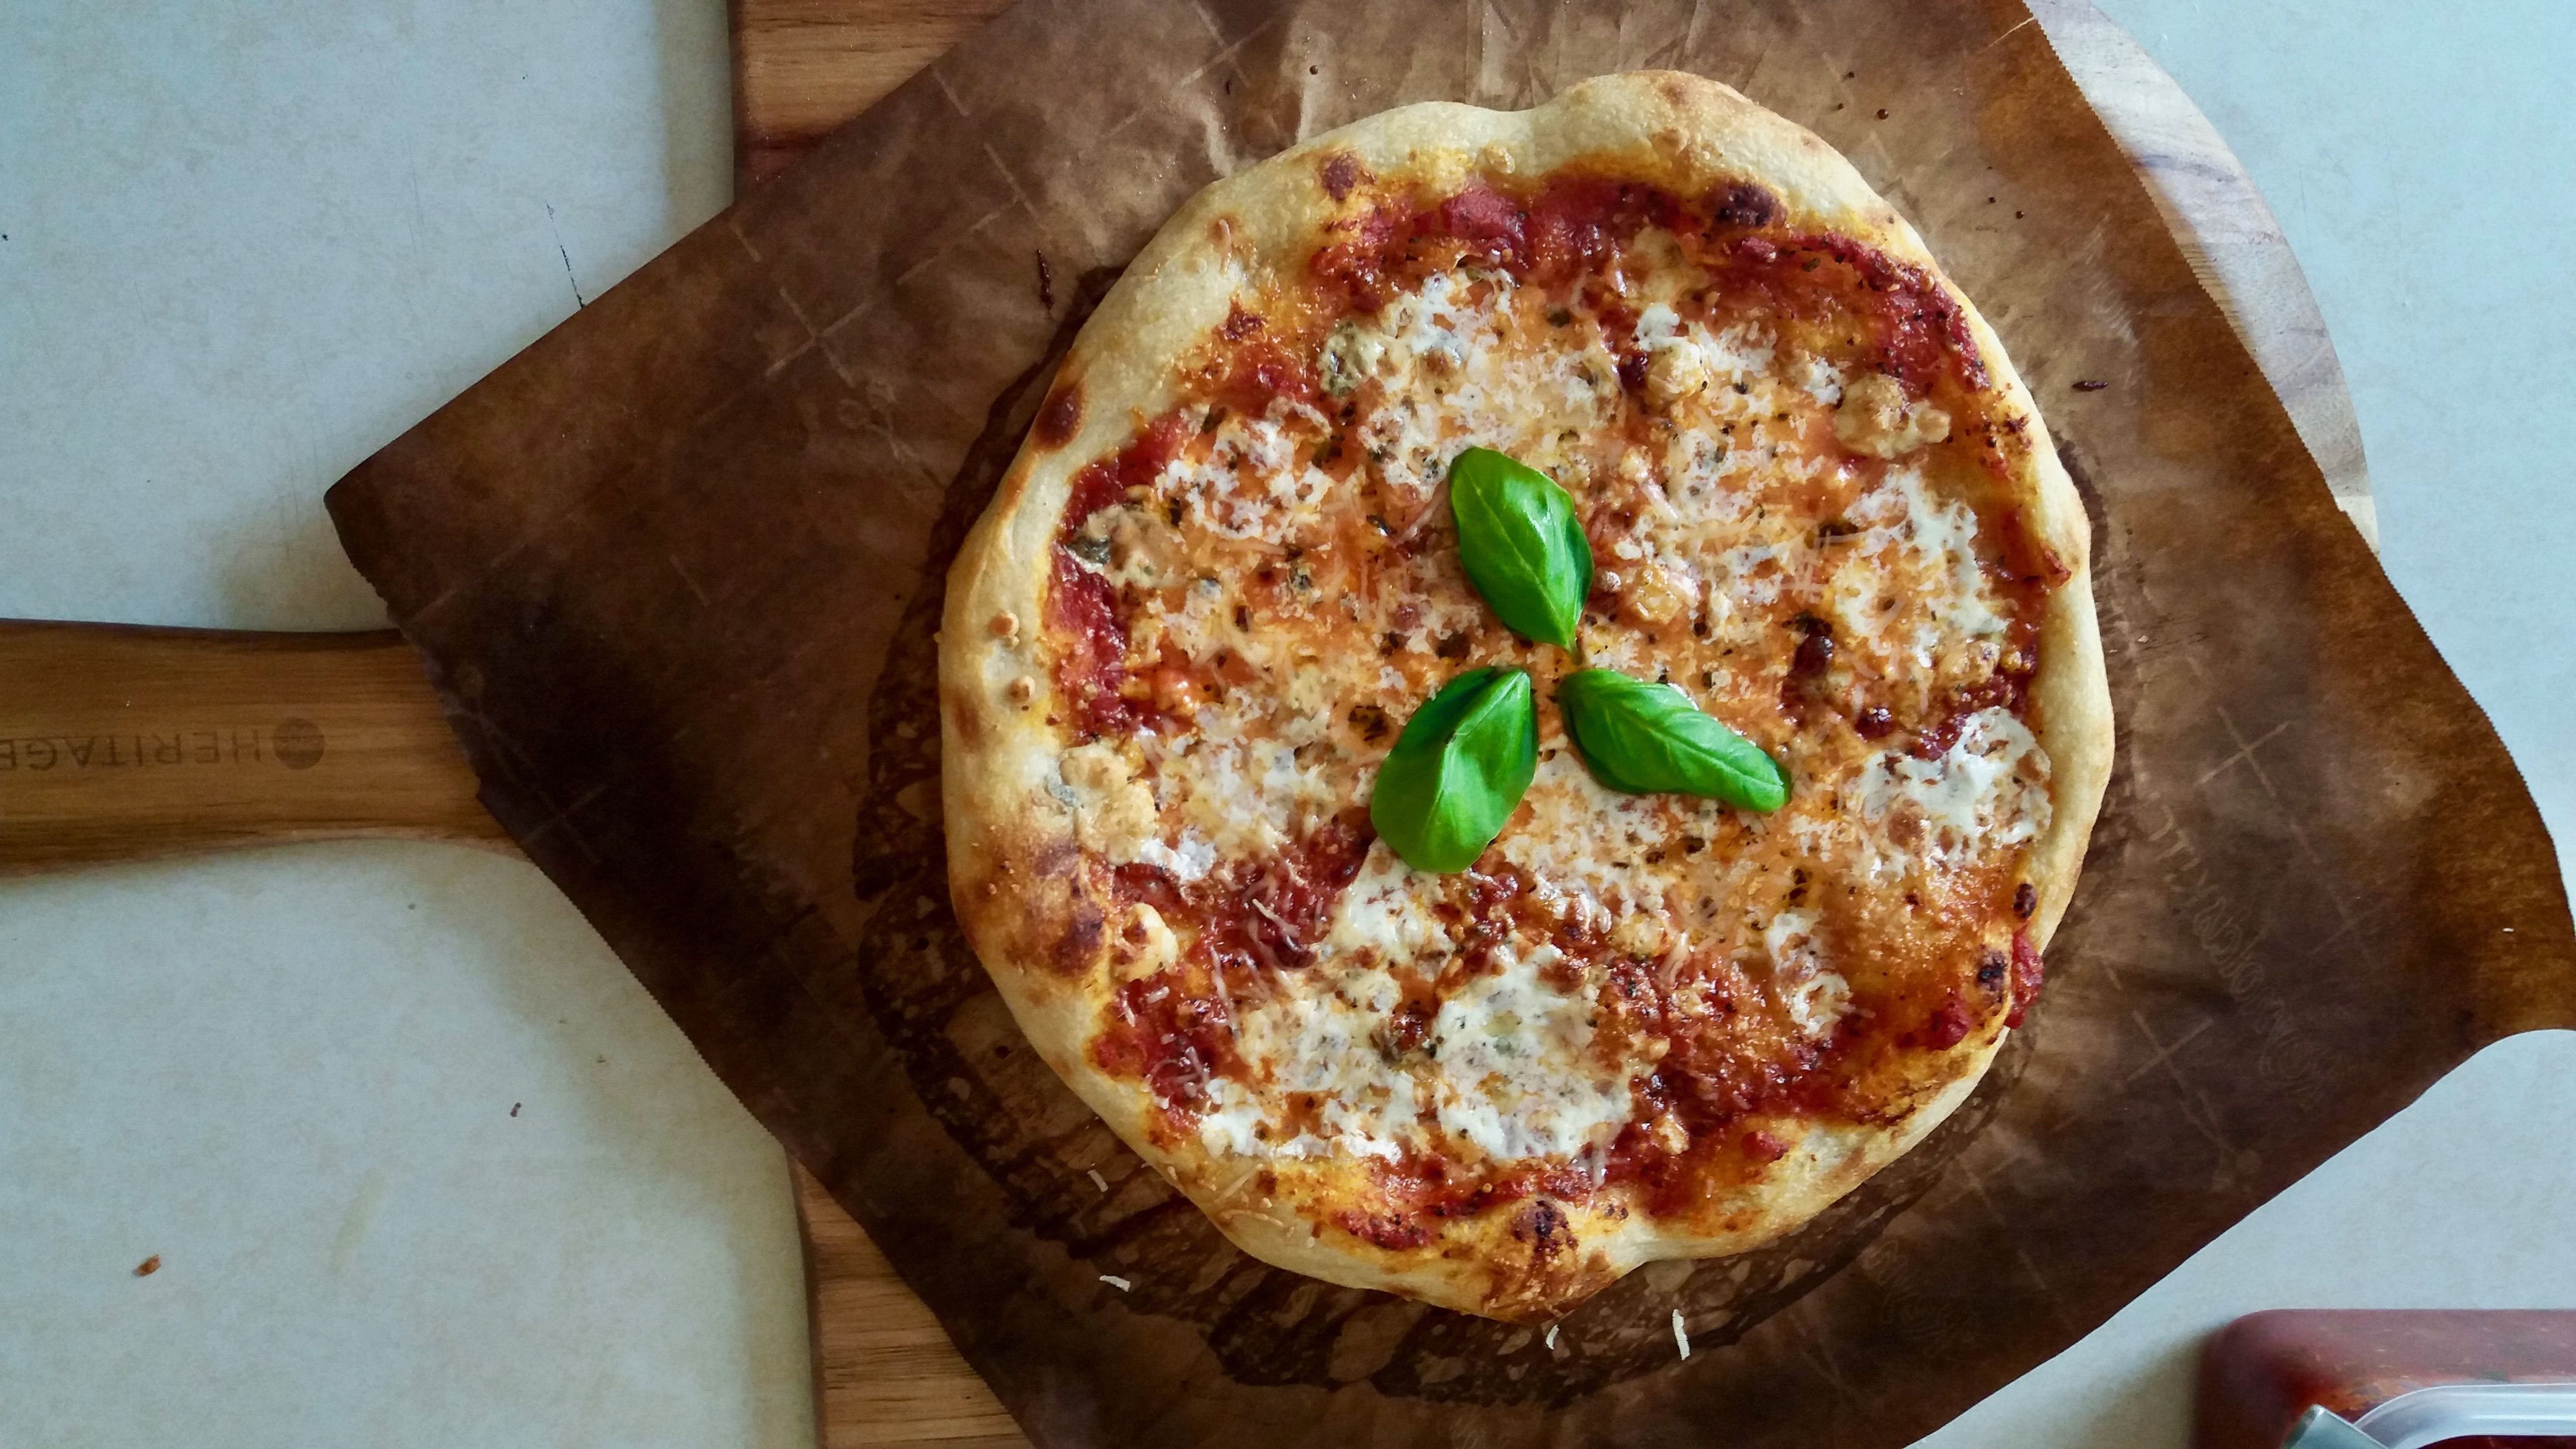
That’s what I call pizza.

Beautiful!
LikeLike
Thank you, Shanna!
LikeLike
Looks fantastic.
LikeLike
Thank you so much 😊
LikeLike