So you’ve made your very own sourdough starter and have been able to keep it alive. Great! That means you have both dedication and patience. Because you have patience, you most deffinitely started out slow, with a beginner recipe like this one here, right? Right? (Please, don’t just jump into adventurous waters before you’ve mastered the simple loaf!) Now what?
As fascinating as baking your own bread definitely is, you might be missing that excitement of new discovery, or perhaps you’re lusting over other bakers’ fantastic loaves and wondering how you can step up your game. Your questions shall be answered here and now! This post wil not give you a specific bread recipe (please go here if you need one), but it will show you what else you can achieve and how to tweak and perfect your process so you can end up with your very own bread recipe. Feel free to incorporate as many or as few of these and now that you can bake a fantastic basic loaf, don’t be afraid to play around!
Starter
I think of the starter as the soul of bread. You can dress it up in the prettiest grains and flavors, but none of that will make up for an inferior starter. The starter you have learned to make by now is perfectly fine. However, when playing around with mine I have discovered that a more strategic use of time will give your bread aditional oomph!
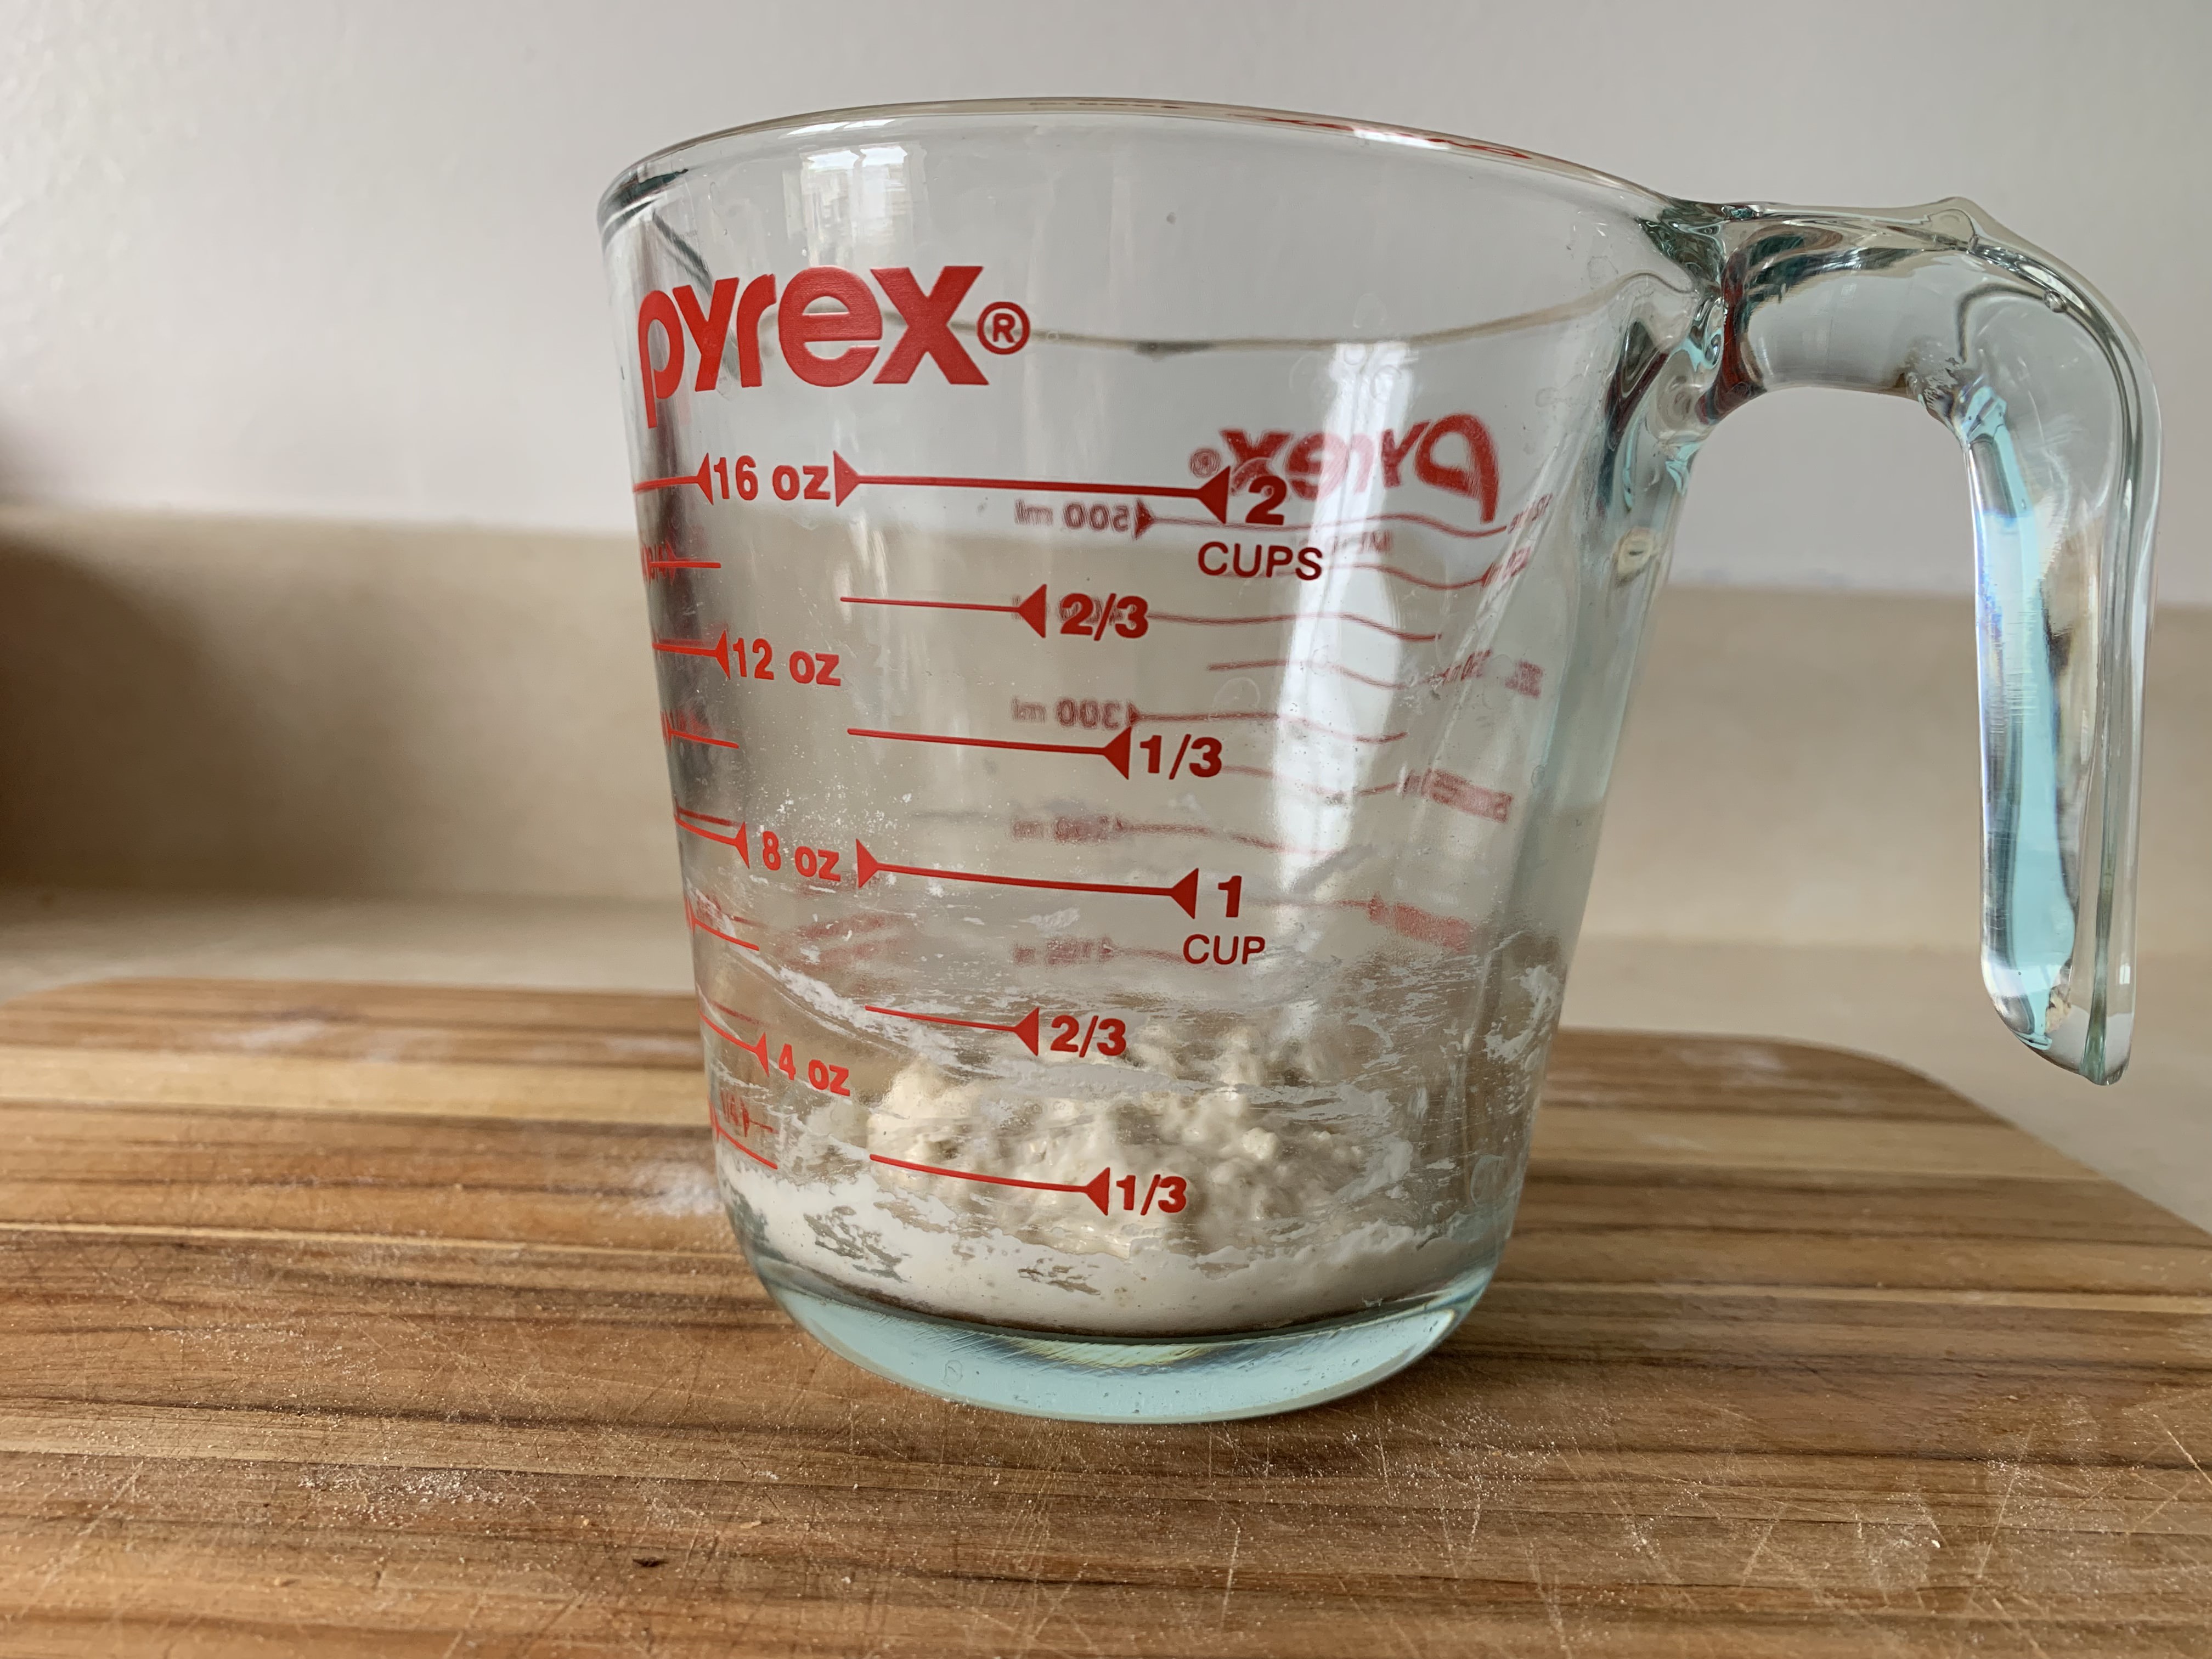
Instead of feeding the levain once (15g starter, 50g water, 50g flour), I now build it up over two feedings. The best schedule I have found is this:
Early in the morning mix 5g starter, 20g water and 20g flour in a larger jar, cover and place in a warm spot. The oven with the light turned on works great. Four hours later add 45g flour and 45g water to the same container and keep covered for another 4 hours in the same place. This will make levain for one loaf.
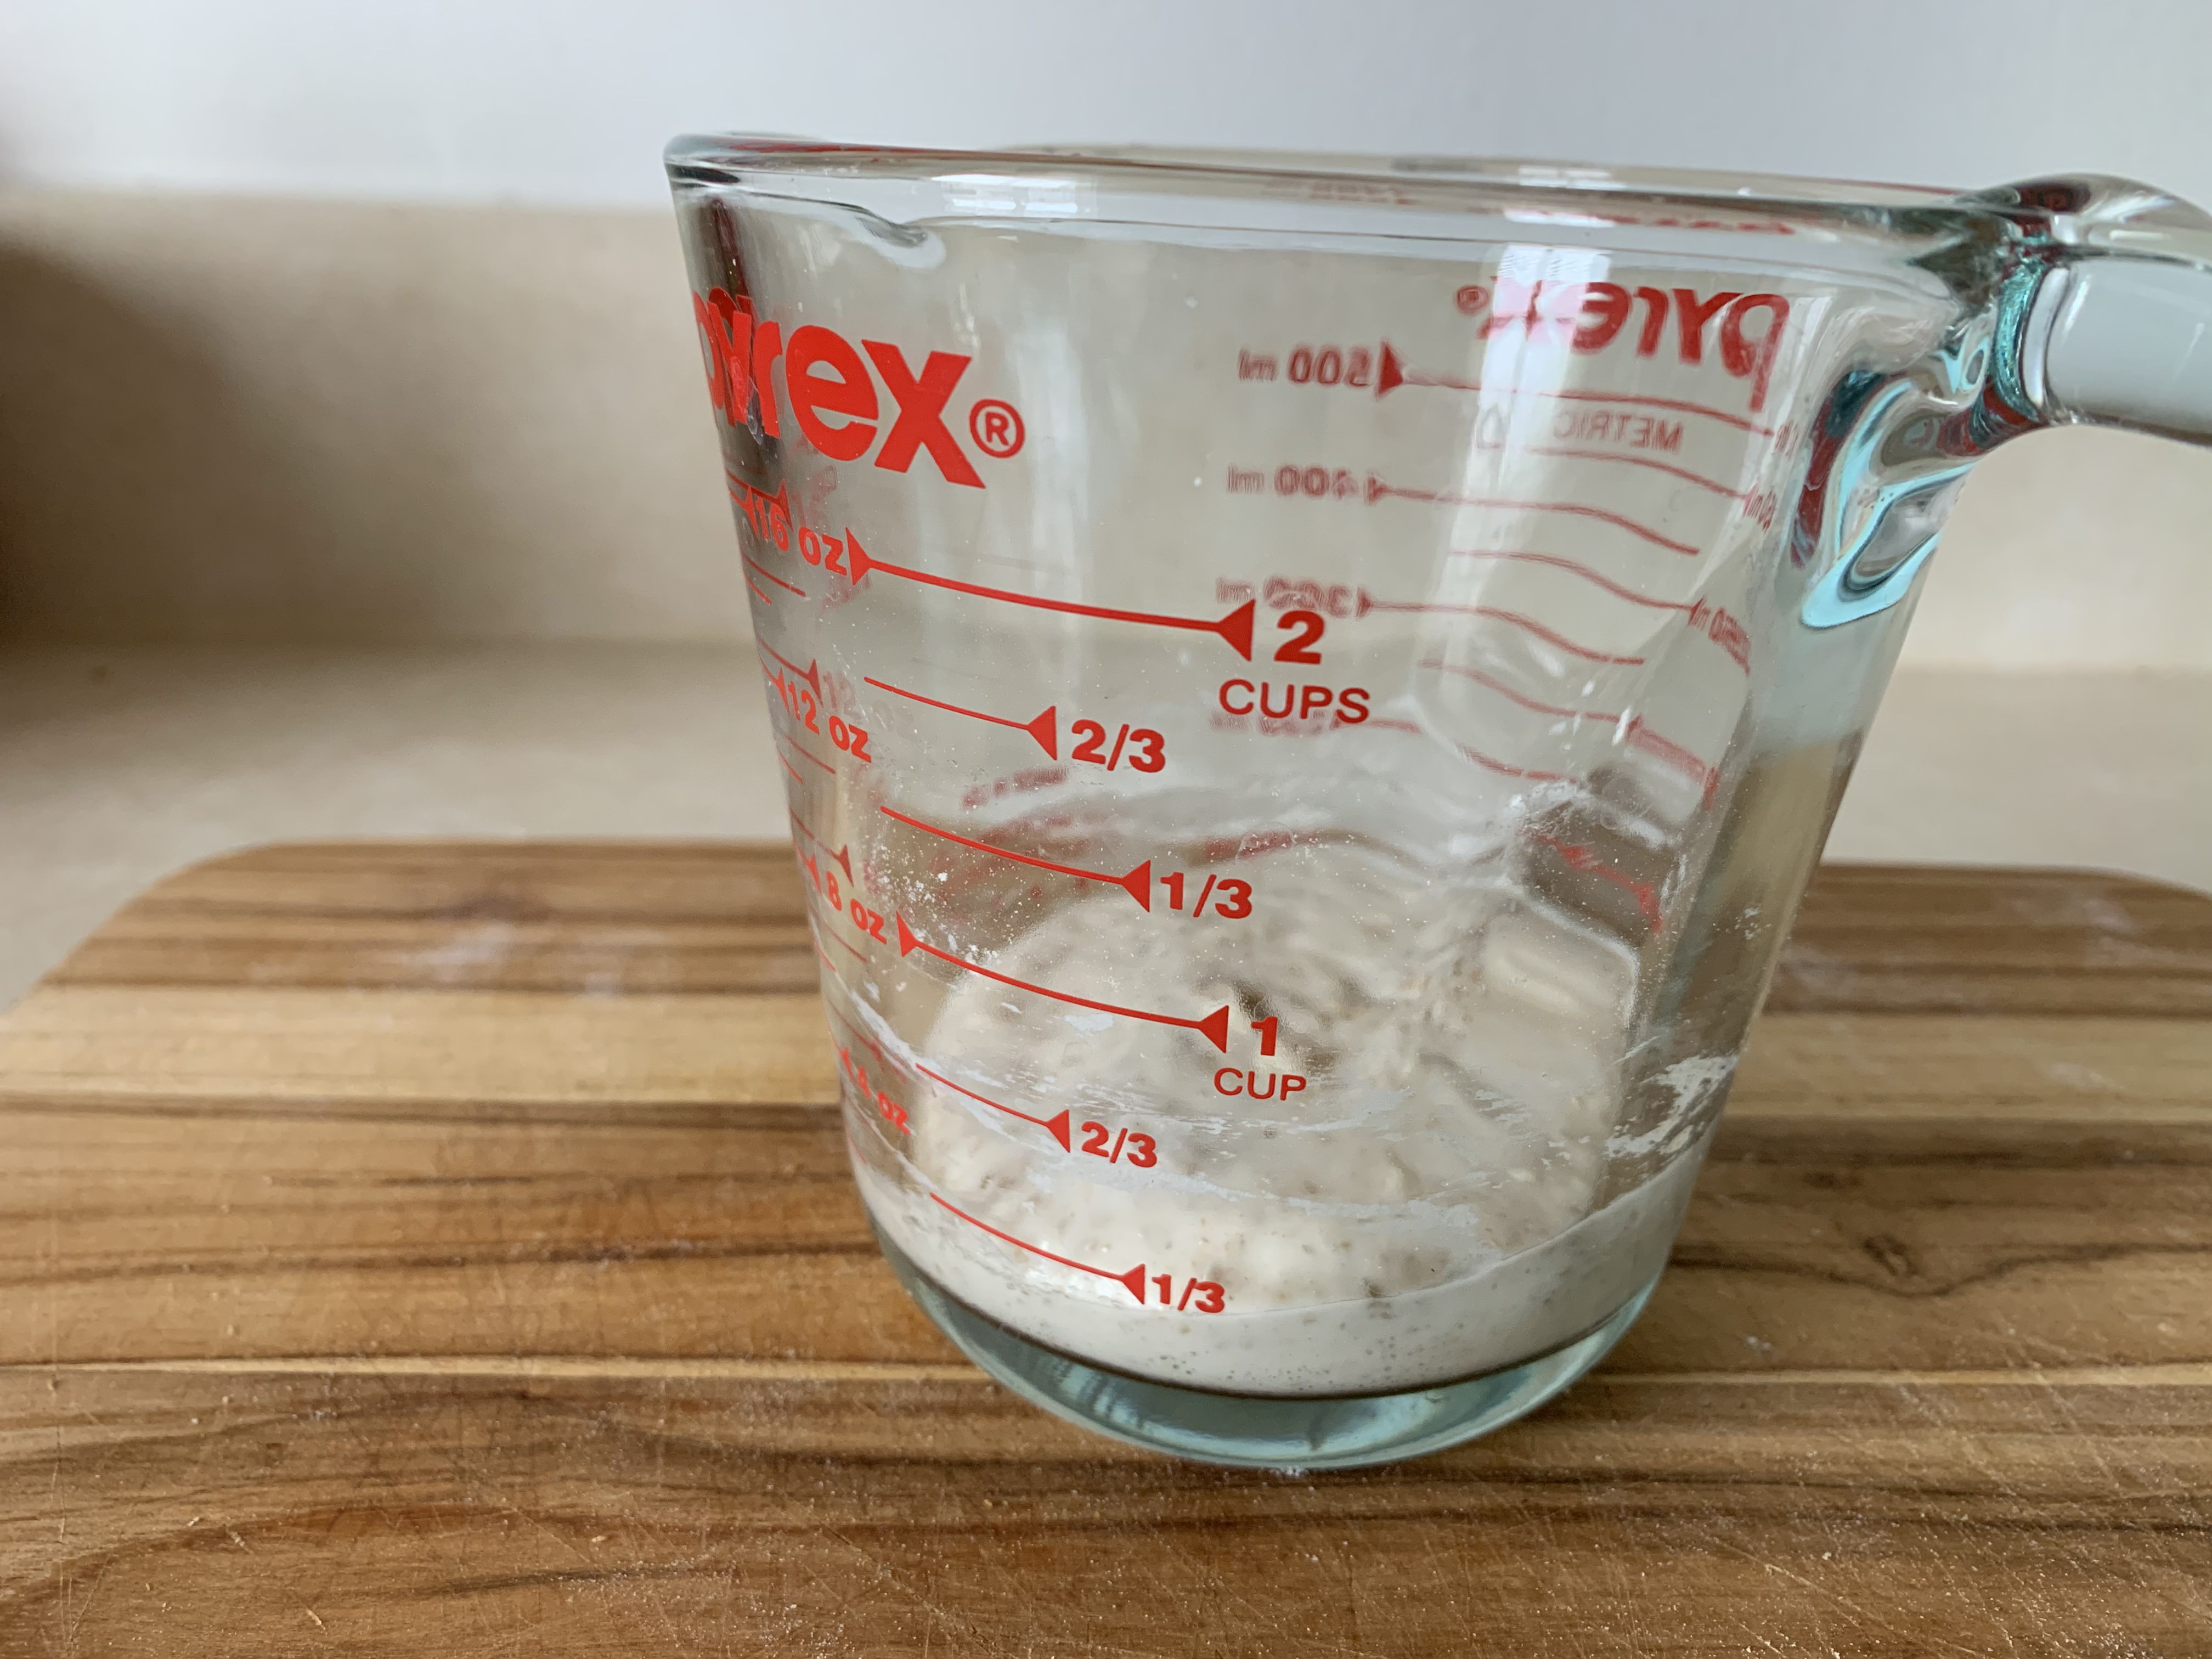


Feeding your starter this way is akin to giving it steroids. It will bubble up to new heights and will lift your bread like a charm! It will also reduce the sourness giving you sweeter bread. If you do not have the time to attend to it twice that day, an alternative is to do the first feeding before you go to bed, and the second one in the morning. If you prefer this option, do not put the starter in a warm place overnight, but rather keep it on the counter. If your kitchen is too warm, you might want to put an icepack wrapped in a towel underneath your jar.
Another bonus of this double-feed method is that it allows me to keep the mother starter in the fridge (something I had never done before) and only feed it as needed. You will invest more time on the breadmaking day, but then you save time on daily feeding!
Hydration
I will just sneak in a few words about it here since hydration is the talk of the town in the sourdough world. Playing around with the water content in your bread can give you some surprising results – both wonderful and disastruous! If you use a lot of thirsty wholegrain flour or high protein pizza flour, or if you just really know what you’re doing, you can definitely increase hydration to 80% or more. This is an additional 20g of water to the original sourdough recipe I posted and this is the water content I am using in the videos for this post.
However, it is important to point out that high hydration can easily mess up your bread if your technique isn’t adjusted to it and also, contrary to the urban legend, more water does not automatically make your bread fluffy and alveolated and all that you see online. The 75% hydration in my original recipe is already considered high, so if your flour has moderate absorbtion or you’re still wobbly on your new baker feet, keep added water for later. I have put hydration high on the list because that’s where it comes in the baking chronology, but I higly recommend you try the other tweaks first.
Dough strength
Another way in which you can achieve an airy loaf is to build up the strength of the dough itself. There are several stages where you can do that.
Autolyse
This one is a little tricky, and even contentious. In the basic recipe I recommended that you wait for thirty minutes before adding salt, but this time is not set in stone. Some bakers like Trevor Wilson push it up to overnight, while others like Karl De Smedt of The Quest for Sourdough believe that if you are using strong flour there is not much use for autolyse at all. I will only speak of what worked for me, and this is inspired by the time that I baked with Kristen of Full Proof Baking. She kept her autolyse for three hours and I can testify that the dough came out silky and strong. I now keep my flour and water mixed for 2-3 hours before I add anything else.
Extending the autolyse time is the easiest thing you can do to take your bread to the next level – just let it sit for a while, no elbow grease needed! The only thing to point out here is that, unlike the beginner sourdough method, this one is a true autolyse with only flour and water, no starter added! The original recipe tells you to put the starter along with the flour, for ease of mixing. If you go with a long autolyse, having your sourdough mixed with the flour for three hours might result in a dough that is much too fermented by the time you add the salt. Mix the flour and water 2,5 hours earlier than you would, let the starter ferment to its peak, and then see next point for incorporation.
Mixing the dough
I will be the first to say that I love a no-fuss dough that requires minimal handling. Just mix it up and let it do its thing, right? That may very well work for some flours and recipes and is certainly and acceptable way of getting great bread, like you saw in my original recipe. However, sometimes that just isn’t enough. If your dough has more water in it, if your flour is weak and just won’t bulk up, or if you need your dough to lift up the weight of added ingredients, you just need to put some work into it.
There are different ways of building dough strength. I used to be a huge fan of the slap-and-fold method, which I found therapeutic, but messy. I have also been admiring Trevor’s preffered method, which is Rubaud, but it seemed like quite a workout (disclaimer: it is!). However, the results looked so good that it seemed worth it! I have been plaing around with this technique for a few months now and I have also seen Kristen use a modification of the Rubaud with wonderful results. It is also a great way of incorporating starter into the dough, as you will see below. I know the video is long, but I decided to not speed it up or trim it just so you can see the actual process. A few times I do slow down to show you the movements and the state of the dough.
You know what can give your dough more strength that a round of Rubaud? That’s right – two rounds of Rubaud! After you’ve mixed in the sourdough, let it sit for 20-30 minutes, sprinkle the salt on top with just a few drops of water, and do the mixing all over again! You can cancel your gym membership while you’re at it.
Lamination
Lamination is another hip thing that many bakers do to their dough, but unless your mix is over 80% hydration, you don’t really need it and it might be among the last things you want to add to your dough routine, after you’ve tried everything else.
I first saw the incredible Guy of Ceor Bread use the technique to incorporate seeds into bread and this is how I mostly use now – when I want to add extra ingredients without vigurous mixing. You will see me perform this technique in a video below.
Flavor
Bread comes in so many tastes and colors that baking the same old recipe over and over again might be cheating yourself! I would go as far as say I have never baked the same bread twice, and playing with flavor is not as intimidating as it might seem.
Flour
The most straightforward way of switching up your bread is definitely by mixing up different flours. You can change the percentages of white and wholegrain (50/50, mostly white, mostly wholegrain), or you can add new flours, such as rye, spelt, sprouted wheat, semolina – you name it! Whether you mill your own flour, get it from an artisan, or buy it at the store – you will be surprised by the boost of aroma and taste! If you don’t know where to go looking for good quality flours and grain I highly recommend 4Generations Organic for their sweet, flavourful hard red wheat, as well as Barton Springs Mill for a variety of inebriatingly aromatic grains and flours that will blow your mind. (None of these are sponsored. I just truly love them.)
One thing I must say is that if you are not yet sure of how different flours affect your bread, stick to a minimum of 50% white and use a total of no more than 20% non-wheat flours (spelt, rye, oat, etc). After you have played around a bit and have noticed each flour’s character, you can go to town with it! Until then here are a few ideas:
- 200g white bread flour + 150g wholewheat + 50g rye
- 300g white bread flour + 100g wholegrain spelt
- 200g white bread flour + 150g wholewheat + 50 g buckwheat
- 300g white bread flour + 100g semola rimacciata (finely milled semolina)
All of these will work great with the beginner sourdough recipe and method.
Add-ins
If different flours just don’t cut it, you can bring your creativity to the playground and make your bread taste like anything you want! The easiest thing to start with is small seeds that do not need soaking – such as poppyseed, sesame or caraway seeds. At first you can liberally sprinkle them on top of your bread before you put it into the proofing basket. When you feel more comfortable you can add them into your dough.
The two ways of adding seeds to your dough are by working them in with your fingers 20-30 minutes after you have mixed in the salt, or by laminating them into your dough. (I know I promised a lamination video. Hang in there.) You can also use either of these methods to add in pre-soaked seeds (sunflower, pumpkin, flax).
The lamination is also a great way to incorporate other fun stuff, like herbs (basil, dillweed, rosemary), veggies (sundried tomatoes, caramelized onions), dried fruit (cherries, apricots, prunes) and really anything else that crosses your mind (olives, lavender, chocolate, nuts, cheese, etc.)! A combo I really like is parmesan and dillweed. Here’s how I add it do the dough!
Notice that the work surface is wet and so are my hands! The key is to be gentle with the dough and make sure you’re not only spreading it from the edges. When exactly to perform that step depends on what you’re adding. If your ingredients are fine and you want them dispersed evenly through the dough (think seeds, herbs, grated cheese), I suggest you do this half an hour after you added the salt. That way every time you do a fold, the add-ins get mixed in. If you have chunkier ingredients that will tear the gluten (think nuts, chunks of cheese, pieces of chocolate), it is better to keep lamination for the very end and do it just before you shape the dough. That way your tasty sprinkles won’t mess with your gluten!
If you’re feeling lost, here are a few combinations to get you started:
- mostly white bread with sun-dried tomatoes and basil
- mostly white bread with caramelized onions and grated gruyerre
- white and semolina bread with lavender and lemon zest
- mostly wholegrain bread with dark chocolate and cherries
- mostly wholegrain + rye bread with carraway, fennel and corriander
- mostly white bread with grated parmesan and dillweed (in the video)
This should be enough for a few weekends. Let me know which one is your favorite, or if you have other combinations you love!
Beautification
This would not be a Bread Journey post if I didn’t mention scoring. Because all my breads look different they also, somehow, taste different to me! If you’re too intimindated to mess with your trusty recipe, or if you just think you hit the wholy grail of flavors and there is nothing better that that, you can still bring your bread up a notch with nothing but a spool of sewing thread and a blade. If you’re familiar with my shtick, just enjoy one of my latest videos for inspiration (below). If this is new to you, you might want to check out my post on scoring technique here.
In conclusion
Are you still with me? This was a long one! The good news is that you do not need to do all of these changes (or any of them, really!) to get good bread. Start at the beginning and then see which of these sound like something you would enjoy trying. This is also not a definite list of how you can tweak up your bread, but it does give you an idea of how I have been playing with the process and what worked for me. Do let me know which of these steps found their place in your baking routine and how they worked for you!
Good luck on your bread journey!
Anna.

Interesting read. I’ve been baking sourdough for around two years and my system is so different then that of the person that introduced me to sourdough. I watched hours of videos and read many blogs. Interesting read by the way. I use several of these techniques in my process, but it seems there are many variables from day to day. Sourdough is an adventure of art and science and the process is therapeutical. Happy baking.
LikeLike
Loved this post and video! How did I not know about your blog??? I will now, and your youtube channel!!
LikeLike
The Rubaud looks a lot like how a bread machine kneads!
LikeLike
That’ awesome! Thank you for sharing information.
LikeLike
Thank you for reading! ♥️
LikeLike
From México, thank you very much!
I understand using Rubaud variant is in sustitution of slap-and-fold method,
This means after this is the moment to shape de dough?
LikeLike
Hi there! After Rubaud you proceed with normal stretch-and-fold. You do the Rubaud at the very start, before the bulk ferment.
LikeLike